
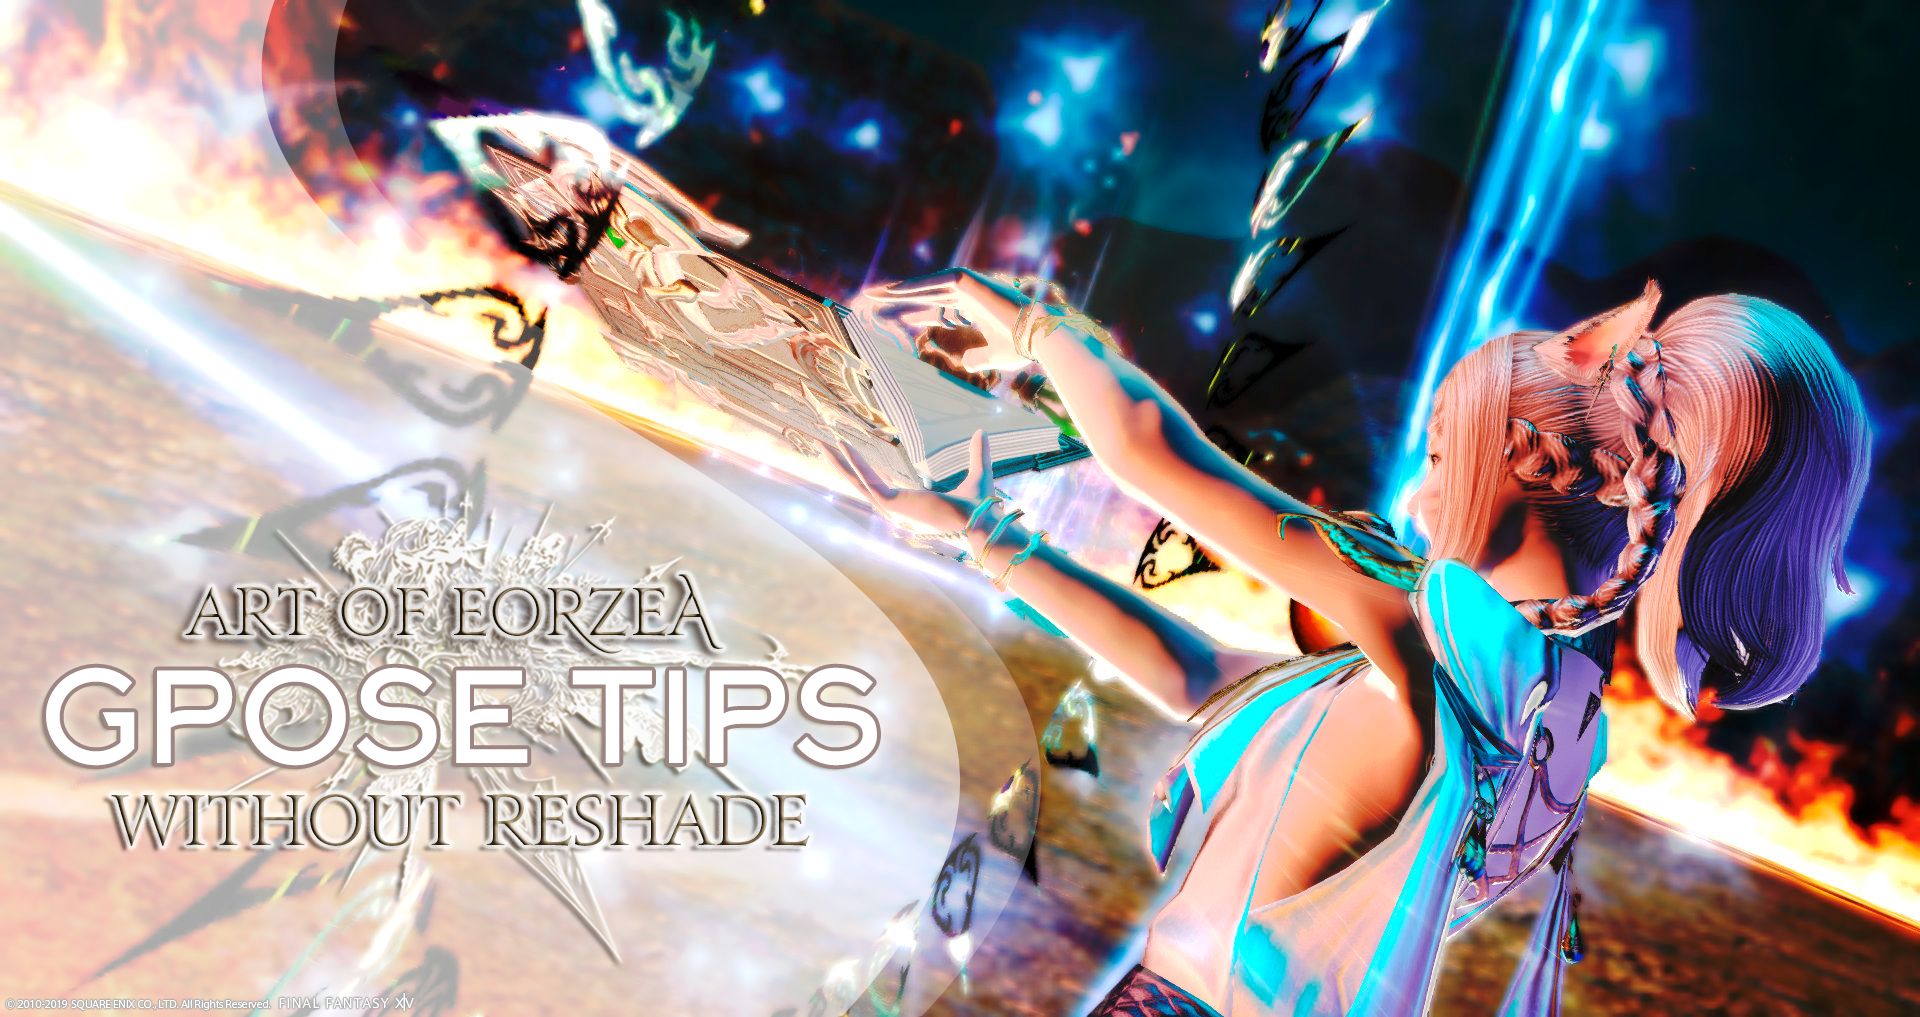
Welcome to another edition of Art of Eorzea. This is the sister column to ‘Echoes of Eorzea’ and is dedicated to the artistic side of Final Fantasy XIV. In this article I will be giving you 10 tips on how to create images using only the Group Pose tool without ReShade.
As a long time user of both pure GPose and ReShade I’ve found a great joy and challenge using both for image creation. During my time in FFXIV I’ve met many wonderful screenshot enthusiasts using various combinations of GPose, ReShade and other tools to edit and create their imagery. On several occasions though I’ve been contacted by players who have mentioned to me that they believe they can’t take ‘good’ screenshots without the use or ReShade which they do not have access to. This is why I decided to try to dispel this misconception and offer some advice on how to create shots that looks similar to ReShade without the need for it at all. Please keep in mind, as always, I am no expert, these are just some methods I have picked up along the way through trial and error. I've tried my best to explain the light placement but I do apologize if it doesn't make enough sense. It's something that is very much easier to show than explain in words as you have a 360 degree field to play with. Light sources can create very different outcomes with fractional movement and adjustment. If you do have questions about a particular image please don't hesitate to leave a comment below and I will try to explain further!
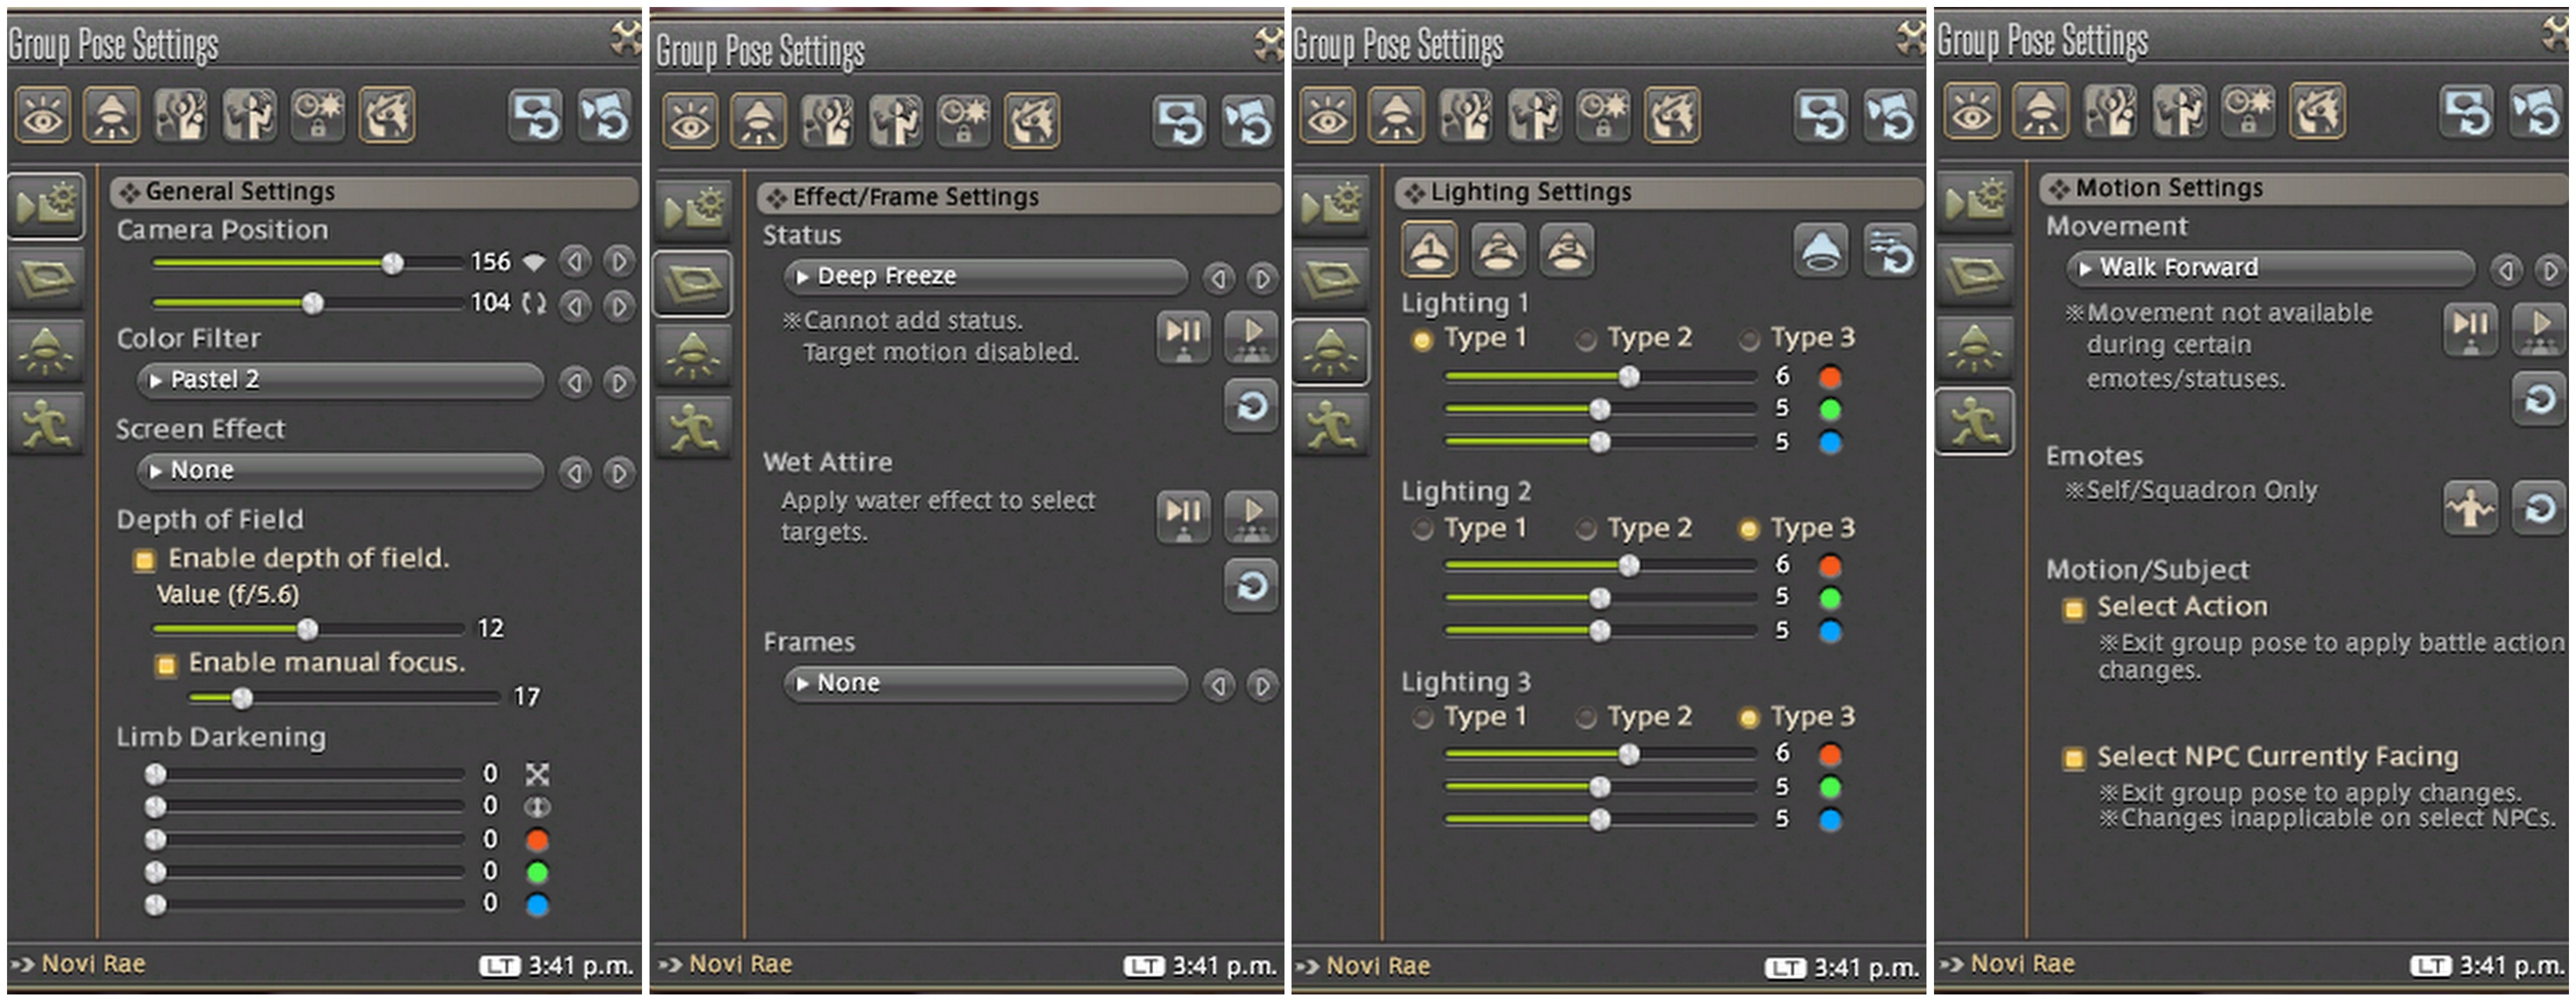 The current options available in the FFXIV Group Pose tool.
No imagery in this guide contains ReShade or third party edits of any kind.
Pure GPose Related Articles:
10 Tips for GPose
Metallic Dyes & Armour
Whenever you use a light source or filters within the GPose tool, it works with the environmental textures and colors in a manner of different ways. Adding metallic dyes to your main piece of gear can really change the dynamic of an image. It not only emphasizes the gear itself, but creates a new surface for the light to work with. It adds an additional point of focus to the image along with contrasting and highlighting tones. Dyes can be crafted, purchased from the market board or purchased with Chocobo feathers from the Calamity Salvager in major cities. Some armors already contain unique detailing and metallic features so it’s well worth having a play and seeing what results can be achieved when emphasizing reflective or metallic surfaces.
[caption id="attachment_303886" align="aligncenter" width="560"] Location: Coerthas | Filter: Pastel 2 | Effect: Sakura | Action: Asuna | DoF: f/1.4 Manual: 31 | Lighting: Light 1- Type 2 RGB - 1,8,10 to the lower right. Light 2 - Type 1 RGB 10,3,7 in front. Light 3 - Type 1 RGB - 6,5,5 in front.[/caption]
On Use Items
On use items, such as Magicked Prism (wings), Magicked Prism (flowers), Magicked Prism (confetti) and so on can create unique shadows, lighting and effects not achievable in the standard GPose system. Before entering GPose, use the on use item first, then emote, then expression and type /gpose. The effect will then play as you perform your emote and will loop. For example, in the image below, Novi is using the wings, which provides a great deal of focused light that frees me to use the strengthened effects filter and three other light sources to tailor the image to how I would like it to be presented. The wings provide extra lighting and shadows around her and her dress.
[caption id="attachment_303912" align="aligncenter" width="560"] Location: Sanctum of the Twelve | Filter: Strengthened Effects | Effect: Particle | Item: Magicked Prism (wings) | Emote: Panic with smile expression | DoF: Yes | Lighting: Light 1- Type 1 RGB - 6,5,5 in front to the left back two clicks. Light 2 - Type 1 RGB 6,5,10 directly behind Novi slightly to the left (her right). Light 3 - Type 1 RGB - 6,5,5 directly above her head a few scrolls out to soften the lighting and add a little more light to the shadowed parts of her face.[/caption]
Strengthened Effects
Strengthened effects is one of the GPose filters I use most often to replicate the presentation of ReShade. Although at first it appears ‘too strong’ in its natural form, with the use of the lighting sources you can nullify the heaviness of the filter and re-color the image without loss of contrasting tones. This filter combined with the ‘wet attire’ status effect can create a nice smooth result (if you're not already in water).
[caption id="attachment_303887" align="aligncenter" width="560"]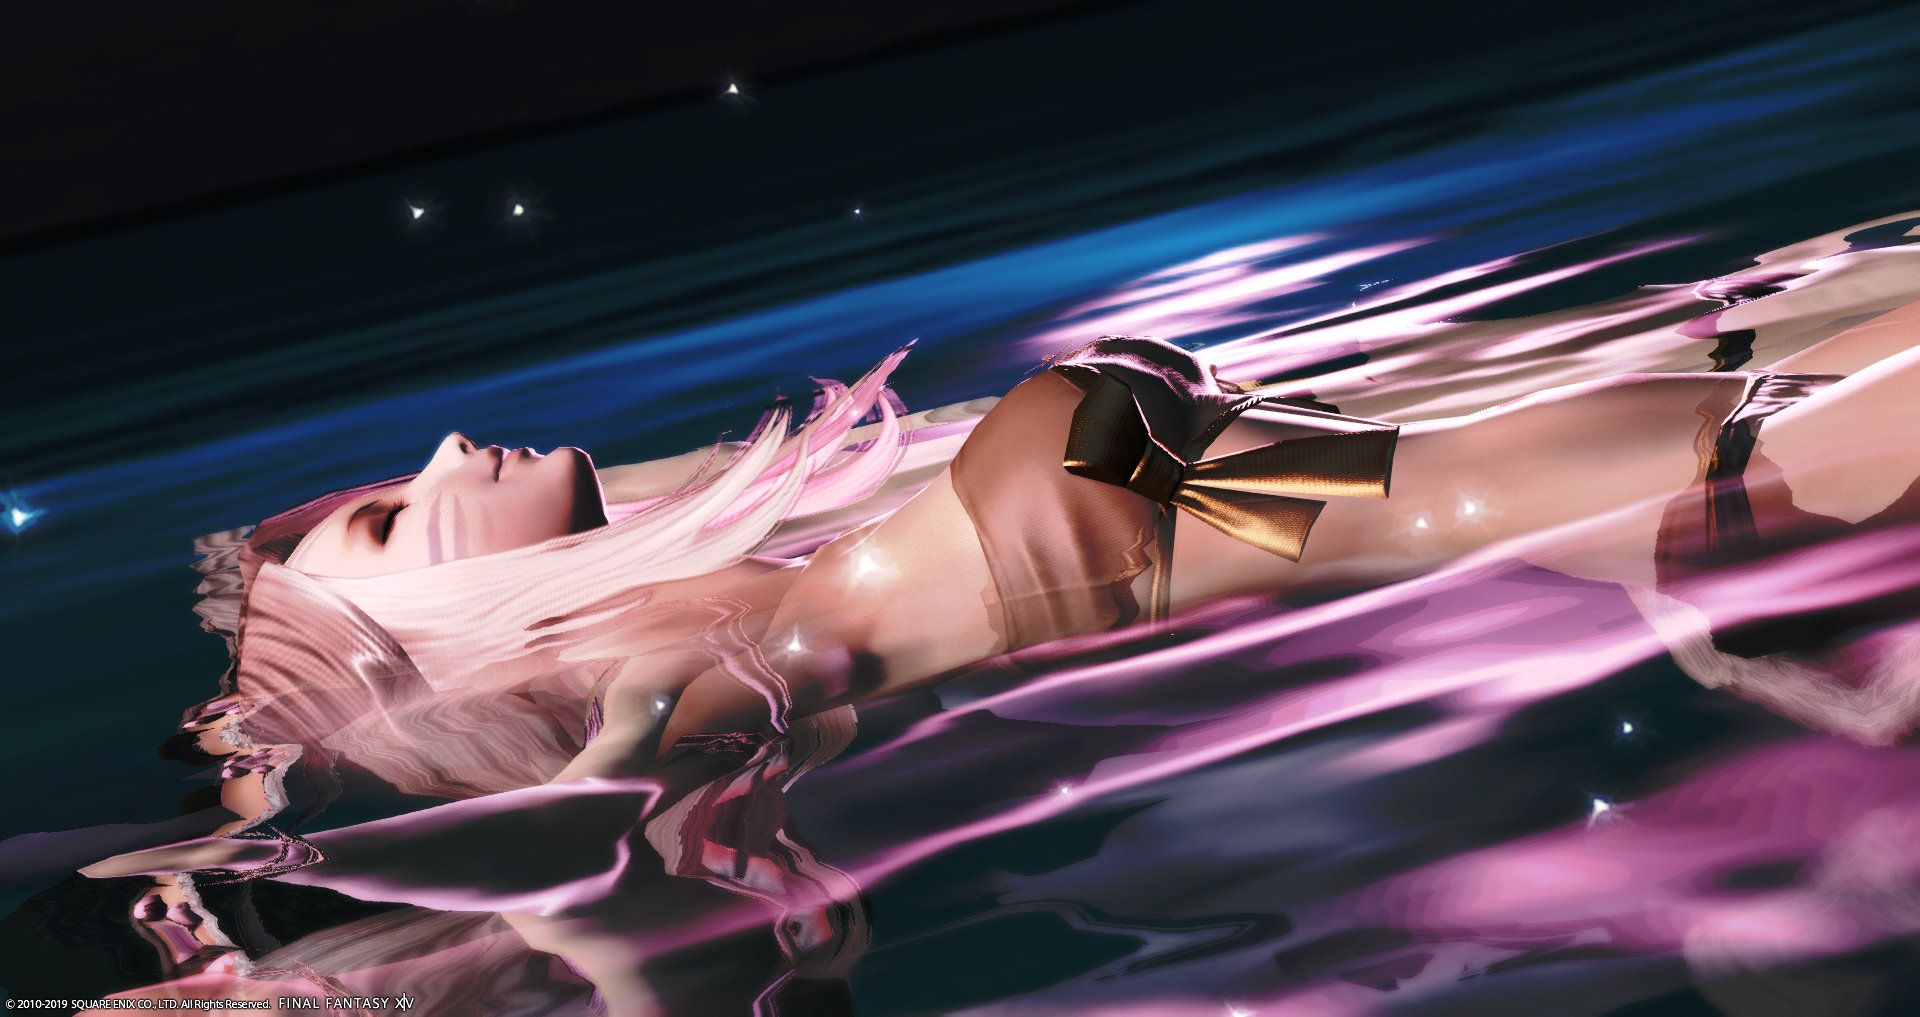 Location: Costa del Sol | Filter: Strengthened Effects | Effect: Particle | Lighting: Light 1- Type 1, zoomed out from face (warmed tone). Light 2 - Type 1 purple light source placed behind the camera slightly to the right.[/caption]
Light Sources & Highlighting
Lighting placement can be key to emphasize a subject within an image, be it water, structure or a character. For a portrait shot I will generally set all sources to level one to start with and place one light source right behind her head or neck area (perhaps between the shoulder blades - don’t be afraid to scroll right in). Return the camera to the front, zoom out a couple of scroll backs on the mouse, then place the second light source diagonally down to the left and the last diagonally up from the right or vice versa depending on the composition and emote. There is a video linked below that will explain and show this a little better. Slight adjustments can be made at any time to make sure you are defining your character in the best way without over exposure. If the lighting effects appears too strong, try to adjust the natural color to a slightly warmer/different tone which will soften the light a fraction.
[caption id="attachment_303905" align="aligncenter" width="560"]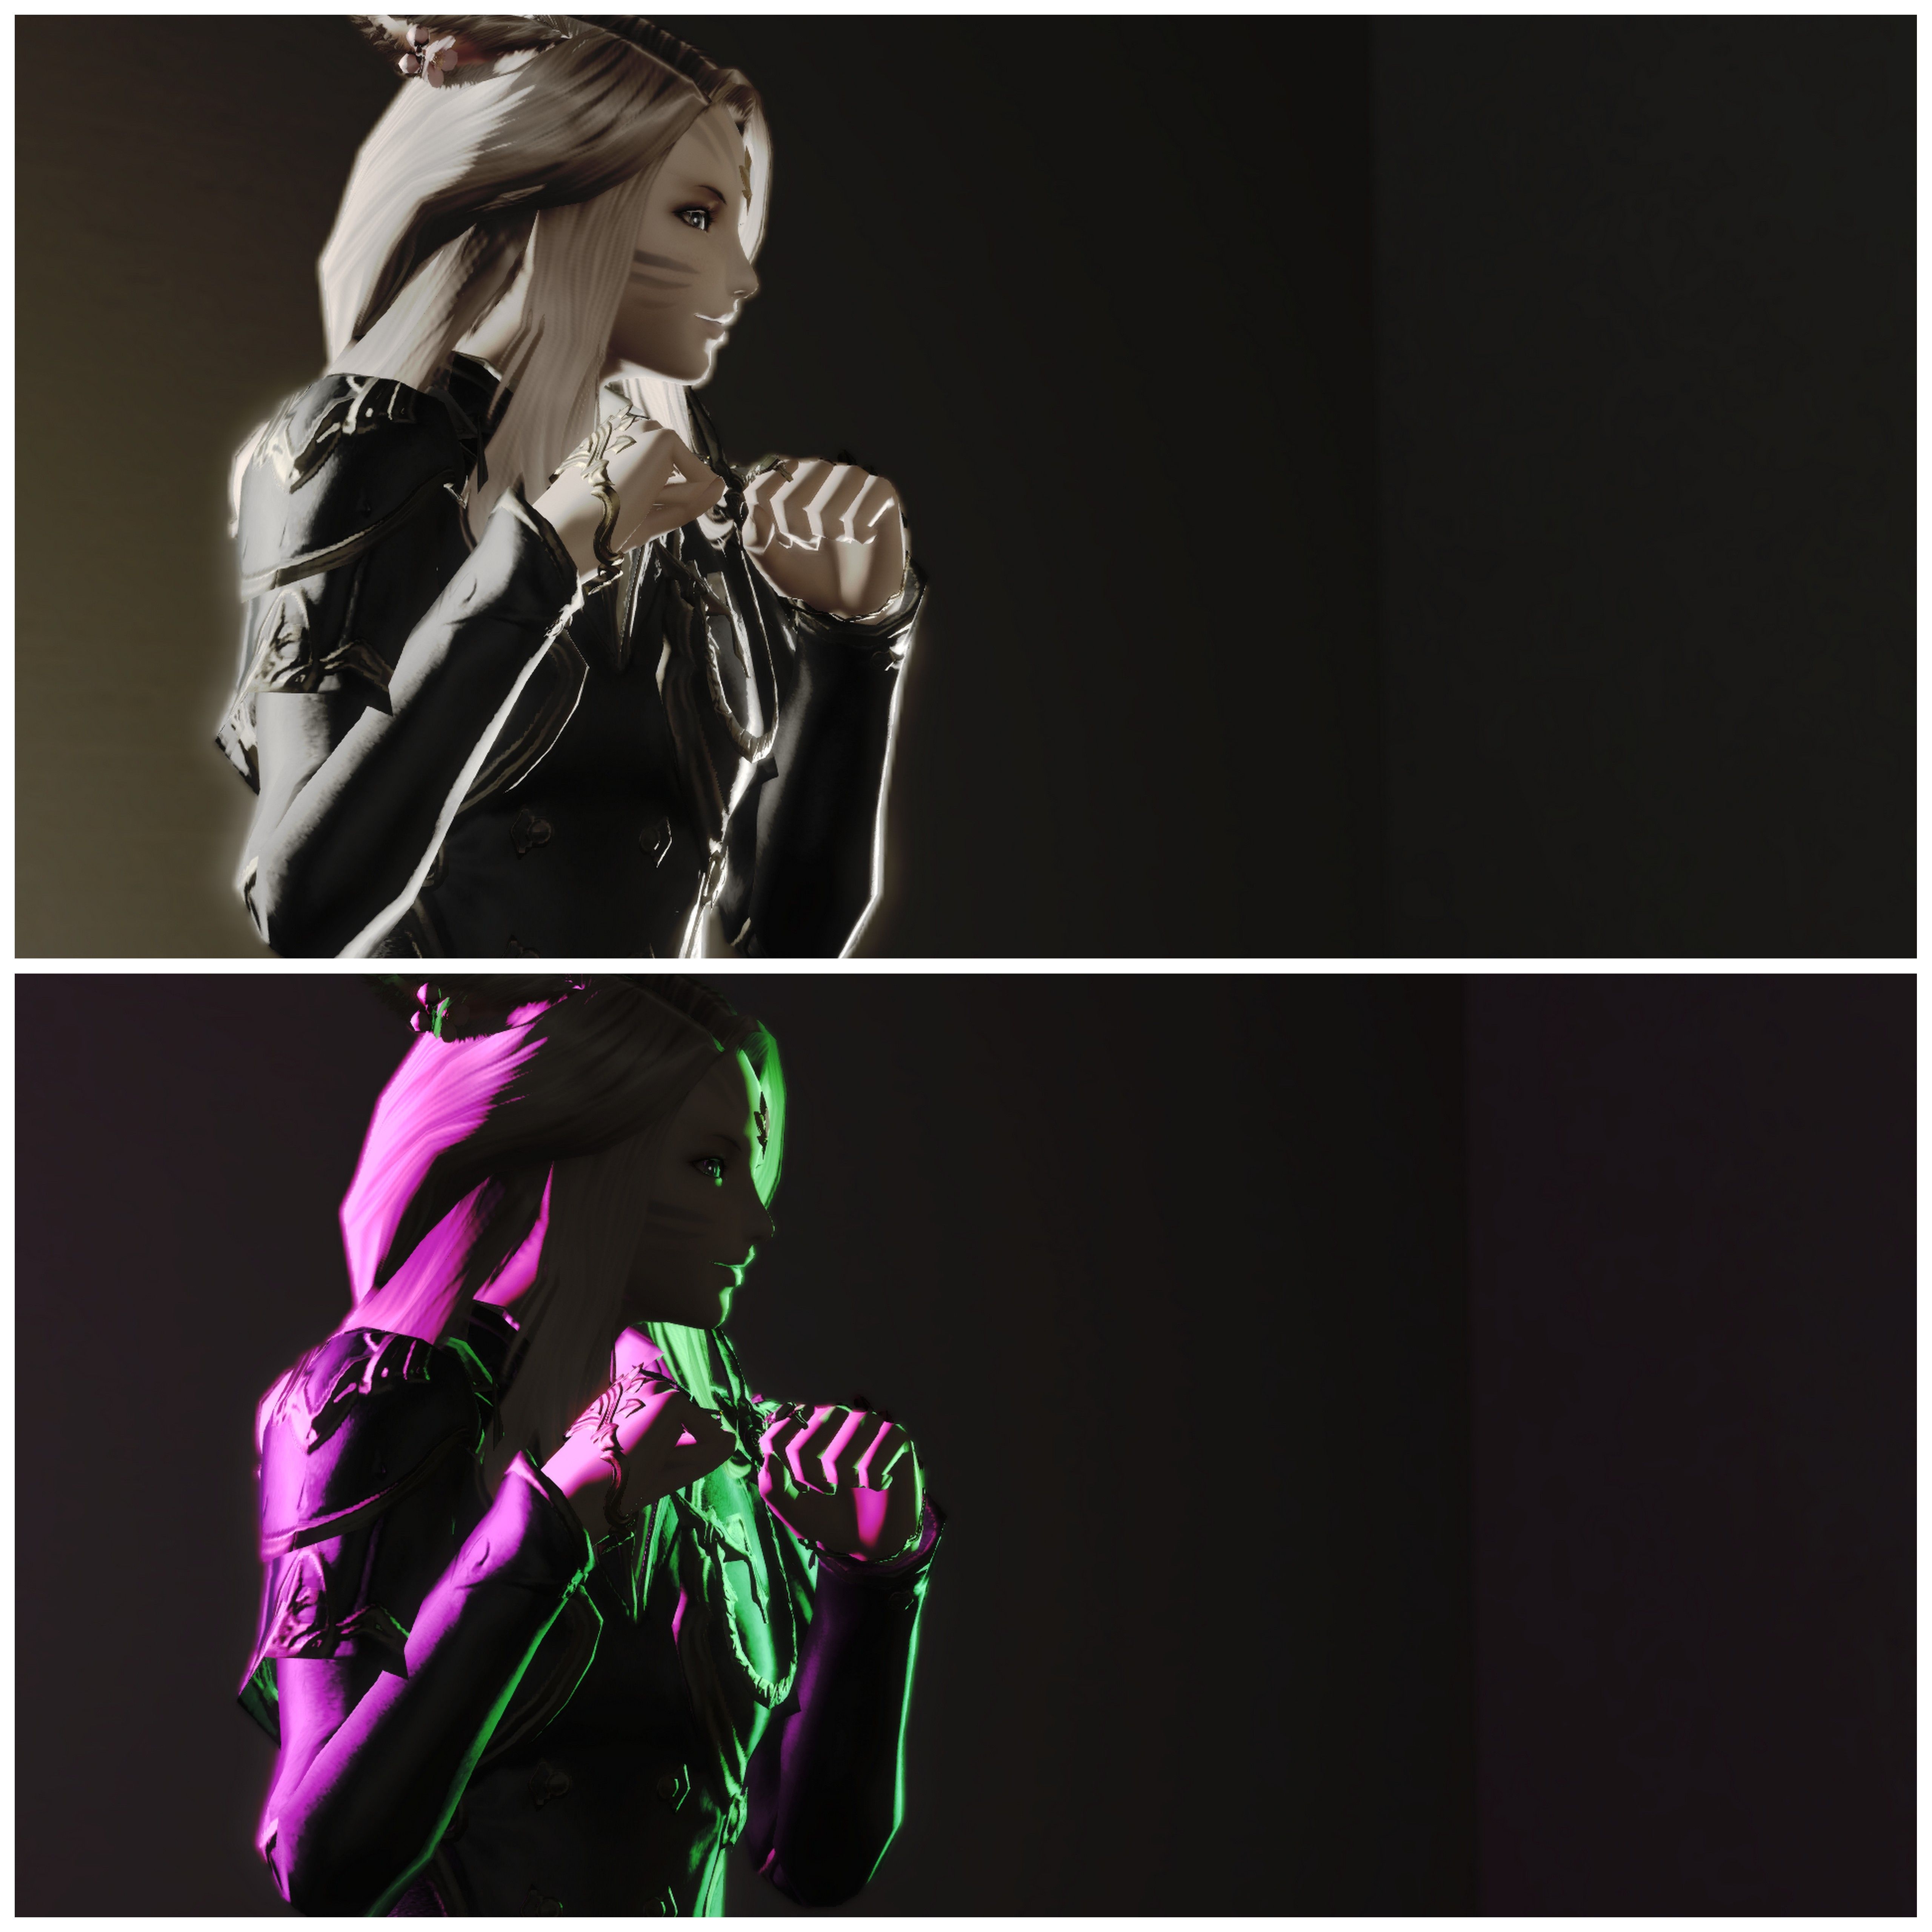 An example of highlighting a character with two light sources. The top image is Pastel 2 with neutral lighting. The lower image is Strengthened Effects with different color lights.[/caption]
If I want a strong set of highlights (as shown above), I will use a slightly different method by placing two type 1 light sources behind her around the head and ankle area. I will then adjust the placement and color of these depending on the pose. If the features need to be more visible I’ll zoom out (with the camera facing her) and place the third light source a little way back, up and diagonal from her face so that it’s lit but not enough to negate the highlights and contrast created by the back lighting.
[caption id="attachment_303906" align="aligncenter" width="560"] Location: Apartment | Room lighting: 5 | Filter: Pencil | Effect: Brilliant 1 | Emote: Spectacles | Lighting: Light 1- Type 1 RGB - 9,6,2. Light 2 - Type 1 RGB 1,10,7. Light 3 - Type 3 RGB - 10,10,10.[/caption]
Note: Even with a black and white filter use remember that different color light sources will still affects the outcome of the image, you can see the biggest changes between green lighting and red lighting where different tones are emphasized. When using a black and white filter you can use the Brilliant 1 screen effect to brighten the image a little further.
[caption id="attachment_303909" align="aligncenter" width="560"] Location: Apartment | Room Light 0 | Background: Black Stage Panel | Filter: Strengthened Effects | Wet Attire: Yes | I didn't manage to write down the values for this image but there is a red light source just behind to the left, and a yellow source down to the right to provide highlighting. The third source is zoomed out, up and above her face area to provide some subtle lighting to her skin.[/caption]
Particle, Sakura & Status Effects
The status effects can be a powerful addition to an image. Using the Particle effect can add a more ethereal and serene feel to an image, enhancing any spell animations which may have been used as the action. The Sakura effect makes a nice environmental addition to some Samurai action effects or in conjunction with similarly colored/themed environments. The ‘wet attire’ character status effect can also provide a more ‘shiny’ surface to work with, which will make the image and textures appear more smooth. This affect will darken the character though so be sure to put this on before lighting your character.
[caption id="attachment_303888" align="aligncenter" width="560"] Location: House garden | Filter: Pastel 2 | Effect: Sakura| Item: Magicked Prism (petals) | Action: Oka (SAM) | Emote: Shut eyes | DoF: f/1.4 Manual: 10 | Lighting: Light 1- Type 1 RGB - 6,5,5 behind, providing definition highlights. Light 2 - Type 1 RGB 10,4,7 to provide color highlight from the right. Light 3 - Type 3 RGB - 6,5,5 zoomed out facing the character, above slightly to the right.[/caption]
[caption id="attachment_303917" align="aligncenter" width="560"] Location: Umbral Isles | Filter: Strengthened Effects | Effect: Particle | Action: Benefic (AST) | DoF: Yes | Three light sources were used at type one strength, two behind Novi to add highlights and one to the left to enhance the shadows of her outfit.Sadly I wrote over the file name that had further details![/caption]
Framing
As a general rule, framing can really change the dynamic of an image. It generally dictates the flow in which you wish the viewer to read the image. There is, of course the general rule of thirds photography principle to keep in mind.
[caption id="attachment_303934" align="aligncenter" width="560"]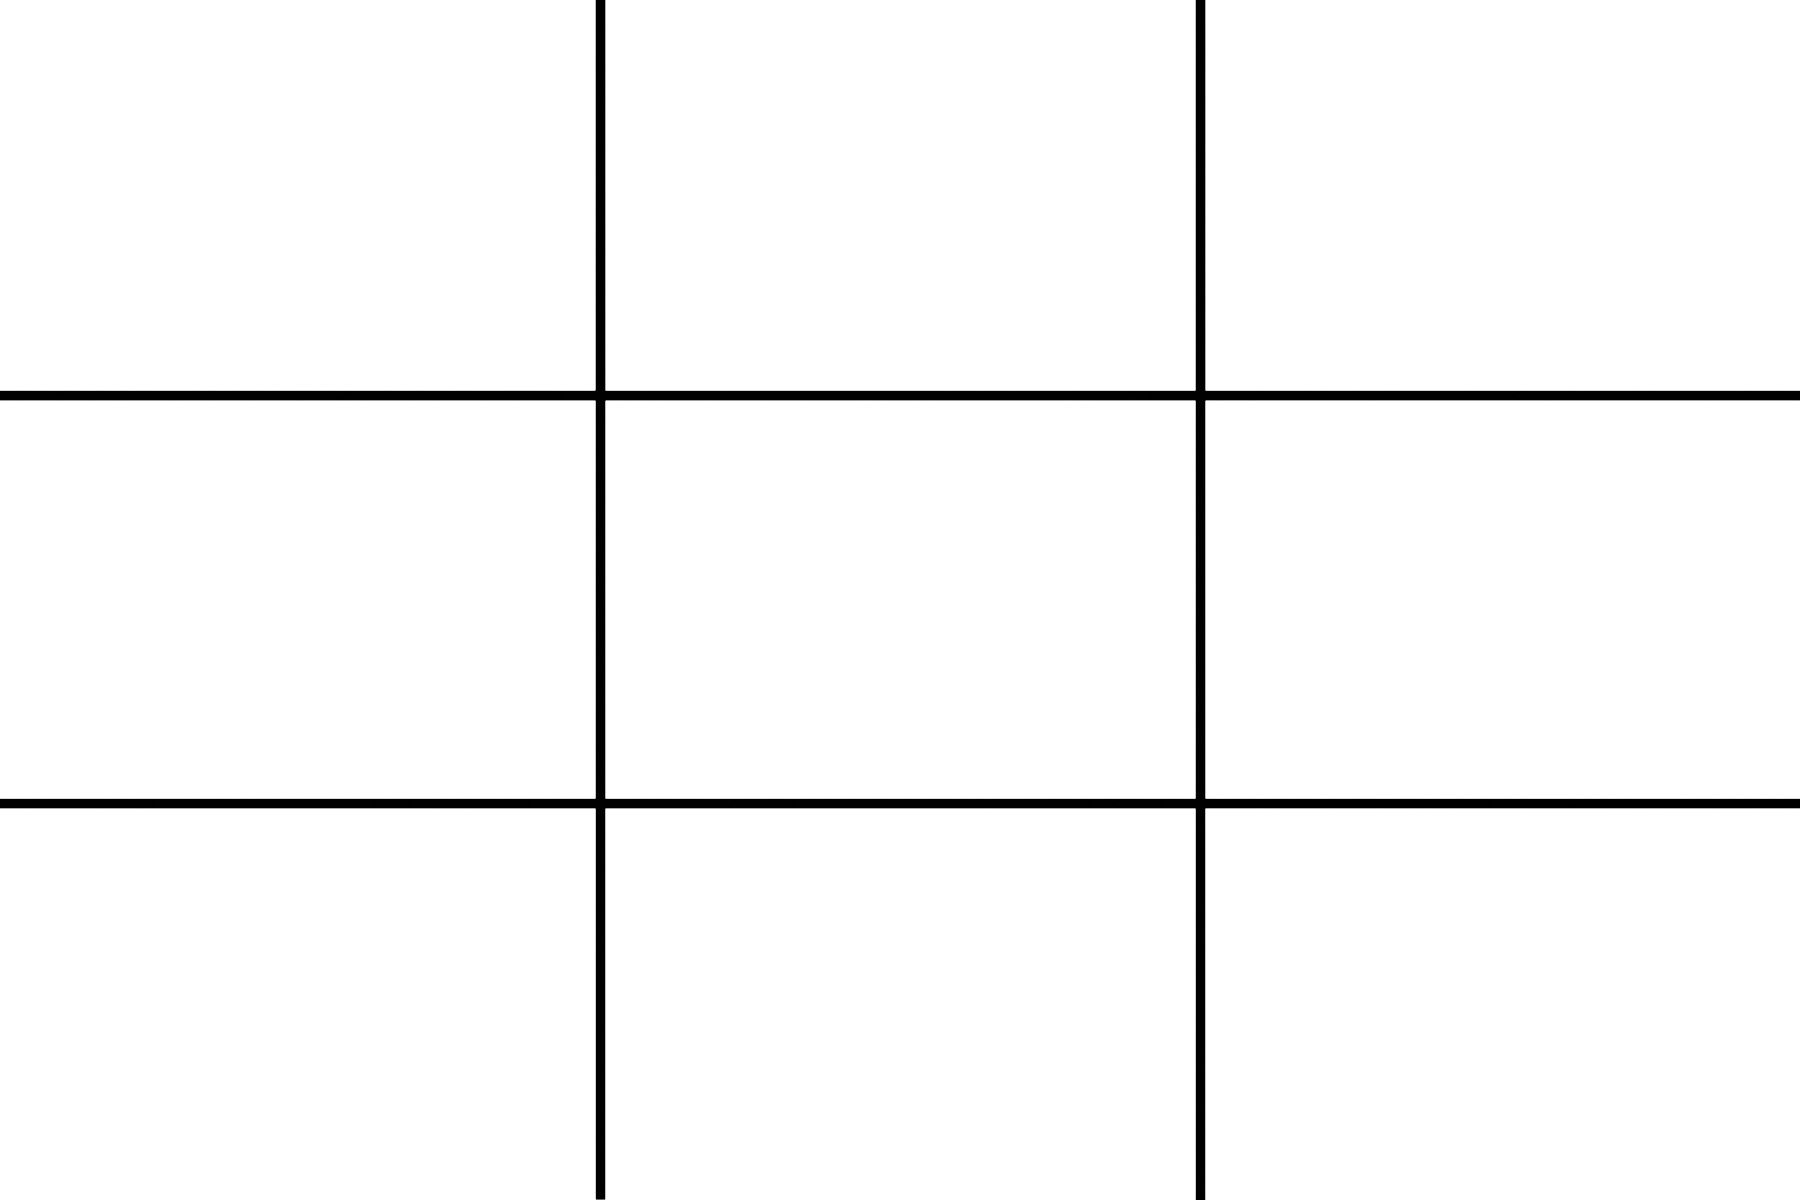 Rule of thirds grid.[/caption]
“The rule of thirds involves mentally dividing up your image using 2 horizontal lines and 2 vertical lines, as shown below. You then position the important elements in your scene along those lines, or at the points where they meet.” - Photographymad.com
“Studies have shown that when viewing images that people’s eyes usually go to one of the intersection points most naturally rather than the centre of the shot – using the rule of thirds works with this natural way of viewing an image rather than working against it.” - Digital Photography School.
Although making use of the framing (tilt and zoom) options can result in a more interesting image and make good use of negative space, it may be better to go with your gut feeling of how you would like to frame and present your shot. Photography principles are just that, principles, not rigid rules set in stone. Art is subjective. I personally frame an image with my subject and focus in mind, being conscious of excess redundant space within the image.
Try to make use of the zoom and tilt camera options to bring a more interesting dynamic to your image.
Depth of Field
As discussed at great length in the DoF Guide, depth of field usage can be used to create greater focus to your image, and in doing so adds, well.. Depth! With the more recently added DoF options within GPose a player now has more options to create a good depth of field without the need for ReShade. Both images below are created by using the Depth of Field option adjusted to focus the object in the forefront of the image with the Pastel 2 filter on.
Emotes, Actions & Spell Effects
Study your emotes frame by frame, note useful ones and utilize the favorites list. Due to the wonderful FFXIV motion capture used to create emote animations, each frame can change the image dramatically, actions and spell effects included. Spell effects can heavily control and dictate the feel of an image as well as providing a combination of lighting which will affect the image in multiple ways.
Note: Press the 1 and 2 key in quick succession to view the emote frame by frame (or as close to as possible).
[caption id="attachment_303903" align="aligncenter" width="560"] Location: Palace of the Dead | Filter: Strengthened Effects | Effect: Particle | Action: Limit Break 2 (NIN) | Lighting: Light 1- Type 1 RGB - 6,5,5 behind Novi to create some highlights on her to balance with the strong animation of the action effect.[/caption]
[caption id="attachment_303913" align="aligncenter" width="560"] Location: Ifrit | Action: Ruin 3 | Lighting: Please see next image down for similar lighting setup.[/caption]
Character Tones
One way to make your image stand out is to match or contrast the lighting based on your characters tones. Lighting is a powerful tool as is, but when you take color theory into account when lighting or creating a backdrop for your character, you can achieve enhanced results. Each lighting source has an RGB slider. You can use similar lighting colors (monochromatic) to your character to match or enhance gear, or choose a range of complementary colors to make your character stand out more. For example, if Novi’s natural tones are more towards the yellow end of the spectrum I would use blue’s and purple shades to provide a more dramatic contrast. If I wanted to enhance her natural coloring's I would aim for pale yellows. If there is a specific part of your character you wish to highlight, for example blue eyes, you could add some items to the image that match the accent color or use blue lighting to add additional emphasis. Orange toned background could be used to provide contrast if blue is the accent color.
Location
Within certain areas of the game a relatively unique effect can be seen on the environment and your character, for example the Ifrit arena and the Umbral Isles. These locations provide smoother texture over the character surfaces, increased shadows, smoothness and metallic enhancements. Combining the effects of the location with the gpose tools can create a powerful image, especially with the use of metallic dyes we discussed earlier in the guide.
[caption id="attachment_303904" align="aligncenter" width="560"]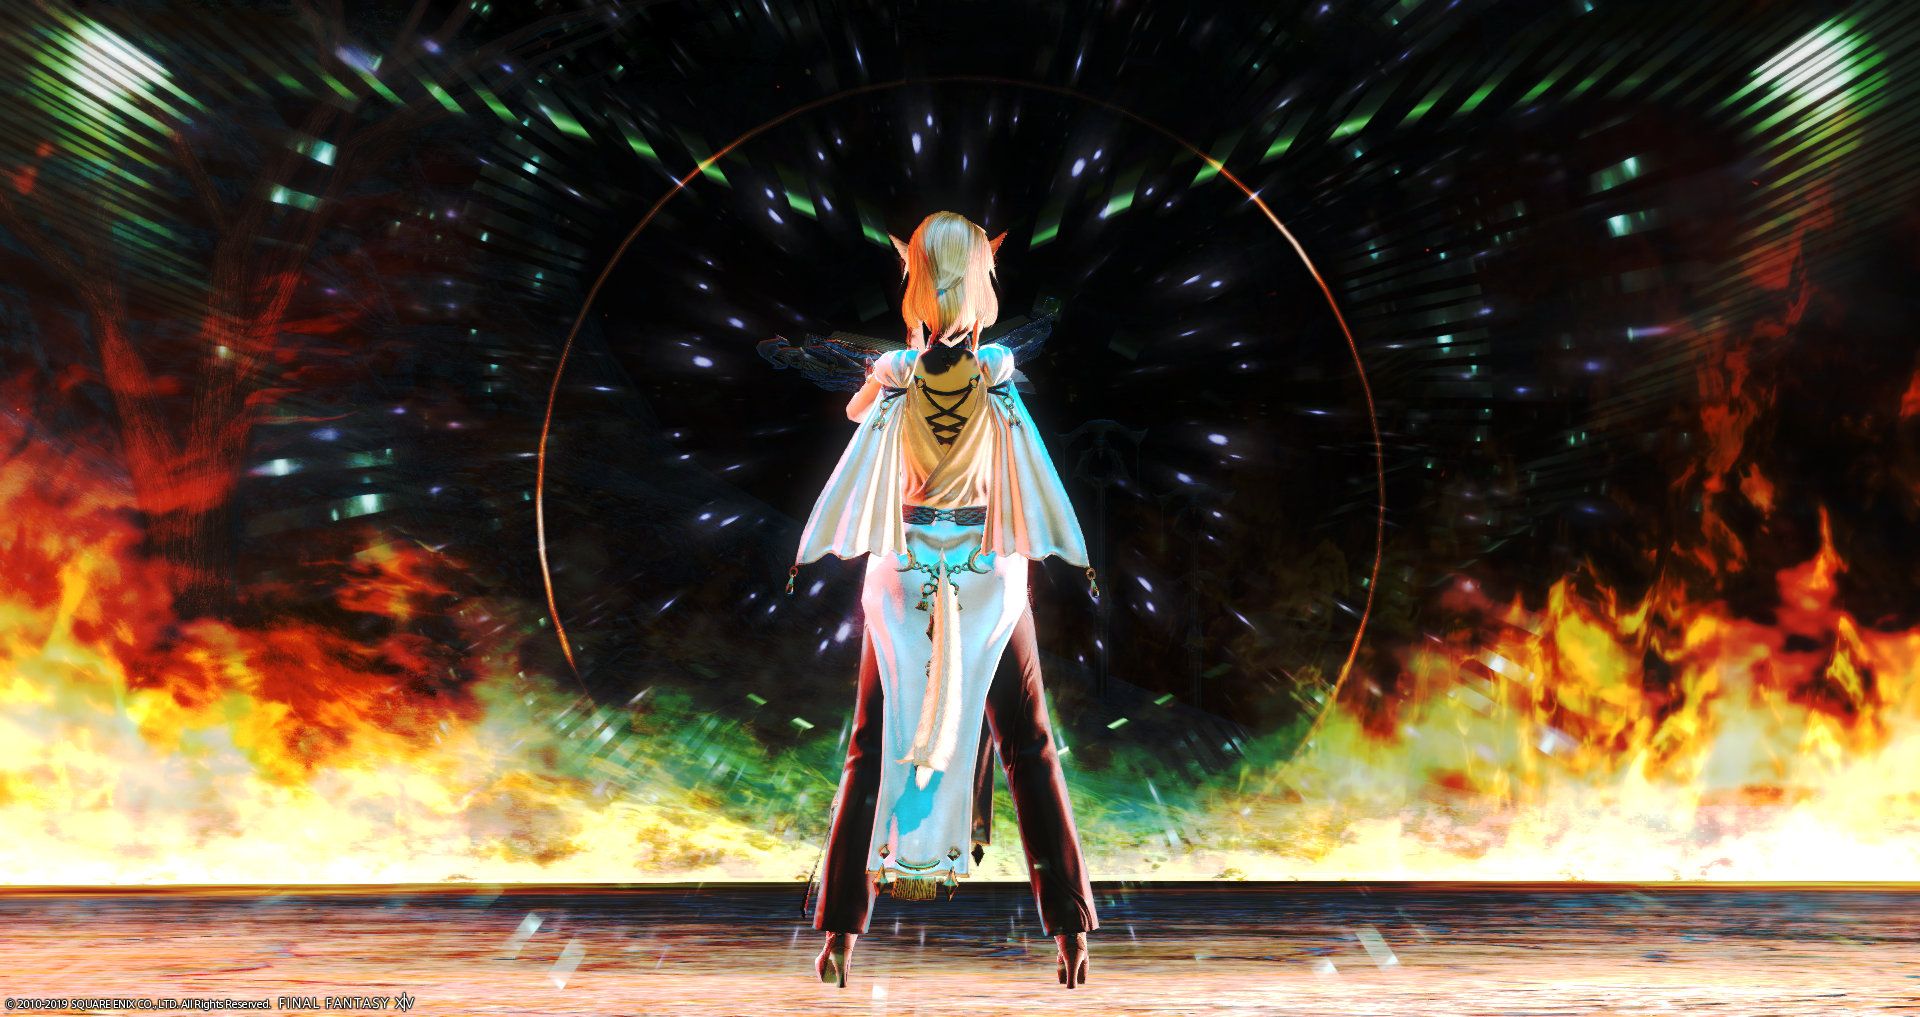 Location: Ifrit | Filter: Strengthened Effects | Effect: Particle | Item: Magicked Prism (wings) | Emote: Swiftcast | DoF: f/1.4 Manual: 19 | Lighting: Light 1- Type 1 RGB - 10,6,4 down to her left. Light 2 - Type 1 RGB 10,2,0 directly in front of Novi to provide highlighting. Light 3 - Type 3 RGB - 6,5,5 down to the right.[/caption]
Weather conditions should also be kept in mind as the sun or moon position can create some nice additional highlighting and contrast to the area or character.
For portrait shots there are now many wonderful and inexpensive options in game to create a clean background for your image. The 'Stage Panel' can be bought from the housing vendors for 4000 Gil and placed within a house, apartment or FC room. Rectangular partitions are available through crafting or the market board, though these cost a little bit more. Both are dyeable and so can be used as a black or white backdrop, or a complementary/monochromatic color based on your character tones or outfit.
[caption id="attachment_303910" align="aligncenter" width="560"] Location: Apartment | Room Light 0 | Background: Black Stage Panel | Filter: Strengthened Effects | Wet Attire: Yes | Emote: Eastern Dance | DoF: f/1.4 Manual: 7 | Lighting: Light 1- Type 1 RGB - 7,6,6 behind shoulders. Light 2 - Type 2 RGB 7,6,6 directly zoomed out in front of Novi.[/caption]
General Tips
Place your light sources after selecting a filter. This way you can color the lighting more appropriately to enhance the filter. You can always scroll through other filters to see how the lighting works with them, sometimes you might find a better combination!
Using the ‘wet attire’ effect will make your character more shiny and smooth. This surface works better in conjunction with lighting and depth of field effects.
If you pull the manual depth of field slider one click closer to your character you will get a softer outline, creating a slight gaussian blur effect.Try not to heavily saturate, over-expose or create extreme contrast within an image. The exception for contrast being for black and white shots with noir/dramatic theme. If you feel your image is looking too over exposed either move the light source back a little or swing the camera up or down a little to place the light at a slightly different angle.
If you'd like to add more or less natural lighting to your character, you can do so by pressing the Escape, navigate to System Configuration then under the Display Settings (scroll down) there is a 'character lighting' slider.
Avoid visible clipping of armours, hair and tails.
Take pride in the images *you* create. Your creative journey is your own and we are all learning and have different levels of experience. Constant comparison to someone you feel is ‘better’ will only impede your journey and diminish your creativity. Having said that, surrounding yourself with work you find inspirational (without pressurized creative comparison) which can help you strive to learn and try more. It’s a strange scale to balance though!
If you are interested to become more involved in the screenshot communities of FFXIV please check out FFXIVSnaps and Eorzean Idols for more information.

Related Articles:
Thank you for reading, I hope some, if not all of these tips can be useful to you! If you have any questions or would like clarification on anything mentioned in this article please drop a comment down below or get in contact either through here, Screenographic or Twitter.
May you always walk in the light of the Crystal.
