
With Stormblood fast approaching it’s likely Final Fantasy XIV will be well and truly under the MMO spotlight. With this in mind, we will be welcoming friends and strangers to the shores of Eorzea and beyond. This week's article will provide Part 1 of 2 in a Beginner's Guide, ideally for new players to the game, hopefully providing a relatively compact resource for some of the first experiences within Eorzea. This list is information I found useful when I first began my adventures in Eorzea, my hope is that you or someone you know can find something useful within!
Throughout this guide I will often refer to an ‘envoy quest’. By this, I mean “The Call of the Sea” – quest level 15 in your Main Scenario Quests (MSQ) that will unlock inter-region travel. Your character is likely to be level 17-19 by the time you get to this quest. You cannot travel inter-city until you have completed it and received your Airship Minion. It’s a quest that you may hear mentioned frequently as there is a lot of content that is locked behind it.
Logging On
Final Fantasy XIV works through a launcher which keeps your game up to date. This will run each time you wish to play. The interface displays a slider that has prominent events or information along with recent news articles and server status links. Updates will only begin when you log into the launcher.
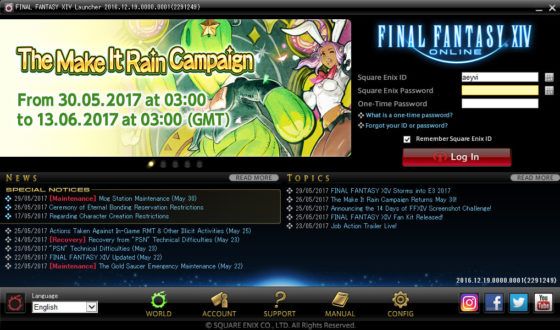
Server status is very important as groups of servers lock on a cycle each day. If the server lock is active you will not be able to create a character on that server until it unlocks again. Cycles last for several hours. Check with your friends or guildies which server they are on beforehand so that you can keep an eye on openings.
Regardless of whether a server lock is active, you are able to create your character and save the appearance data (stored locally on your machine) so that when your desired server does unlock, your character is made and ready to go.
You can check the server status by clicking the link on the launcher or by clicking here.
Terms to Remember:
Duty: Instanced dungeon of some kind. These may be standard dungeons, trials, guildhests, or PvP scenarios.
Roulette: Daily instanced dungeon content where a bonus reward is given on completion.
Free Company (FC): Guild, corporation, or clan.
Linkshell (LS): Private chat channel accessed by invitation.
Mogstation: Your account management page and in-game item store.
Guild: The representative body of a class or profession.
Grand Company (GC): The in-game faction that you represent. The Grand Companies are representative of the cities of Eorzea.
Class/Job: The role you pick when creating your character is your starting class. Your class converts to a job at level 30 upon obtaining your Soul Crystal. For example, an Archer becomes a Bard.
Character Creation
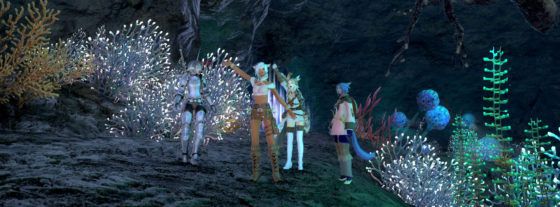
Character creation is very straightforward and you are able to create something relatively unique to suit your tastes, without having too many complicated options which you could get lost in for hours! Here are some examples of characters which can be made:
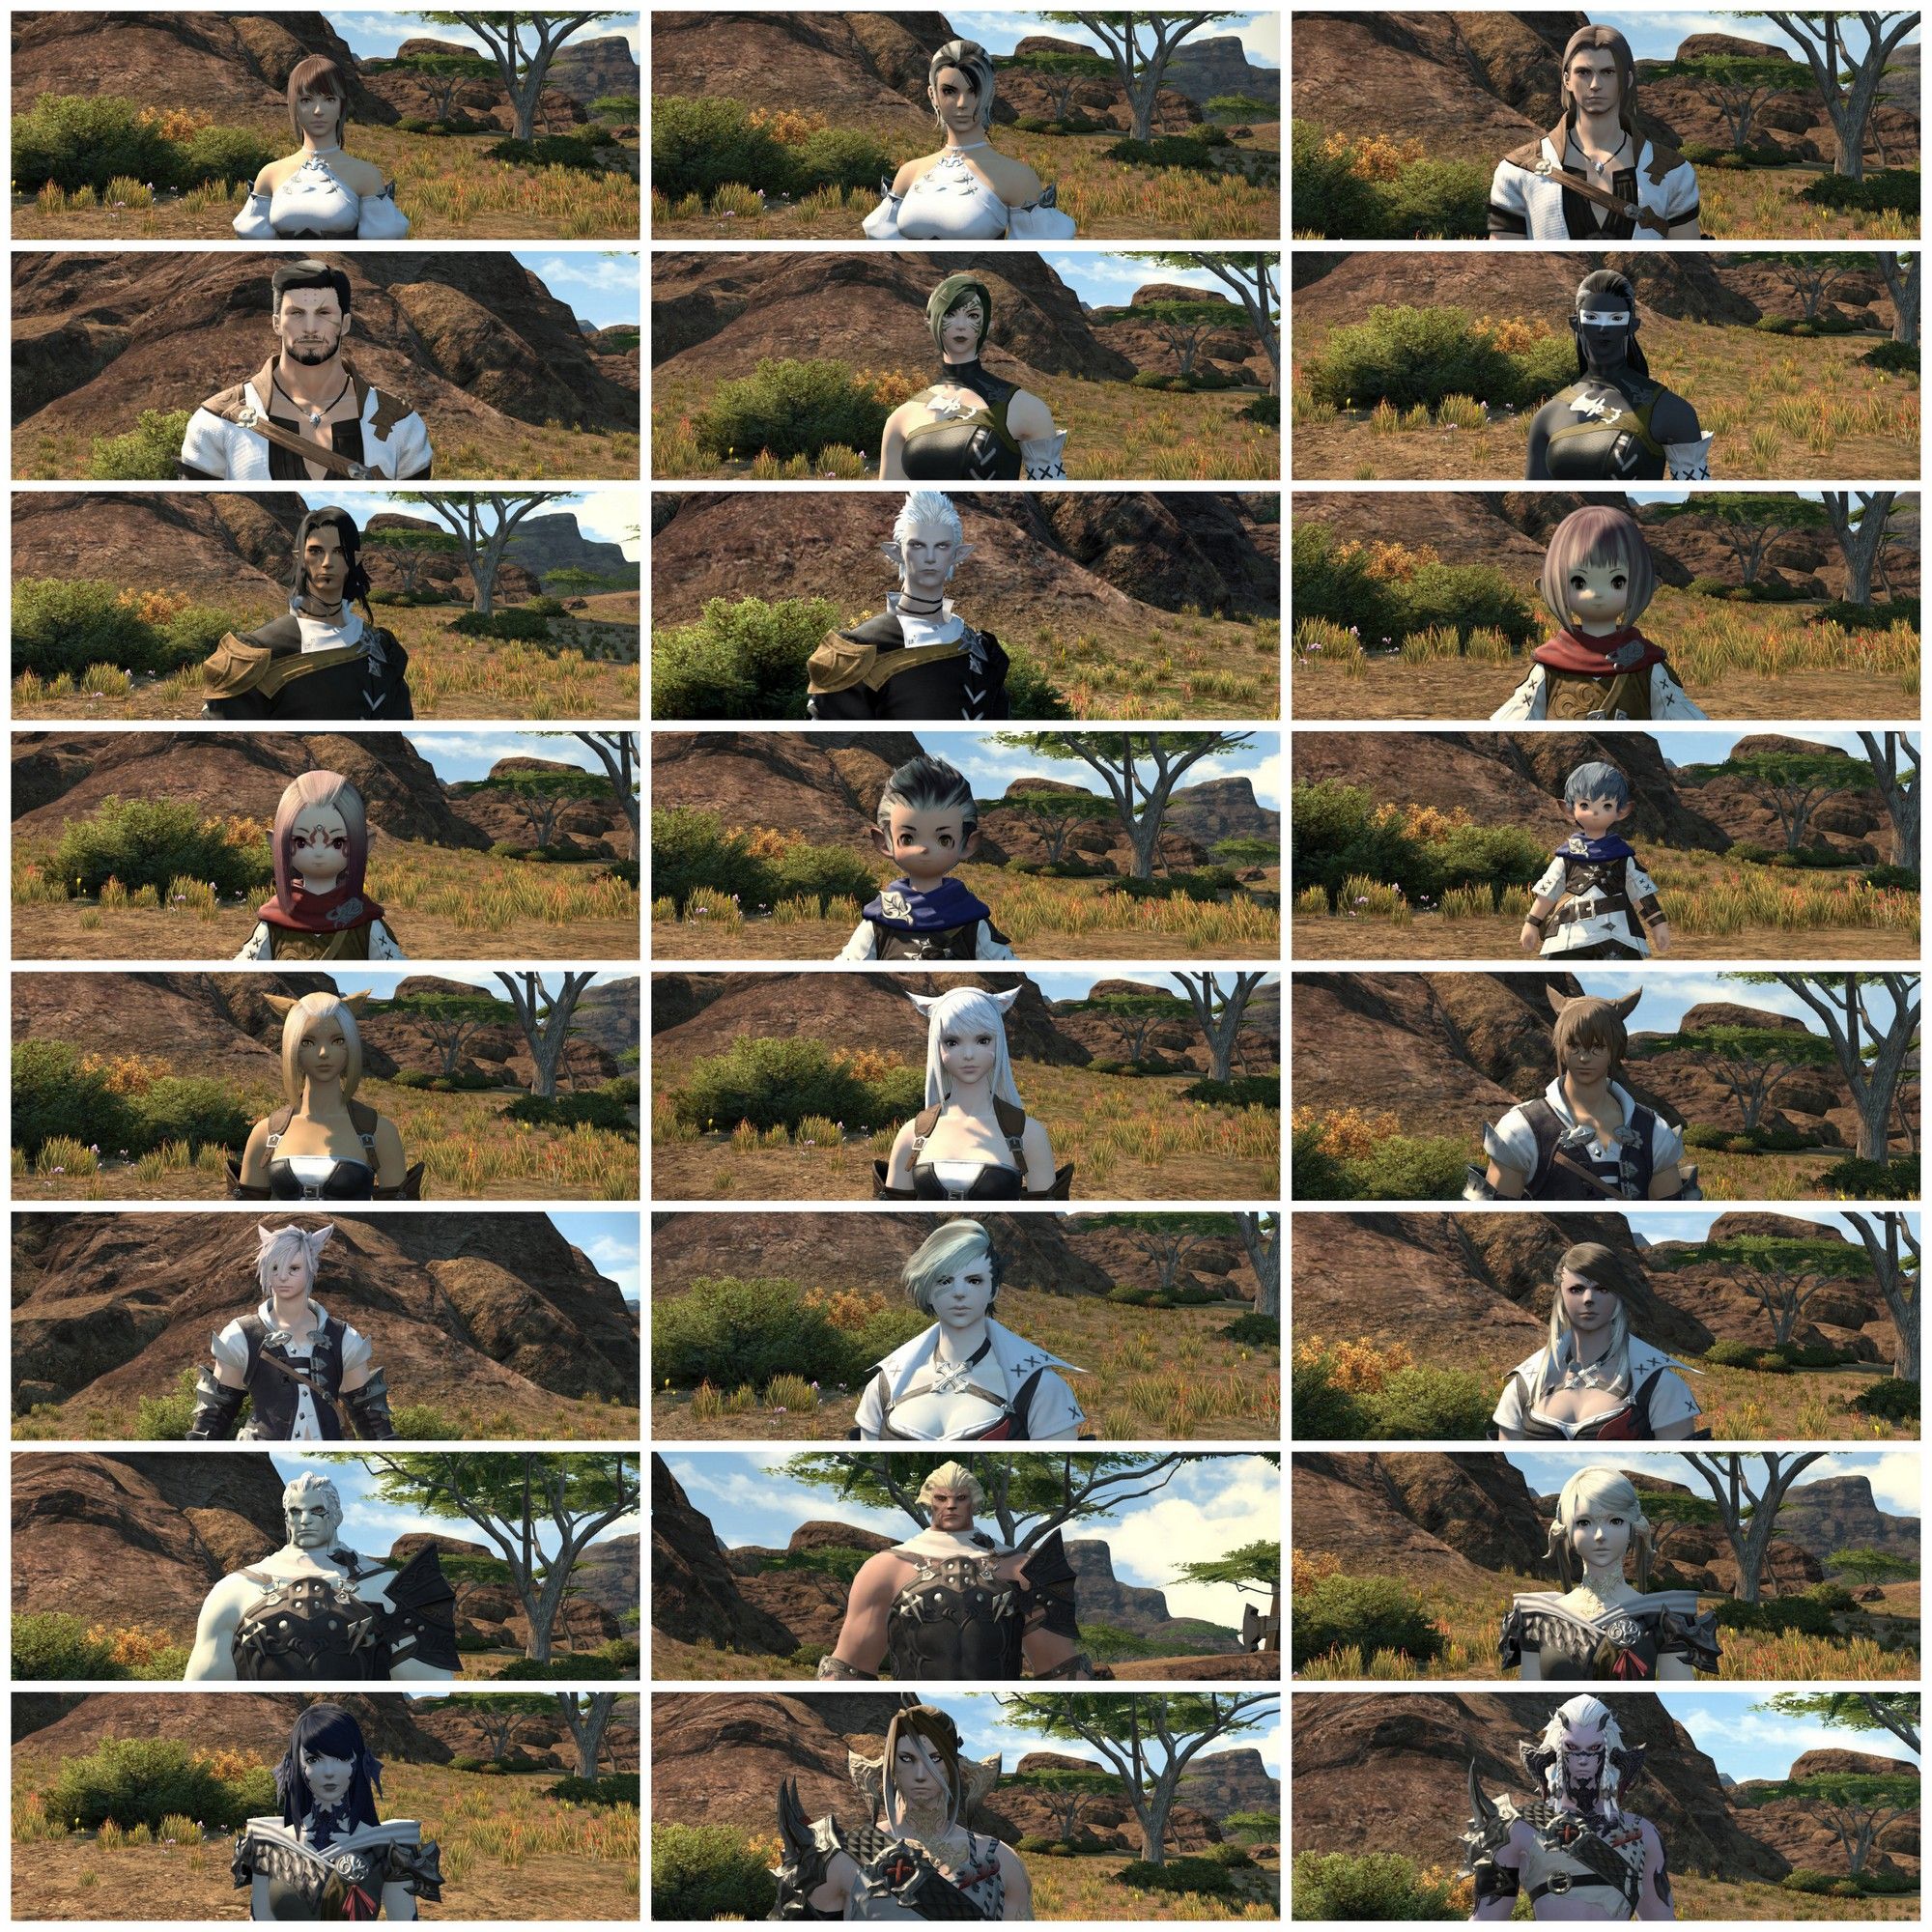
You are able to create your character from one of 24 race variants, with customization features for all. Each race has four facial options along with a variety of skin colors, eye colors, hair styles, face markings, facial feature shapes, voices, makeup and much more!

The class you choose determines your starting city. Your race and deity choice has very little impact on your future game-play.
The UI
The user interface (UI) in FFXIV is very standardized with very few customization options. There is no add-on compatibility within the game. To access the UI settings press Esc>HUD Layout. You have a choice of 4 profile saves.
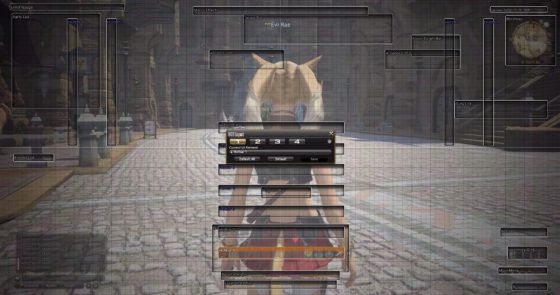
The most important thing to remember is that CTRL+Home is the shortcut to resize the bars and panels. It will scroll through about seven different sizes (60% to 140%) then loop round. To move the bars around just click and drag, just don't forget to save your new arrangement! You may add up to 10 bars, however, you will need to 'activate' these bars by going to Esc>Character Configuration>Hotbar Settings (4th red box down on the left).
Screens that pop up within the game can be clicked on and dragged to a position that suits you.
There are further options to customize your UI display settings in Esc>Character Configuration>UI Settings (3rd red box down on the left). Toggle which hotbars you would like active along with their structure.
You are able to keybind most things in the Esc>Keybind menu. It's well worth setting some keybindings for menu items to save some bar space (Shortcuts tab).
Tip: Activate one of your spare hotbars and place it in a corner of the screen. Press [P] to go to Actions & Traits. Click on Main Commands. There are 7 subsections to choose icons from. Drag some icons over to your newly created bar such as Duty Finder, Timers, Challenge/Hunting Log, Ready Check, Emotes and so on. Numerical markers can be particularly useful to have close at hand (click on Signs and drag markers to the hotbar).
Tip: If you are sensitive to spell effects these can be altered or disabled on various levels under Esc>Character Configuration>Control Settings (1st red square on left)>Character tab>Battle Effects Settings.
Menus & Maps
Main Menus
You have three important sets of menus:
Bottom right 'bubble' menu.
Esc>Character Configuration.
Esc>System Configuration.
You will use the 'bubble menu' shown above on a frequent basis, so take a look at all the options. Some will be grayed out to start but will unlock over time as you level up or complete the required quests.
The other two are menus focused on making things easier for you visually and practically, covering options such as combat text, chat box settings, player name colors, graphics, sound levels and many more options. It's a good idea just to spend some time familiarizing yourself with these menus and their sub-menu options as they can visually enhance the game and take away some small annoyances.
Controls
FFXIV is created for the PC and PS4 (PS3 support is being discontinued in Stormblood) and so has support for both keyboard/mouse and gamepad. This guide is focused around those who use a keyboard and mouse, however the settings for your controller can be found in System Configuration>Gamepad Settings, and Character Configuration>Hotbar Settings>Cross.
Side note: The tab targeting in FFXIV prioritizes targets from the left to right of the screen starting with your current target (this may feel confusing if you're coming from a game like WoW). One way of altering this to make it select your nearest target is to bind ‘Tab’ to "target nearest enemy", and Shift-Tab to "Cycle enemy targets left to right" within your keybinds - this is especially helpful if you intend to PVP.
Travel
As mentioned at the start of this article, you cannot travel between cities until you have completed the MSQ level 15 envoy quest and obtained your little airship minion.
Traveling in Eorzea is done mostly through a teleportation network using Aetherytes but you can use the airships between cities and the Gold Saucer once air travel is unlocked. Smaller Aetherytes exist within the cities known as Aethernet Shards and are located close to various useful places such as the market or Guilds. You cannot travel to an Aetheryte or Aethernet Shard until you have attuned yourself to it by clicking on it. You can click large on the Aetherytes to travel to them directly using the map but not the smaller shards within the cities, you must go and click on the nearest one to obtain the intra-city travel menu. Your teleport options are also listed under your Travel>Teleport menu (bottom right).
You are allowed to select three 'favorite' destinations as well as a main home 'return' point. Favorite destinations reduce the cost of travel to those locations.
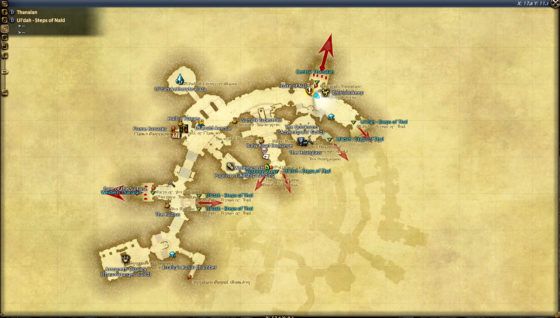
Maps
Maps within the game are not the most user-friendly I’ve ever encountered. Be sure to study the map carefully before running off too far in one direction! Click on the blue link names to show the adjoining area. You may click on any large Aetherytes directly from the map to travel to that location. Your map marks your coordinates at the bottom.
Tip: The shortcut for marking your location on a map is Ctrl+Right Click, this will bring up the <flag> coordinates in the chat window.
Mini Maps The mini map in FFXIV is pretty standard as far as these things go however there are a few extra features to be aware of.
A small sun circles the outer edge to indicate the time of day in Eorzea.
Digital time. Click on this to change it between Local Time, Server Time and Eorzean Time.
Weather indicator. This is important for fishing and screenshot enthusiasts.
Icons to represent AFK and signal to the server and new mail (oops).
Zoom and Settings toggle.
Coordinates indicator at the bottom, relative to the map.
Quests & Classes
Main Scenario Quests
Firstly the biggest thing to note is when people say ‘you get this at level 15’ they generally mean quest level 15 and will most likely be bound within your Main Scenario Quests (MSQ).
Your most important line of quests is those marked with a meteor, this symbolizes that it is part of your MSQ. This line grants the most EXP and also is tied to all your important content and unlocks in the game.
Your Main Scenario Quest is your greatest source of EXP so you will want to do these on your ‘main’ class. You can only do you MSQ once per character. When you are new, progressing your story will form the core of your gameplay, aside from all social elements.
Classes & Jobs
In Final Fantasy XIV, you are able to have all classes, jobs and professions on one single character. You start off by leveling a class, for example, Archer. At level 30 you will unlock the class quest which grants you your Soul Crystal. Equipping the Soul Crystal will convert your Archer class into the Bard job.
Class Changes in Stormblood
Prior to the Stormblood release you would need to level two classes and combine them at level 30 to form your job from your class. With the removal of the old Cross Class Skill system this requirement is no longer in place and so you will only be required to level one class.
Role Actions
Role Actions will be replacing Cross Class Skills. Depending on whether you are a Tank, Healer or DPS, you will gain access to a list of Job Actions which will be used to enhance your class. They will be available through the Actions & Traits menu [P] under Additional. You will be able to select a total of 5 skills although you start with 1 at level 12 and they unlock as you level up (12, 28, 32, 40, 48).
Class Quests
No matter what class or profession you take, be it an Archer or a Miner, you will unlock a class related quest every 5 levels that will gain you EXP and rewards such as gear or abilities. It is important you do these, not only do they unlock your Soul Crystal (at quest level 30) but they will also gain you new and important spells relating to your class/job. These quests are separate from your Main Scenario Quests. They also have their own nice stories that add more depth to your class.
Dungeons
You will unlock your first dungeon, Sastasha Seagrot, through your Main Scenario Questline, which will be at quest level 15 (“It's Probably Pirates”). The majority of your dungeons will be unlocked as part of your MSQ, however, there are ‘side’ dungeons that can be unlocked as you level up. Here is a list of all the dungeons, those marked with the meteor icon mean they are part of your MSQ, the others are side unlocks.
Tip: If you do not wish to see the same cutscenes play each time you enter the dungeon, there is a setting to toggle which will not repeat previously played cutscenes by pressing Esc>Character Config>Control Settings (1st red square on the left)>General tab>Cutscene Skipping.
Finding More EXP
If you are in need for some more EXP for your main and alt classes you can find it in a number of ways, such as completing daily Roulettes, side quests, F.A.T.E.s or Palace of the Dead. I will go into this in more detail in Part 2 of this Beginner's Guide.
Disciple Of...
All classes fall under a banner known as ‘Disciple of..’. They are set out as Disciples of War (DoW), Magic (DoM), Hand (DoH) or Land (DoL).
Disciple of War: Physical damage classes. Job:Warrior (WAR), Paladin (PLD), Monk (MNK), Dragoon (DRG), Bard (BRD), Ninja (NIN), Dark Knight (DRK), Machinist (MCH) Class: Gladiator (GLD), Marauder (MRD), Pugilist (PUG), Lancer (LNC), Archer (ARC), Rogue (ROG)
Disciple of Magic: Magic damage/healing classes. Job: Black Mage (BLM), White Mage (WHM), Scholar (SCH), Summoner (SMN), Astrologian (AST) Class: Thaumaturge (THM), Conjurer (CNJ), Arcanist (ACN).
Disciple of Hand: Creation classes. Carpenter, Blacksmith, Armorer, Goldsmith, Leatherworker, Weaver, Alchemist and Culinarian.
Disciple of Land: Cultivation classes. Mining, Fishing & Botany.
Storage & Market Place
Bag Space (Inventory)
When you receive items they will be stored in one of three places.
General loot: Main inventory [i] on one of the four tabs.
Quest items (not rewards): will go into main bags/inventory [i] under the ‘Key Items’ tab.
Gear: Unless full, your gear is placed in your character's Armory Chest. Access this either by going into your bags (i) and clicking the button at the bottom; Open Armory Chest. If this is not there, open your character information panel (c) and click on one on the items of gear you have equipped. This will open a new box to show a further 12 slot allowance for each gear slot.
We currently have 100 in slots in our base bags (4×25) and 25 slots for each gear item and are given two free retainers with 175 slots each (7×25) and the seasonal outfit armoire.
In Stormblood inventory space will increase to 35 items per slot in 4.0.
Banking, Market & Retainers
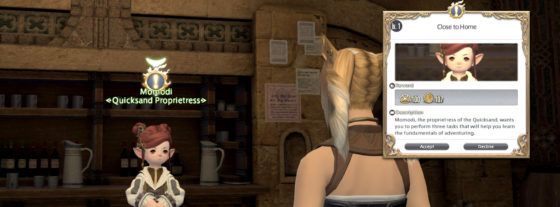
Retainers manage your banking, auction house/market board and much more. At quest level 17 (after completing “The Scions of the Seventh Dawn”) you will receive a quest to employ a retainer. At this point you will be able to create two. Visit the Retainer Vocate in one of the three cities. You can then choose the appearance of y our new found best friend/servant. Once you’ve selected the name, look, and personality, they’re ready and will remain with you from then on. To summon your retainer you use a Summoning Bell that can be found near most market areas in the cities, in your inn room, in the housing districts and questing hubs.
Retainers can:
Hold items for you in their inventory.
Sell items for you - from your, or their inventories.
Look after your money.
Wear items from your or their inventory.
Upon a further side quest at quest level 17 “An Ill-conceived Venture” (location depends on your Grand Company location), retainers unlock the ability to be assigned a class and go out on quests for you which can bring you back various selections of rewards, from reagents and gold, to minions and gear. Your retainer can only level a class/job you have unlocked, and is only able to level as high as you have in that specific class/job. To begin, your best bet is to give your retainer your highest class that you intend to continue to level. Equipping class specific gear to your retainer will help them greatly. You can change the retainer class when you wish but you will lose the progress you have gained on the class you are switching from.
To send your retainer out on quests you need Venture Coins which are purchased from your Grand Company in exchange for company seals (currency).
Useful Links
Full Dungeon List Content Unlock Guide: Heavensward Content Unlock Guide: A Realm Reborn
Hunting Log Locations
Server Status: Character Creation
The Lodestone EU The Lodestone NA
In the Beginner's Guide: Part 2 we will be covering a wider array of in-game subjects combined with the more relaxed side of Eorzea, including cosmetics, weddings, housing, emotes and much much more.

If you are a current or new player to FFXIV I’d love your help into my Eorzean research project. I’d love to hear your views and experiences through this online survey (and don’t forget that super cute Moogle Caps are up for grabs!).
Happy travels, Kupo!
