
In article 8 of Echoes of Eorzea, we briefly discussed creating our own green screens in-game and I mentioned elaborating on this at a later date. Now the time has come and I hope that you might find this green screen and portrait studio guide a valuable resource for creating your own screenography.
Before we begin, nearly everything I mention within this guide will require you to have your own estate, private room or apartment, however, there are a few places within this game that will allow you to recreate the conditions I mention later in this guide.
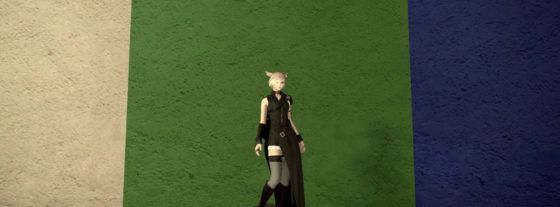
When I originally set this up, my goal was to have one screen for normal portrait shots and then another that I could use to provide a green screen for background removal in external programs like Photoshop or free editors such as Pixlr or Krita. I’ll be showing you how to do this below along with links to the programs used.
I don’t use decorative light sources within the room, as I like to have full control of the lighting within the group pose tool and I find that it gives greater flexibility when adjusting shading. I use a green and a blue screen as I’ve found that different hair colors or clothing contrast more effectively against one of the two. Greater contrast makes it easier to remove the background in the external editing stage.
There may be better ways or items to use to create your own studio but I’ve found that this way is relatively simple and seems to work for what I’ve been using it for.
For a more in-depth guide to the group pose tool, please see my previous guides here:


Preparations
For this studio you will need to purchase a few items.
1-3 White Partition: These cost 3000 gil each and are available from a ‘Housing Merchant’ in one of the residential districts. They can be found under ‘Purchase Furnishings (Other). The partition wall is useful because it’s also dyeable. It doesn’t give you a perfect flat ‘green screen’ but it helps!
Dyes: Uchu Green and Storm Blue. I used both because I wanted to test whether a green or blue screen would work better. So far I have had better results with the blue screen but I suppose that depends on what color clothing you are wearing. These dyes are only suggestions, if you would prefer a different shade then feel free to alter the colors.
White Wall: This is a minimalist backdrop which is also available from the ‘Housing Merchant’ under ‘Purchase Furnishings (Interior) for 5000g. There is a border around the lower wall though so you would need to also buy an object, like a ‘Stack of Tomes’ (also from the market vendor) to boost your character up there.
Housing Merchant Aetherytes
Gridania: Lavender Beds - Dappled Stalls.
Limsa Lominsa: Mists - Seagaze Markets.
Ul’dah: The Goblet - Goblet Exchange.
Kugane: Shirogane - Akanezaka Markets.
The Process
It’s important to get everything in the right order when preparing your character for the photo shoot but don't be afraid to take your time and try all kinds of angles, expressions and poses.
The list below is an example of the process I go through when creating screenshots using the screens in my apartment.
Pick the outfit and hairstyle, it’s important to look your best!
Perform your emote and if you wish, your facial expression.
Type /gpose and enter the group pose tool.
Press R to get your GPose menu up (or whatever your autorun is bound to).
Pick the angle that you want your character to face towards using the eye tool at the top left of the GPose screen.
Run through the emote several times, pausing it multiple times to get a good idea of all the poses that can be captured from that individual emote. Also, try spinning the camera a little too, to see the pose from all different angles. Re-position your character if necessary.
Optional: Pick your color filter before placing the lighting to get the best out of the filter.
Position the lighting. I elaborate on this in the video as it will be different between the white screen and the green or blue screen.
Optional (white screen): Flick through the color filters again, sometimes this can greatly emphasize an image. Adjust lighting intensity and lighting color to amplify the filter if you wish. Using the lighting alongside the filters can greatly diversify your output.
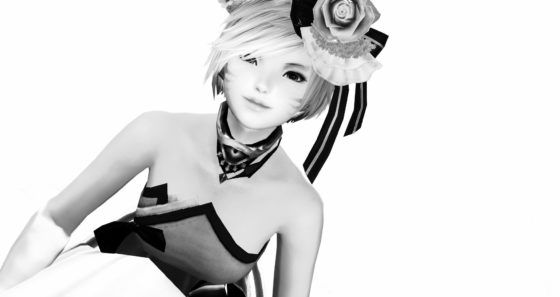
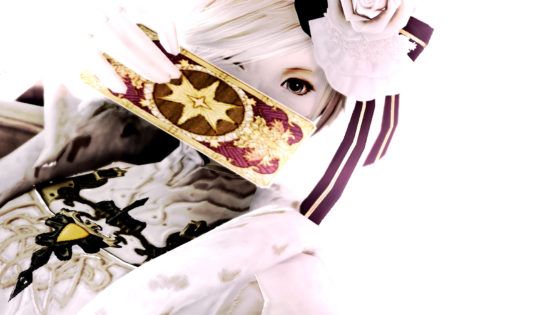
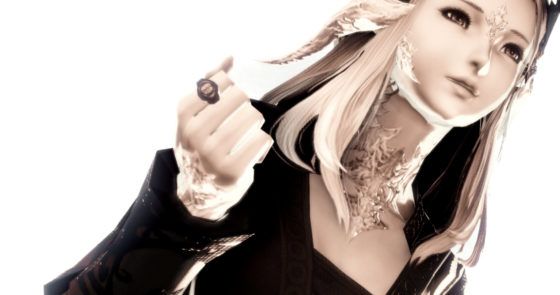
 GPose sample images.
Note: If you do own the house or apartment it’s a good idea to place a retainer bell close to the studio so that you can access all your glamour items with ease.
Lighting
For white screen:
In essence, for portrait shots I drop two light sources directly behind the character (either in the small of the back, or the back of the head) and one at distance to the front, angled up or down depending on where the character is facing. The front lighting source is only there just to gently light the face and smooth the shadows.
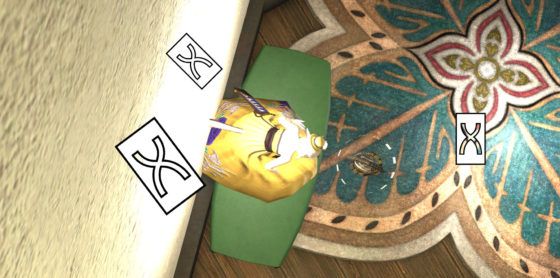
The two lighting sources behind can be adjusted so that they cast some nice defining shadows along the jaw or facial features. I placed two light sources in a level 5 lit room. The first was placed in front and diagonally up, to the right, and the other was placed diagonally down to the left.
For Greenscreen:
Making sure your character is well lit here is important as we need to make sure the contrast between the character and the green screen is at its highest. For the green screen, I tend to drop one level three light source behind the character (shoulder or head area), one level 3 source behind and above them to a diagonal, and one level one/two light source in front to a slight angle.
Note: In both cases my apartment is lit to level 5. This gives a decent neutral lighting base to start off with and build from.
Background Removal
Photoshop
Sadly Photoshop is not a free piece of software. However, this is the process I use when removing the background from the images.
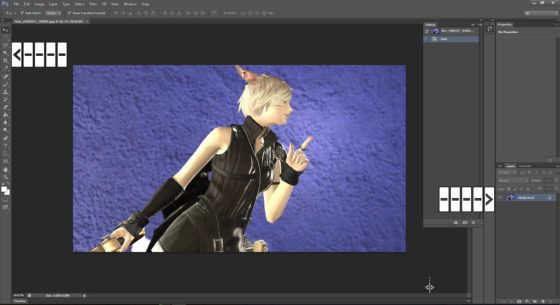
Locate the screenshot in your file system. Right-click and select ‘Open with..’, then select ‘Photoshop’.
Note: You can open Photoshop first and drag and drop the image into it if you find that easier! You can also open it normally with ‘File, Open’ however if you are like me and have thousands of screenshots, it becomes a little tedious to find the right one!
Double click the word ‘Background’ in the layers section on the lower right. A dialogue box will appear, click ok. This will turn your image into an unlocked editable layer.
Select the magic wand tool.
Along the top bar you will then see a ‘tolerance’ value. The lower the value, the more sensitive the tool becomes. Try to adjust the value so that it selects clean lines around your character. Don’t worry about missed blobs around the edges, you can remove these afterward with the eraser tool.
When your character is selected appropriately, press the delete key to remove the background (or as much of it as you can while keeping your character's outline intact).
Crop the image to the character and use the eraser tool to remove any blobs left behind.
[caption id="attachment_121169" align="aligncenter" width="560"]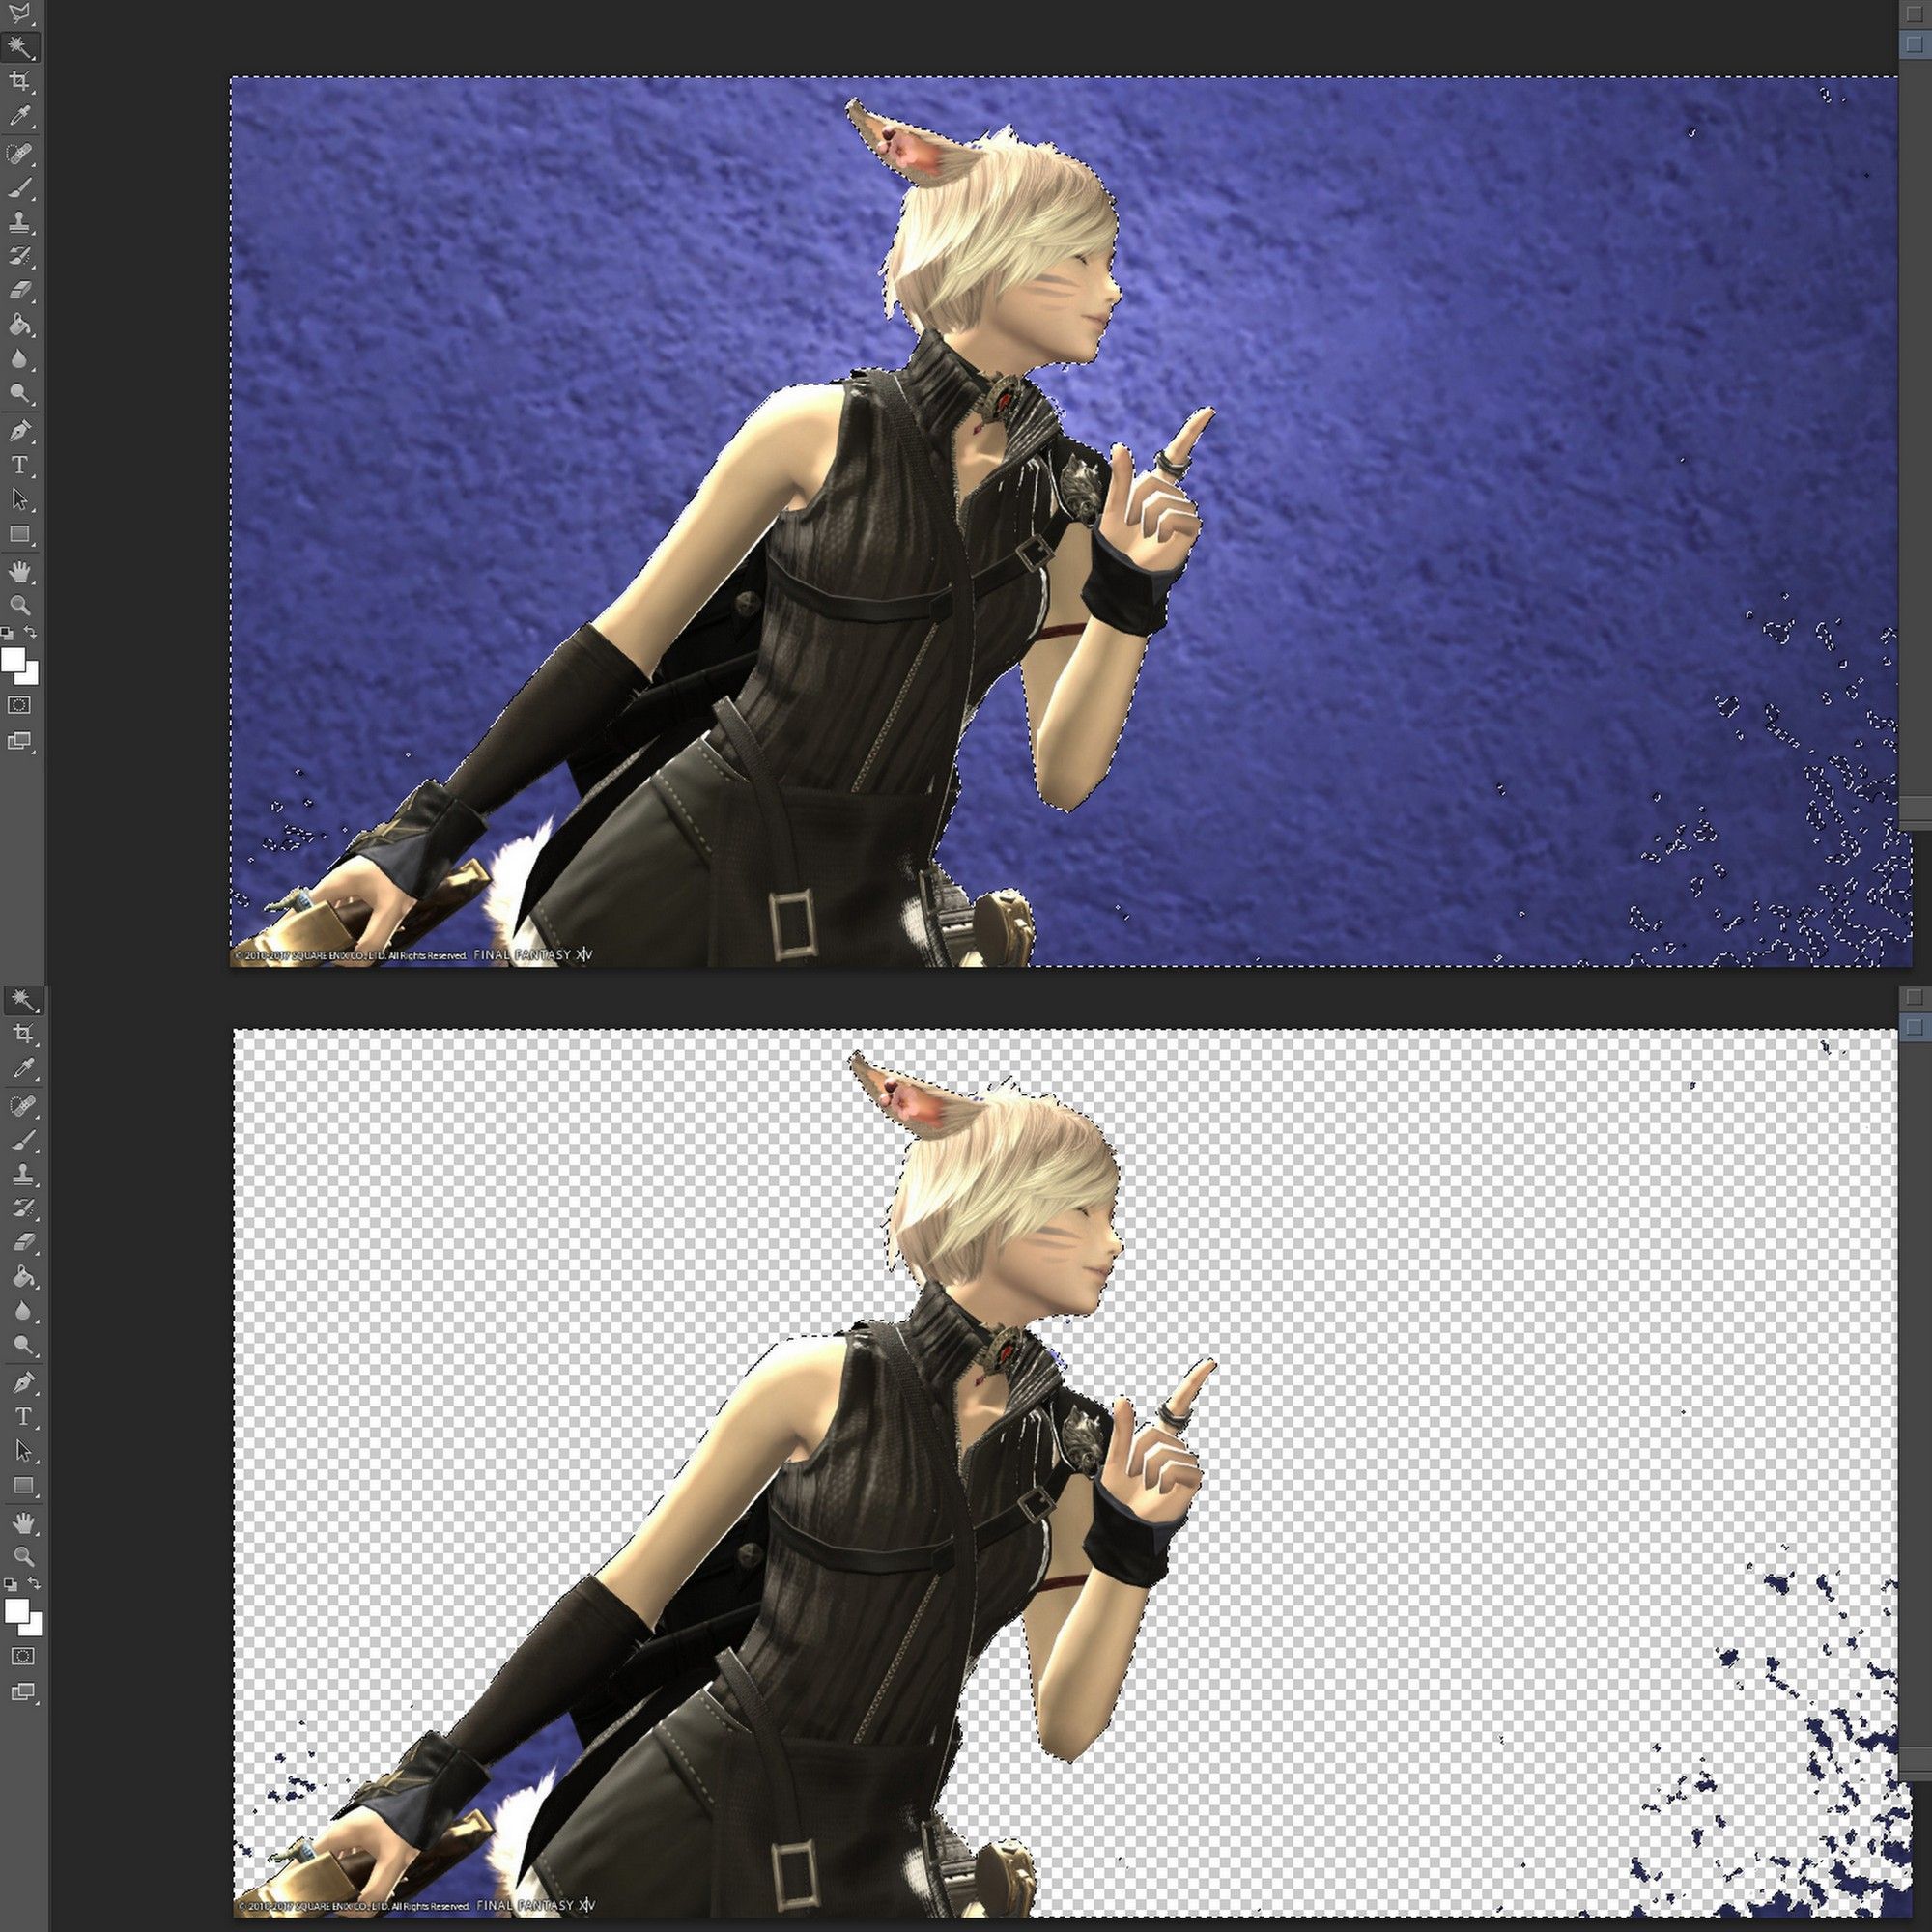 Click to enlarge.[/caption]
[caption id="attachment_121176" align="aligncenter" width="560"]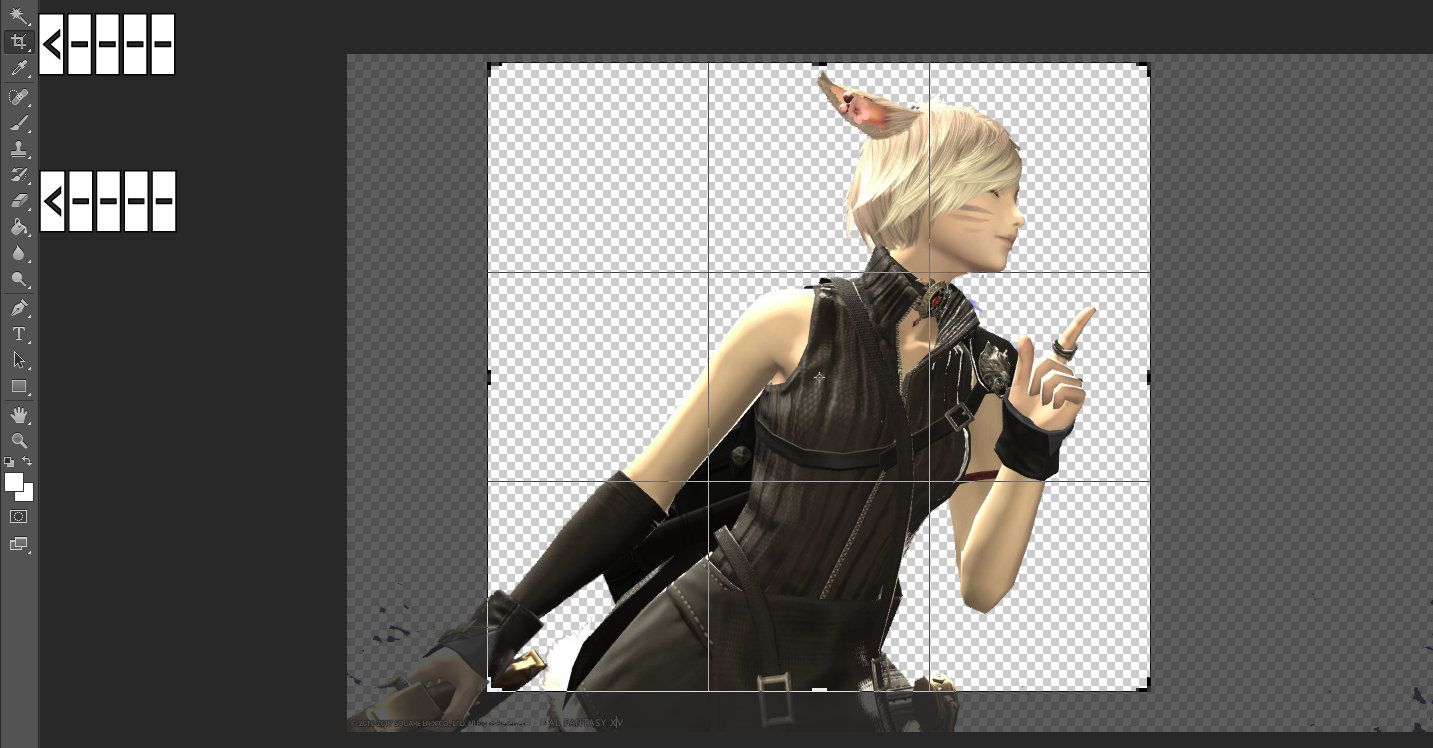 Click to enlarge.[/caption]
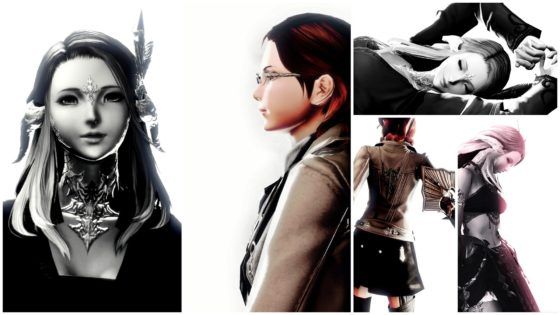
You can now freely edit the image or drag it onto any other background you wish! If you are feeling very adventurous you could even match the front facing light color with one of the elements of the image you will be placing this on top of. For example, I could (should) have used a pink lighting source on the image below to match the character into the image.
Save the image as both a .PSD (just to be safe and to retain quality if you wish to re-edit later) and a .PNG. The .PNG file will also not save any background information, therefore you can place that image over the top of any other image.
Krita
Krita is an excellent, free editing tool and can be downloaded here.
“Krita is a FREE and open source painting tool designed for concept artists, illustrators, matte and texture artists, and the VFX industry. Krita has been in development for over 10 years and has had an explosion in growth recently. It offers many common and innovative features to help the amateur and professional alike.”
[caption id="attachment_121173" align="aligncenter" width="560"]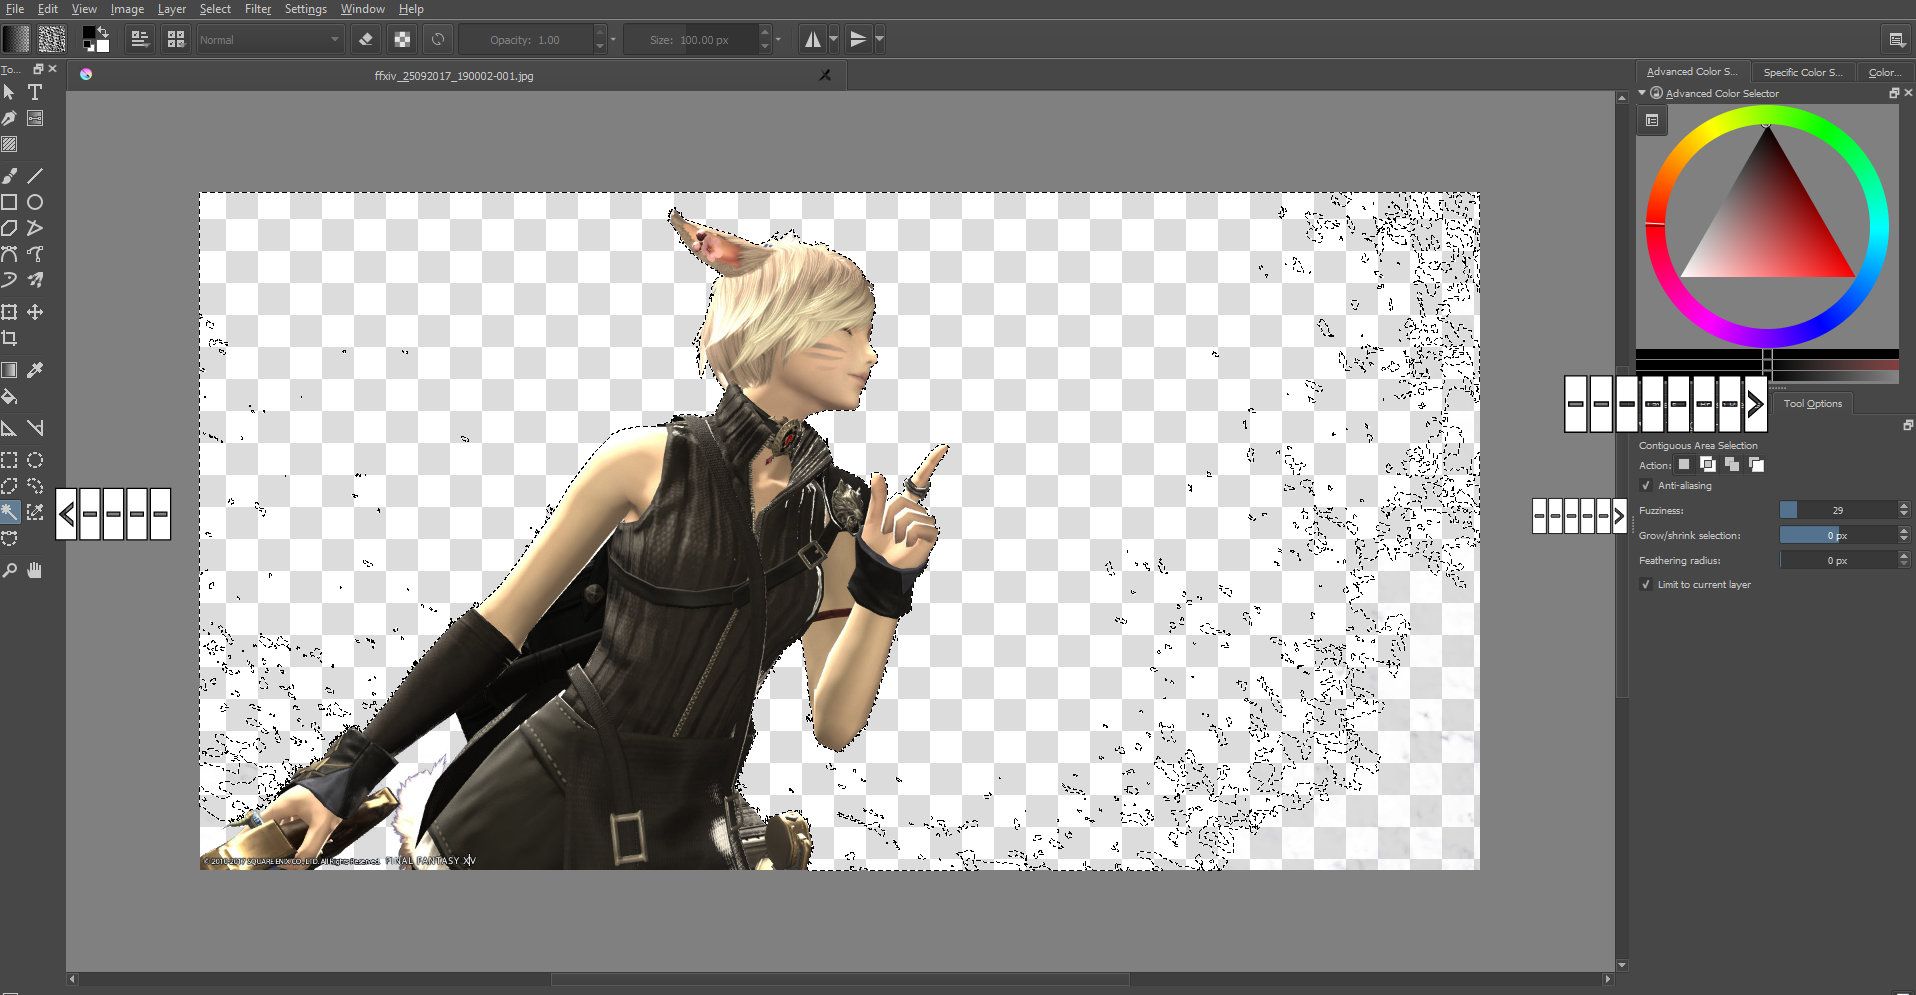 Click to enlarge.[/caption]
The layout for Krita differs a little from Photoshop as the menus are placed differently and some of the tool values are listed differently. The process remains much the same as the one shown in the video, however, the settings for the magic wand tool can be found on the far right-hand side under the ‘tool options’ tab. The setting you want to pay most attention to here is ‘fuzziness’.
[caption id="attachment_121172" align="aligncenter" width="560"]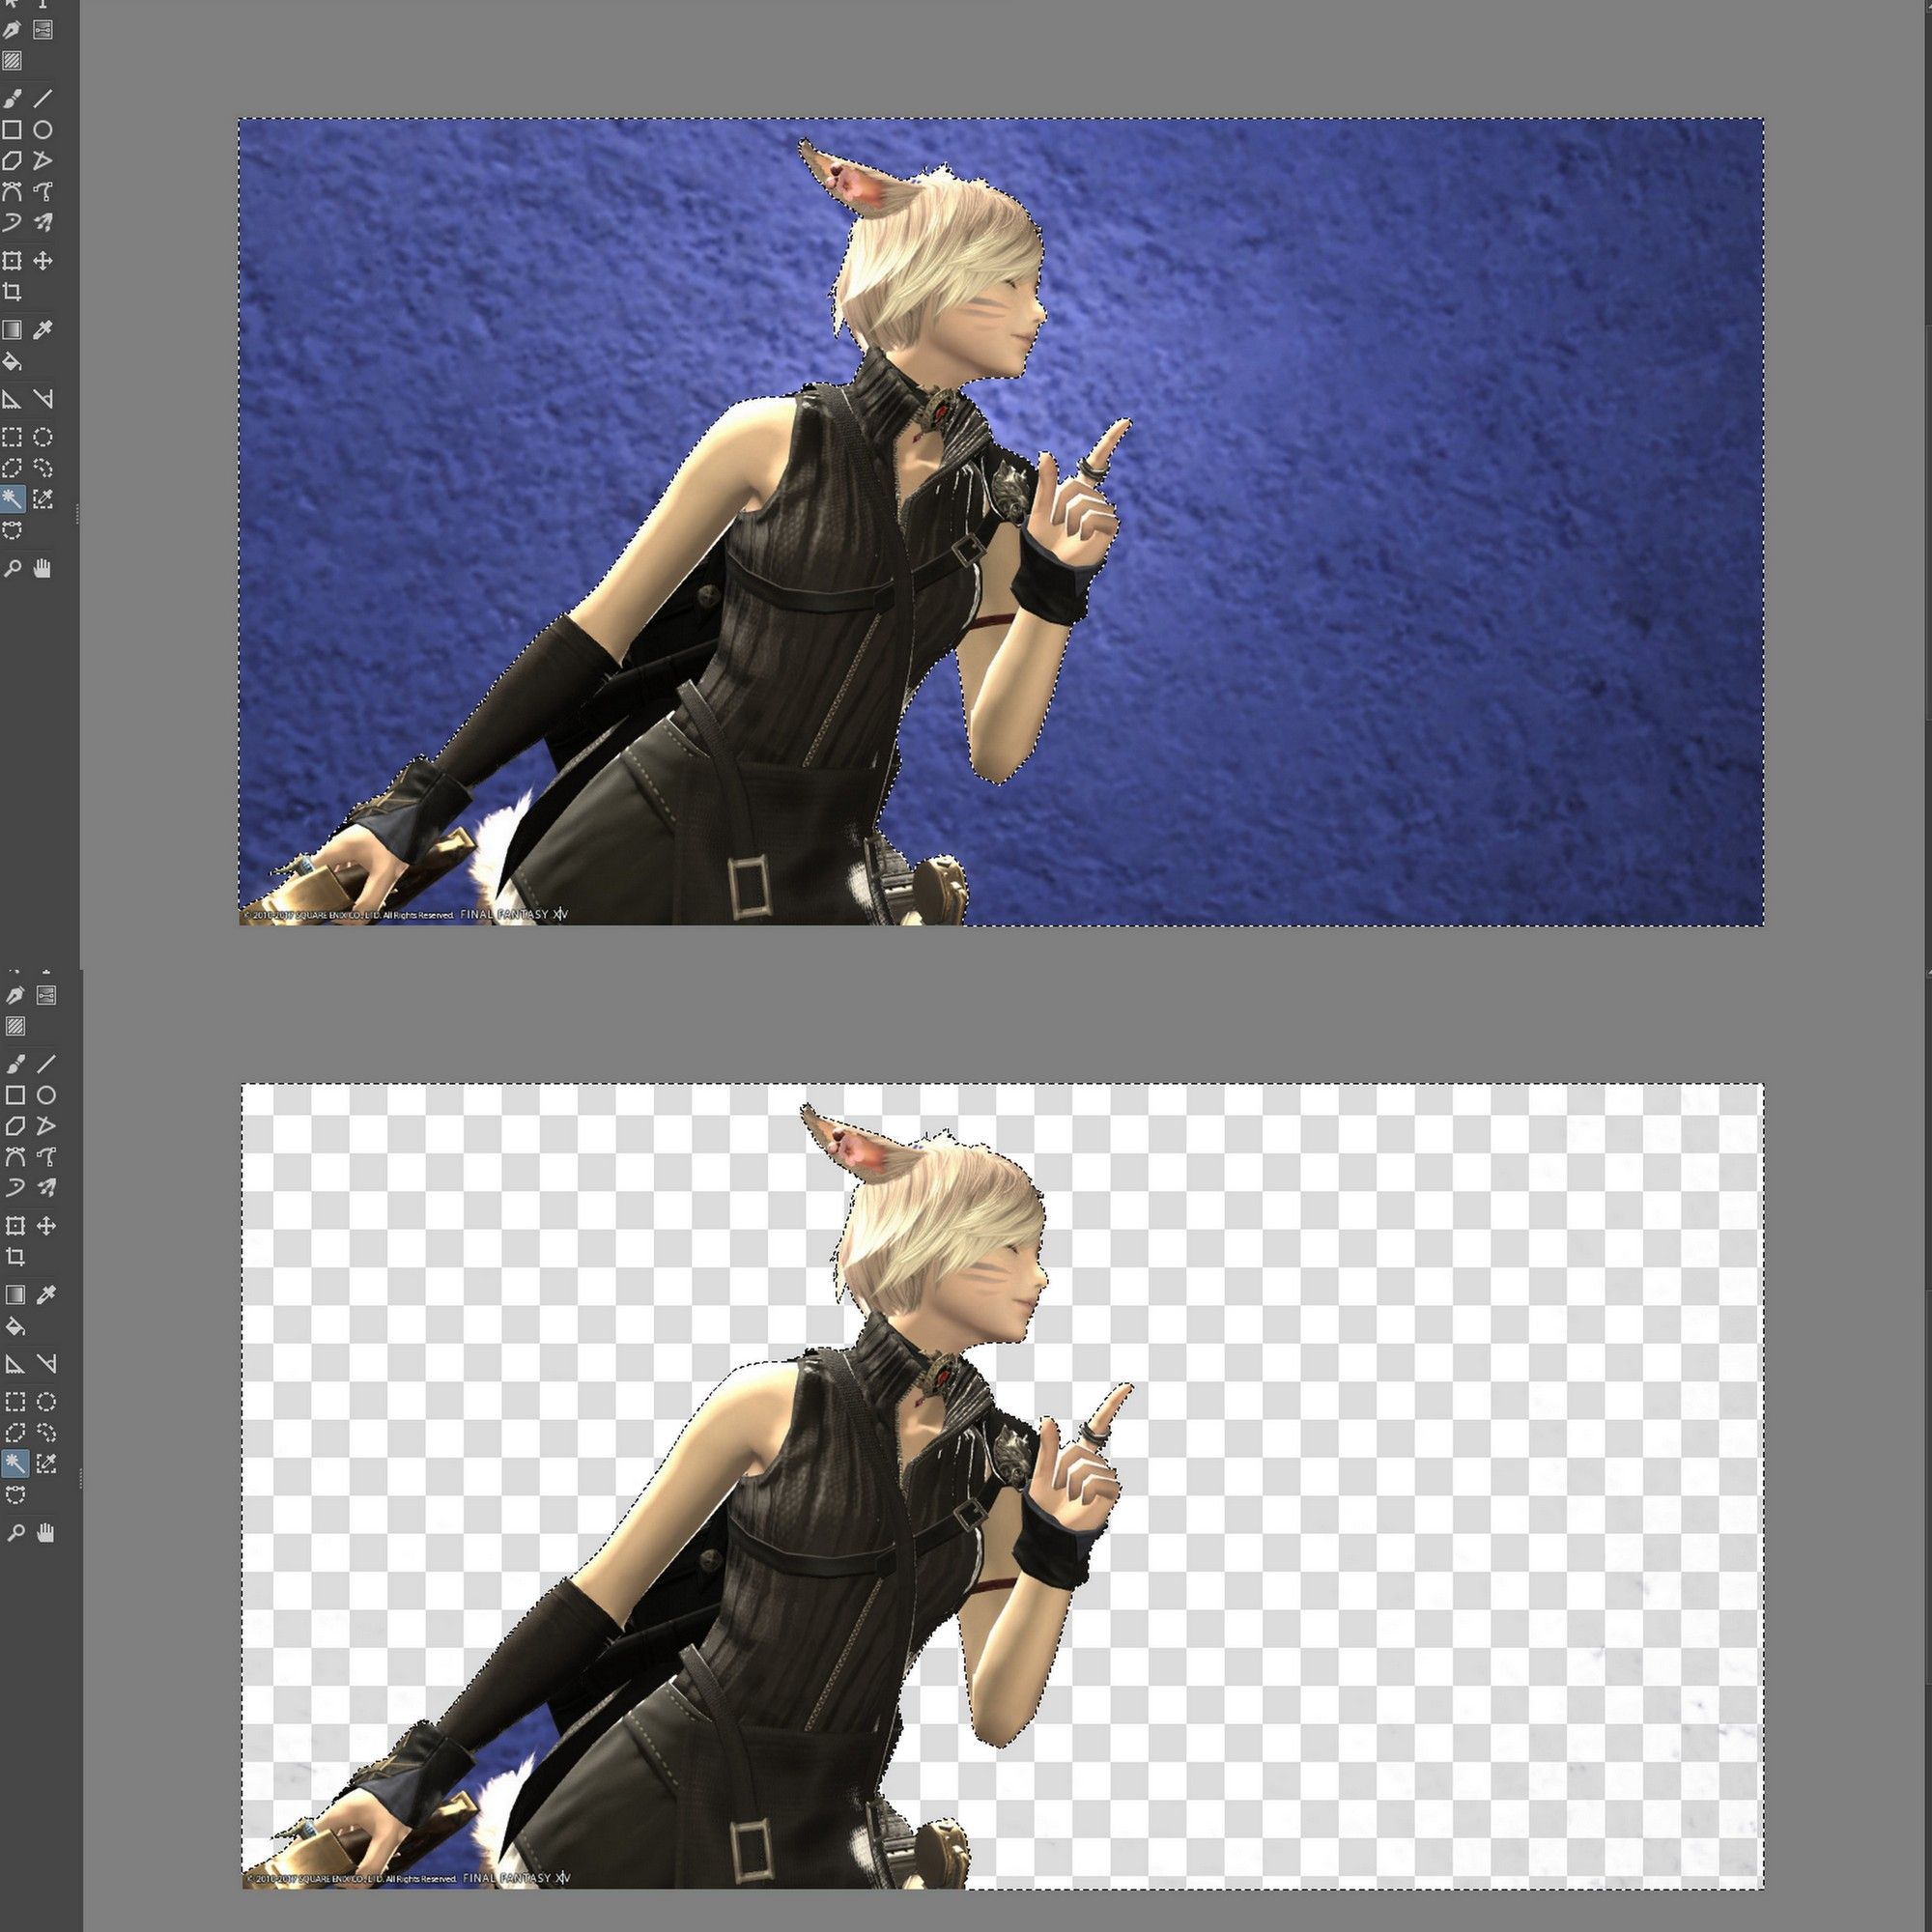 Click to enlarge.[/caption]
If you don’t have access to Photoshop then this is a valuable alternative. Not only is it free but the magic wand tool within Krita worked far better than expected, better even than Photoshop (you can see by comparing the selection). Krita is primarily a digital drawing program but it can be used in place of Photoshop for so many things!
Pixlr
Pixlr is a browser-based editor and can be found here.
"Pixlr Editor is a robust browser photo editor, for all your editing needs. Have full control over your images, including layers and effects."
Pixlr has a lovely array of free programs and apps to use, but if you don’t want to download anything then they also provide a browser-based editor.
[caption id="attachment_121160" align="aligncenter" width="560"]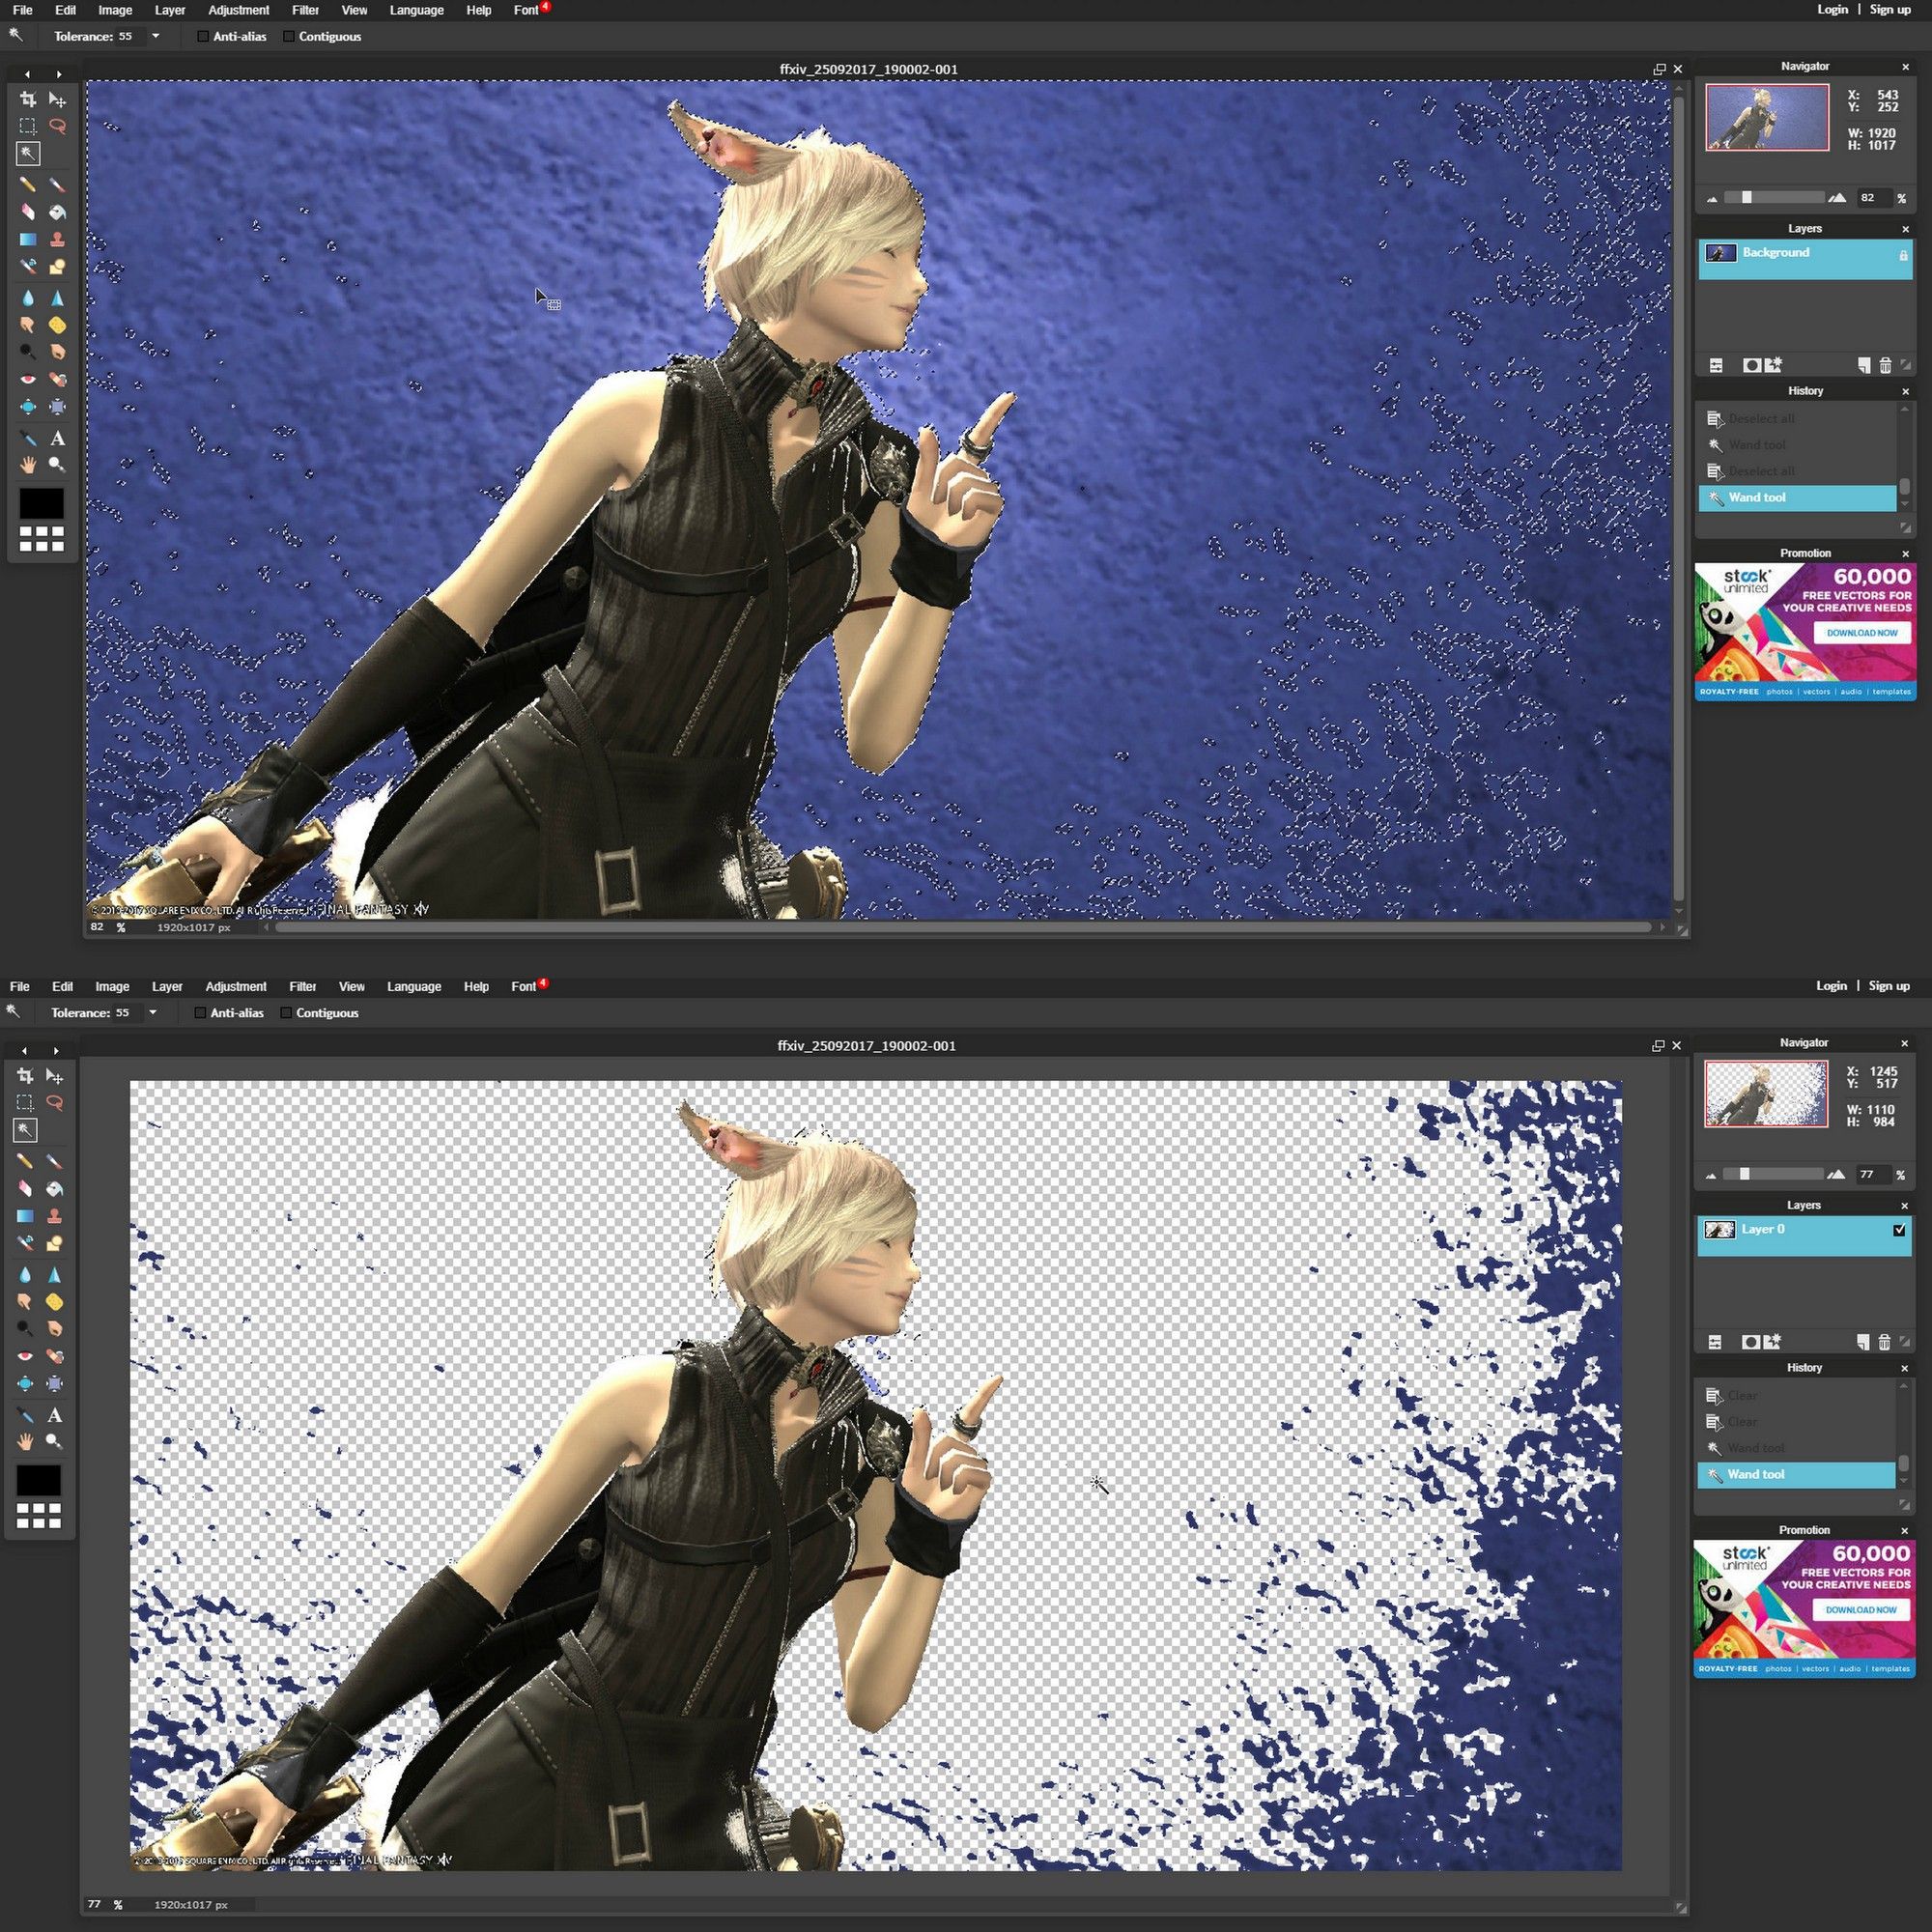 Click to enlarge.[/caption]
Be wary, it is rather slow and clunky but it can get the job done if you persist. As above, the method and tools are very similar. The magic wand has a tolerance slider on the top bar like Photoshop but the tool is harder to deselect so it is best to use the top menu and click Edit>Deselect. The right click>Deselect does not always work. I found it easier to get the right selection by unticking the anti-alias and contiguous tick boxes on the top bar.
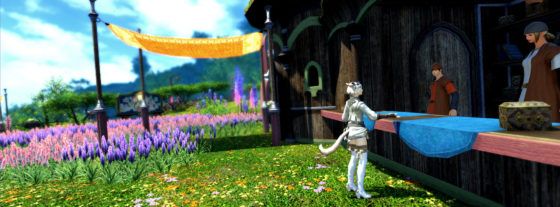
Alternative Backdrops
[caption id="attachment_121170" align="aligncenter" width="560"]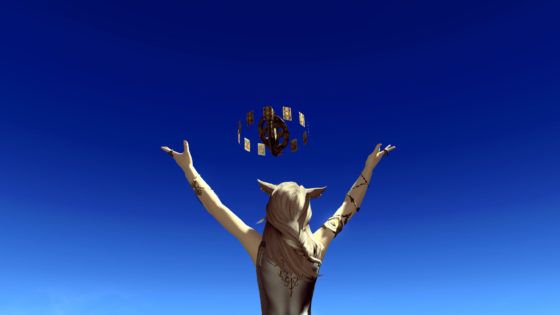 Outside Zenith.[/caption]
For those of you who don’t own or have access to an apartment, private room or house there are many alternatives within the game to use as your backdrop. The downside of outdoor screenography (I’ve decided this is now a word) is that you are reliant on weather conditions and lighting changing with the time of day. I don’t know all the best locations for screenshots, but here are a few to keep in mind.
Kugane - Sekiseigumi Barracks - white backdrop.
Sea of clouds - blue sky background
Dravanian Highlands - Zenith - blue sky background (featured in the screenshot above).
Coerthas - Behemoth’s Dominion during daytime - white background.
[caption id="attachment_121171" align="aligncenter" width="560"] Coerthas.[/caption]
Of course, if you wished, you could combine this with ReShade to make things look a little fancier.
"ReShade is an advanced, fully generic post-processing injector for games and video software developed by crosire. Imagine your favorite game with ambient occlusion, real depth of field effects, color correction and more … ReShade exposes an automated and generic way to access both frame color and depth information (latter is automatically disabled during multiplayer to prevent exploitation) and all the tools to make it happen."
Here are some examples of combining the two:
Reshade install guide and information can be found here.
There you have it!
Thank you all for reading this GPose studio guide! I know the lighting is not a perfect science and some poses can make it more tricky but hopefully I've explained this in a way that it makes sense. If you have any questions, advice or comments please don’t hesitate to get in contact either through here, Anook or Twitter.
