
Earlier in May we discussed the Group Pose utility (more commonly known as GPose) at length in Echoes of Eorzea, and went through all the features available at that time, with a very brief look at upcoming additions. Now that Stormblood is well and truly here, we are finally able to take a look at the new 4.0 Gpose features in practice and see how we are able to better our in-game photography with these additions. None of the screenshots in this article will have any post processing used aside from one image relating to the green screen.

What’s new in 4.0?
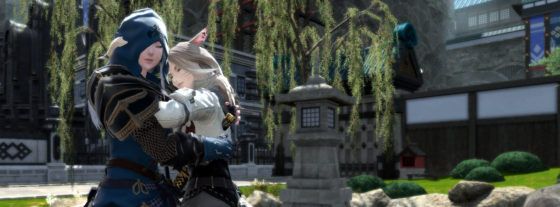
Additional action support:
Yey, I can finally pause all my attacks and abilities!
The GPose tool will remember any actions used directly before entering Group Pose, and these will be repeated until you pause them. Don’t forget that you can also set your facial expression in addition to the action. Test this out by finding a training dummy and using some of your job abilities, then enter /GPose.
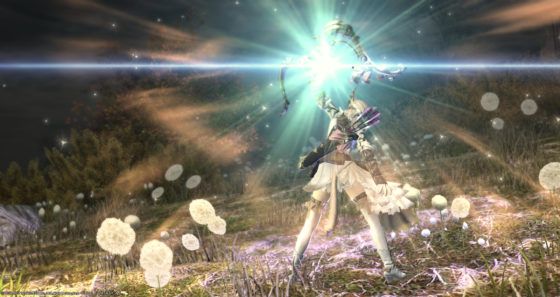
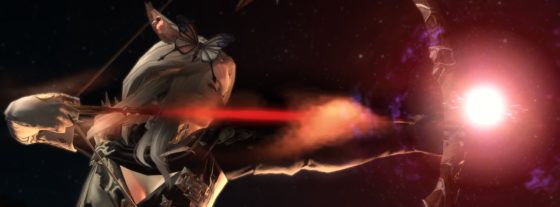
This new feature can be used very extensively as each individual, intricate movement can create such a variety of poses or effects to choose from. I can't possibly show you all the potential screenshots, however, I have managed to rein myself in and just place a few here.
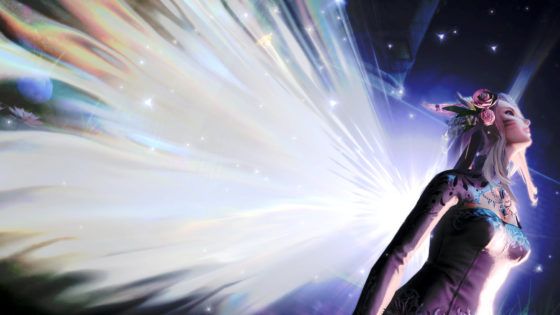
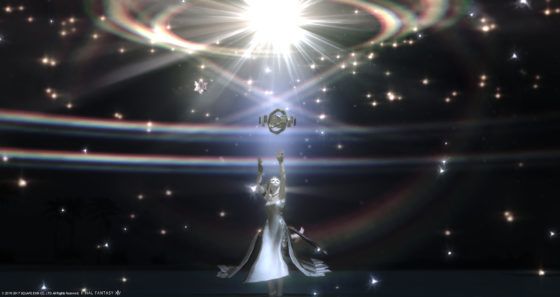
Additional actions include: limit breaks, mount actions, consumables such as champagne bottles or the wedding wings! Maybe now we can get a nice screenshot with those one thousand Lominsan Sparklers that pour out of PotD!
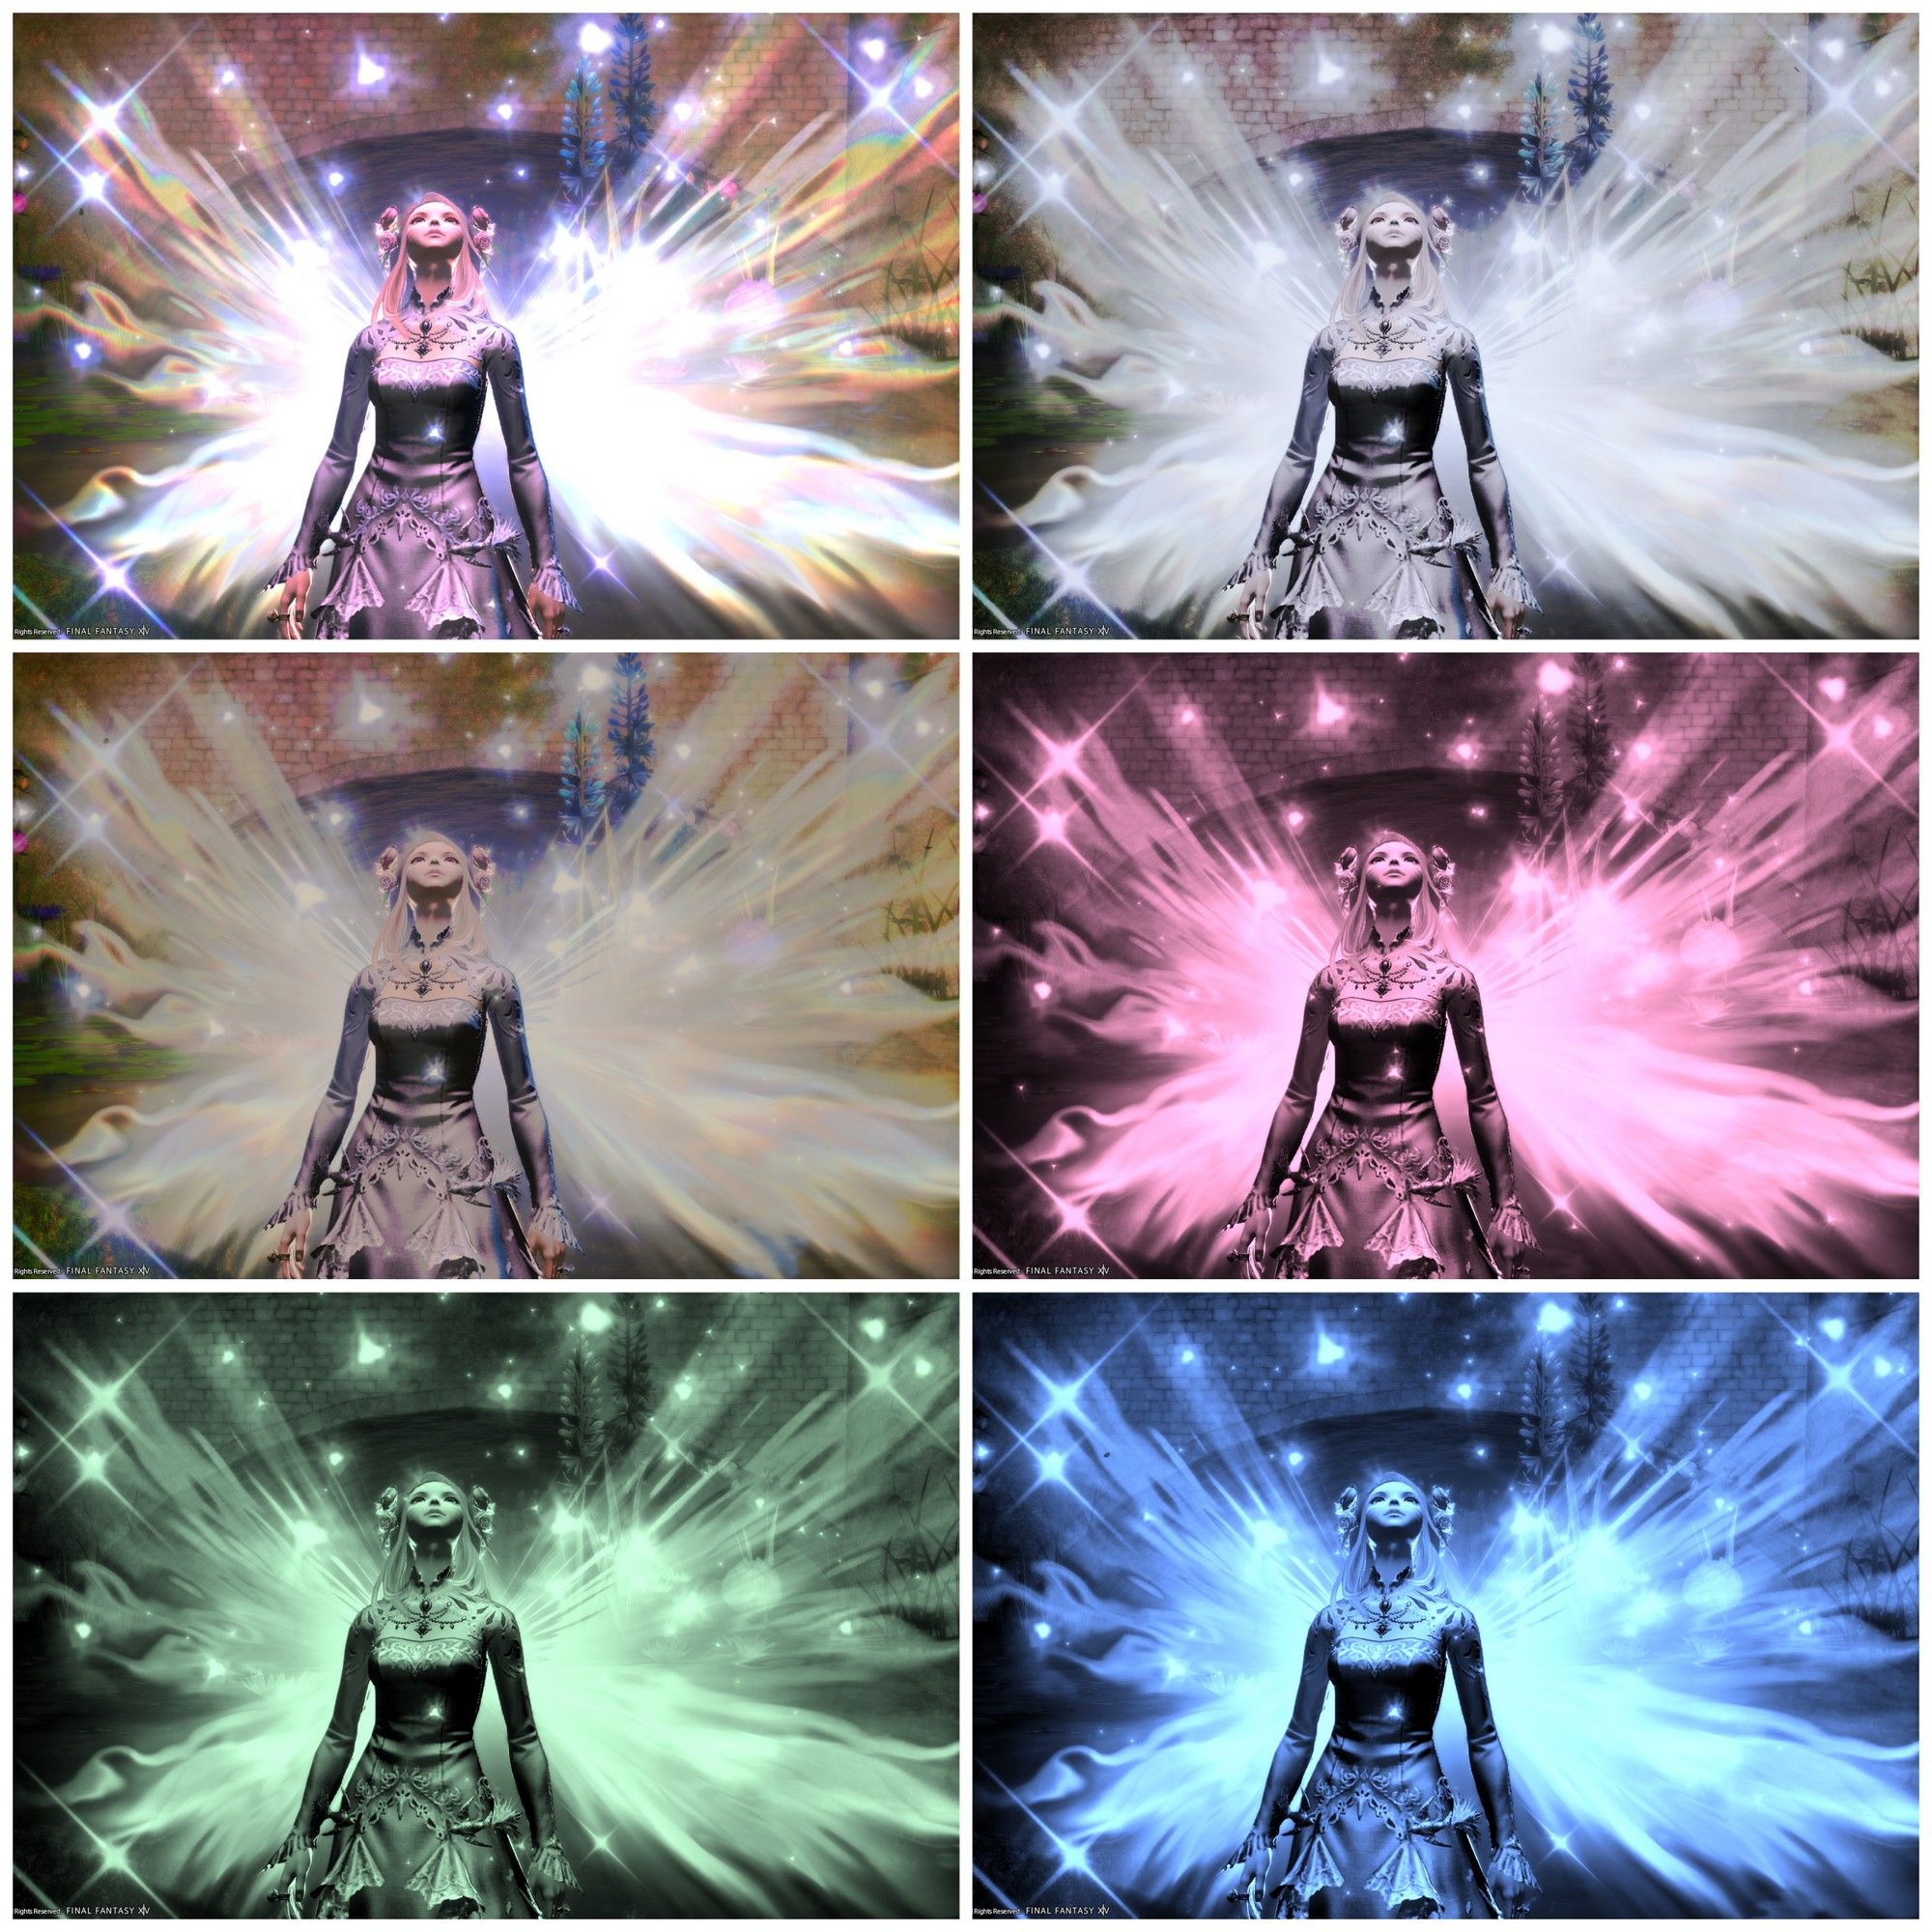
New Filters:
Bright 4, Pastel 3, Colored Marker 2, Monotone 1-3.
 Click to enlarge.
New Screen Effects:
Frosted Glass, Construction Paper, Polka Dot 2, Pencil 1-2, Particle, Sakura. Particle is by far my favorite addition to the screen effects category. It adds a magical touch to every screenshot.
[caption id="attachment_79947" align="aligncenter" width="560"]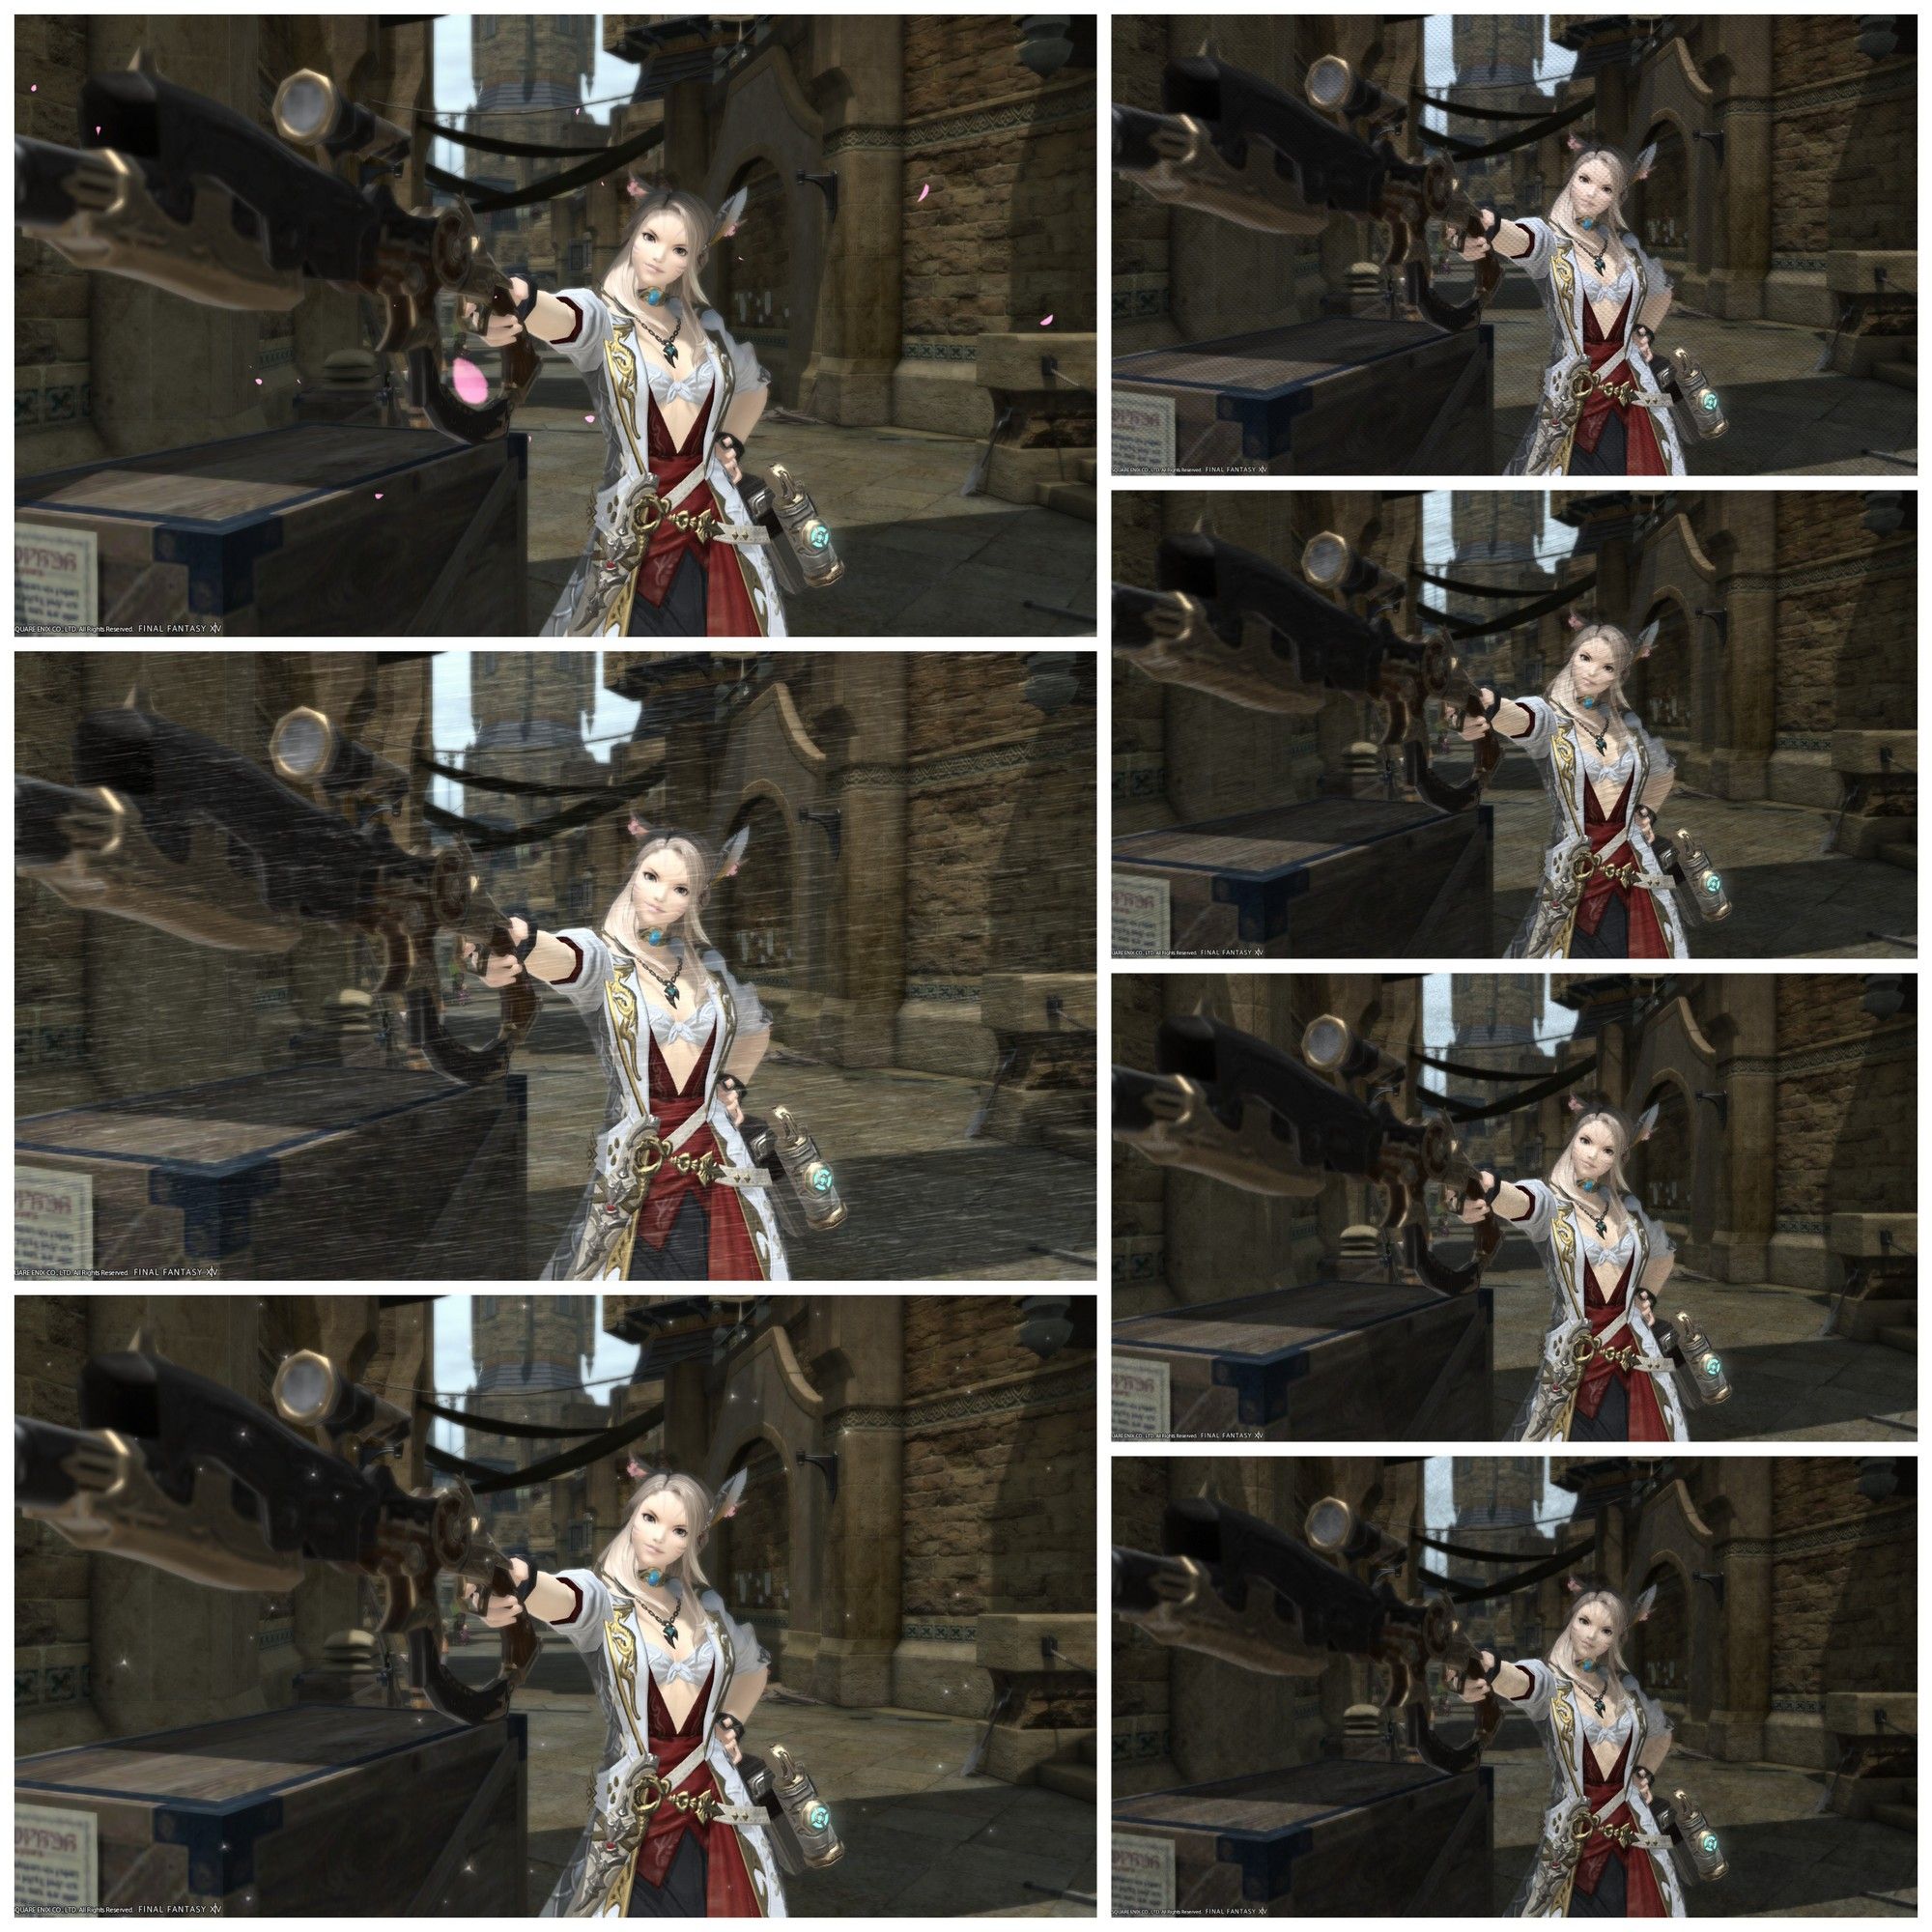 Click to enlarge.[/caption]
New Picture Frames:
Instant Camera, Ukiyo-e, Ornamental Borders 1-2, Wall Frame, Cinema.
[caption id="attachment_79953" align="aligncenter" width="560"]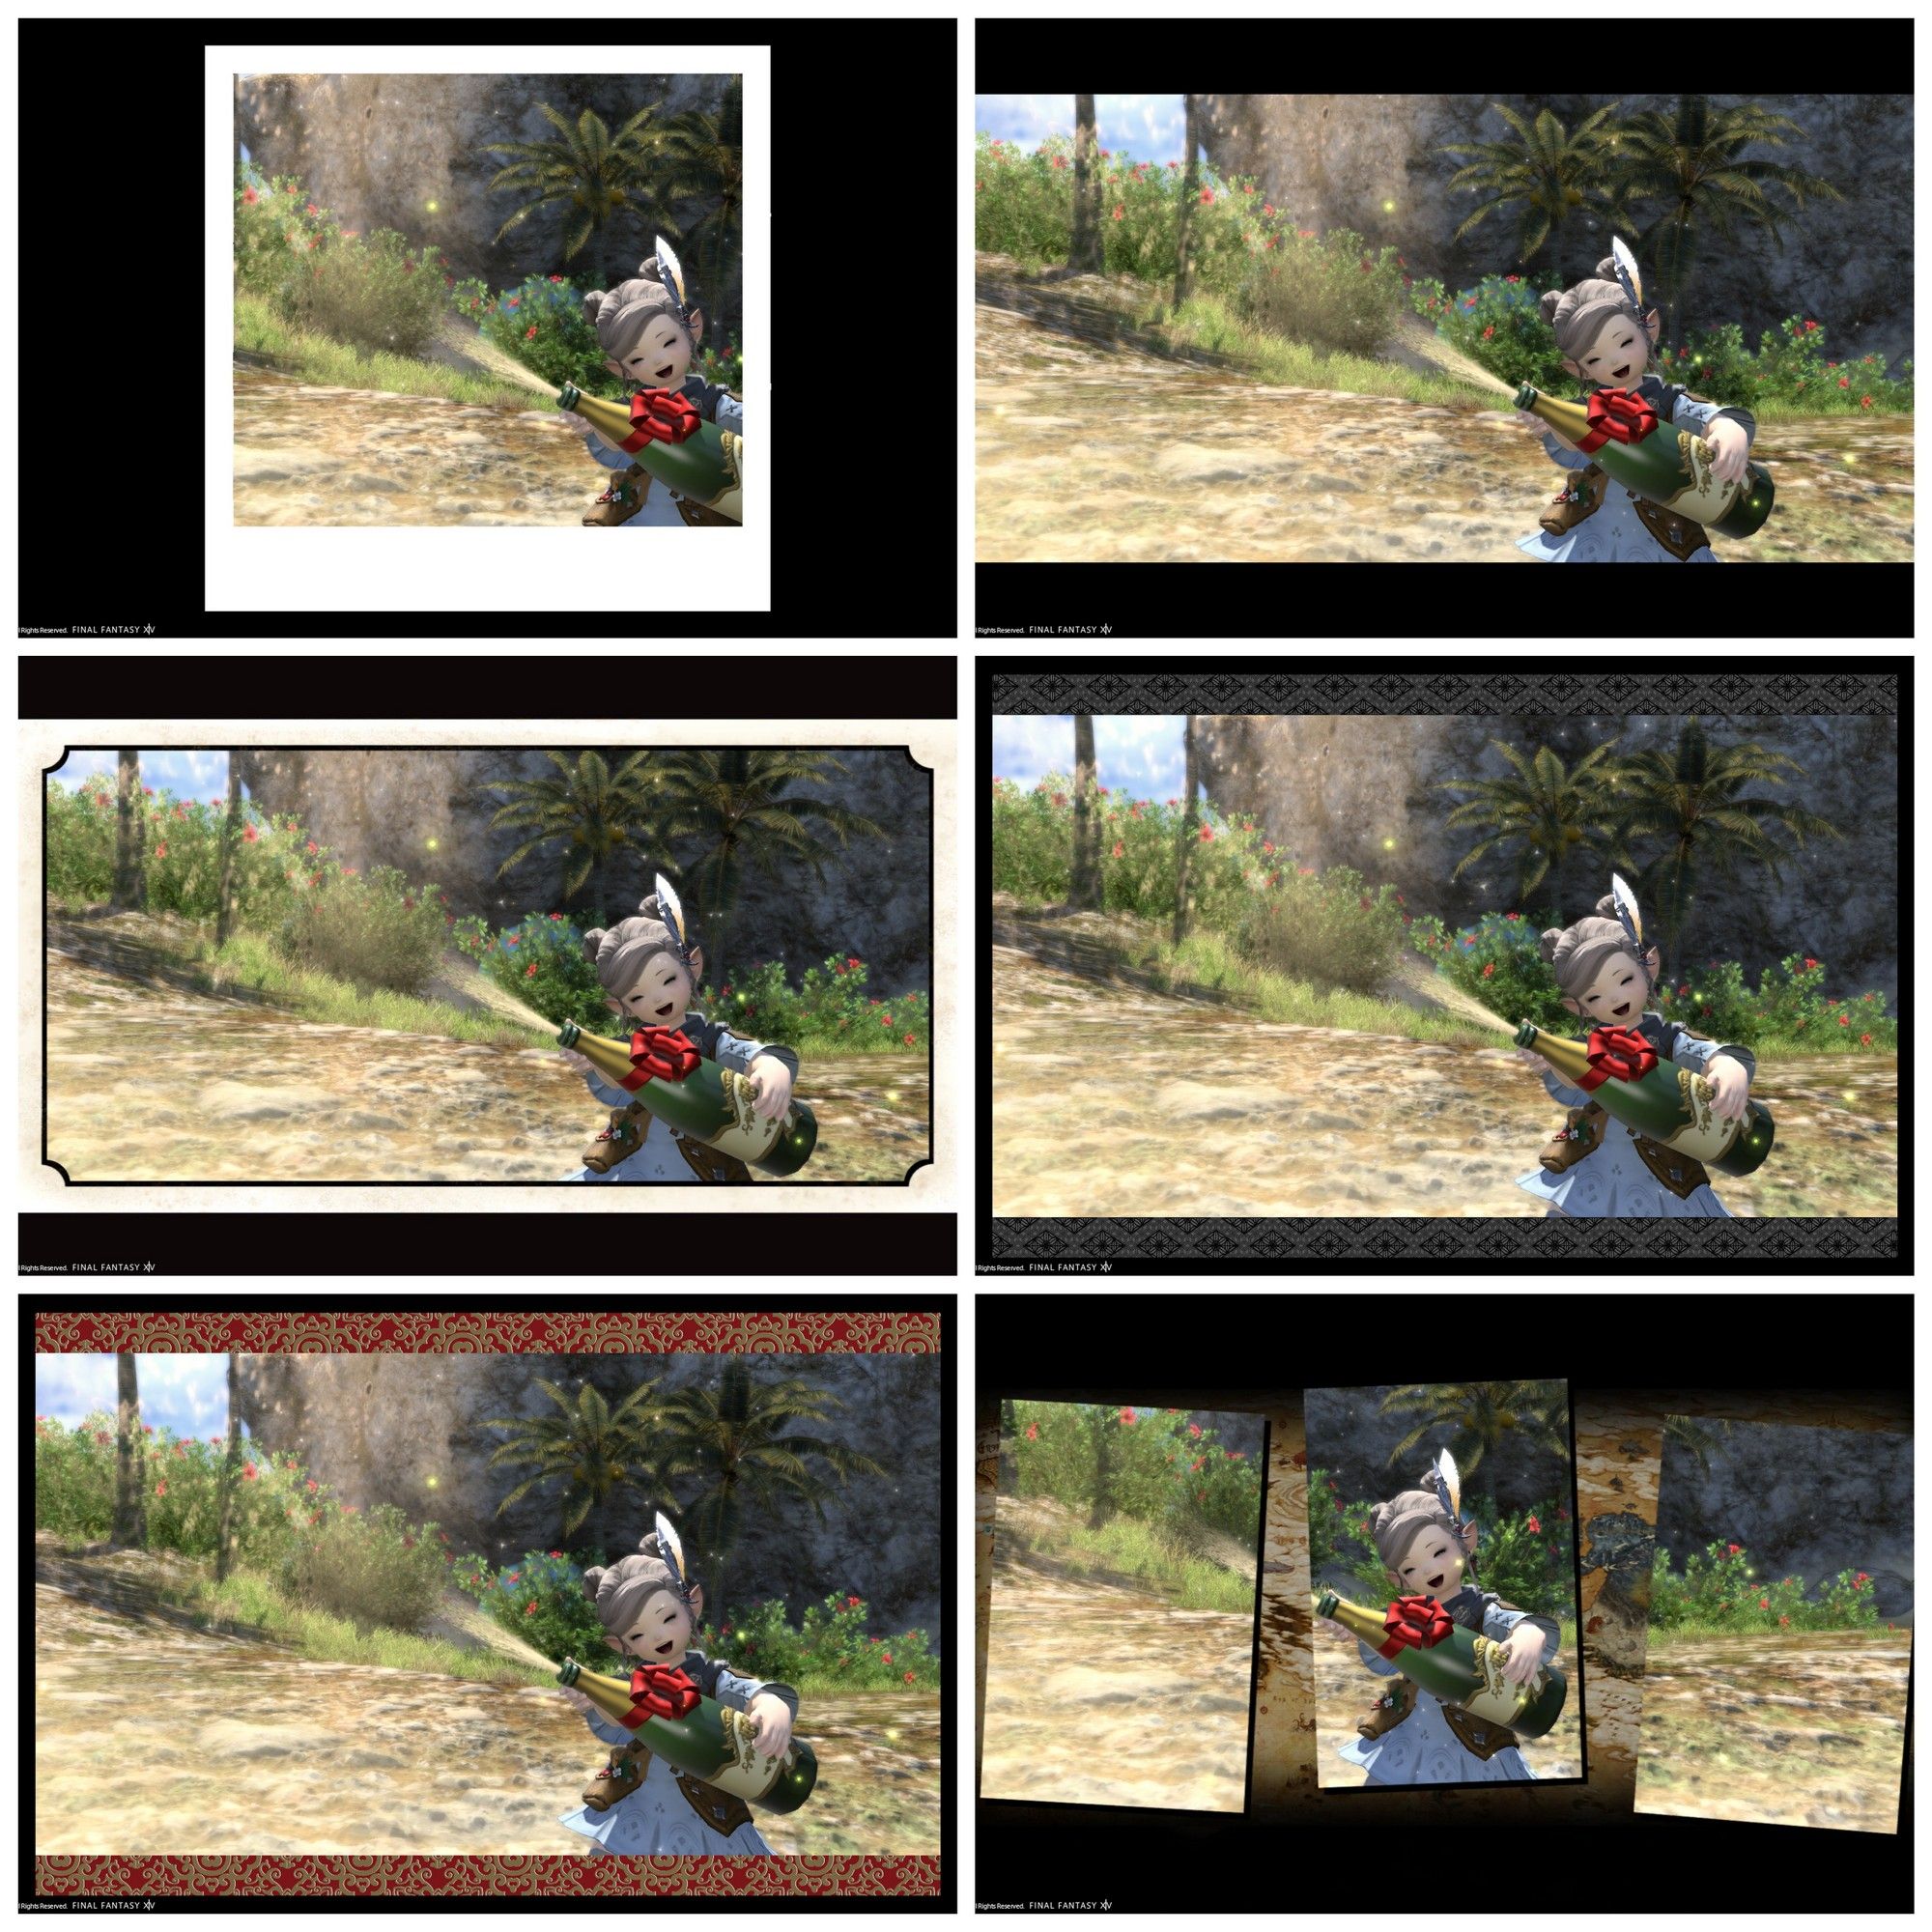 Click to enlarge.[/caption]
Motion/Subject Toggle:
This appears to enable you to toggle on and off to opt in or out of Gpose saving your last battle action.
Screenshot Tips
Depth of Field [DoF]
In regards to photography, this is defined as the distance between the nearest and the furthest objects, giving a focused image at a selected point.
The DoF tool within FFXIV’s GPose interface can be tricky to work with and it’s not a perfect example of true depth of field. Usually, it blurs the background allowing higher definition for the foreground. It struggles because you have the ability to ‘place’ the camera at certain angles and distances, yet it remains tethered to your character. Having a zoom function which is independent of the tether point throws the DoF a little out of whack. If you have an object or another person slightly closer to the camera, you can reduce the blur by sliding the DoF up to 10. The higher the number, the closer the focus object is.
[caption id="attachment_79967" align="aligncenter" width="560"]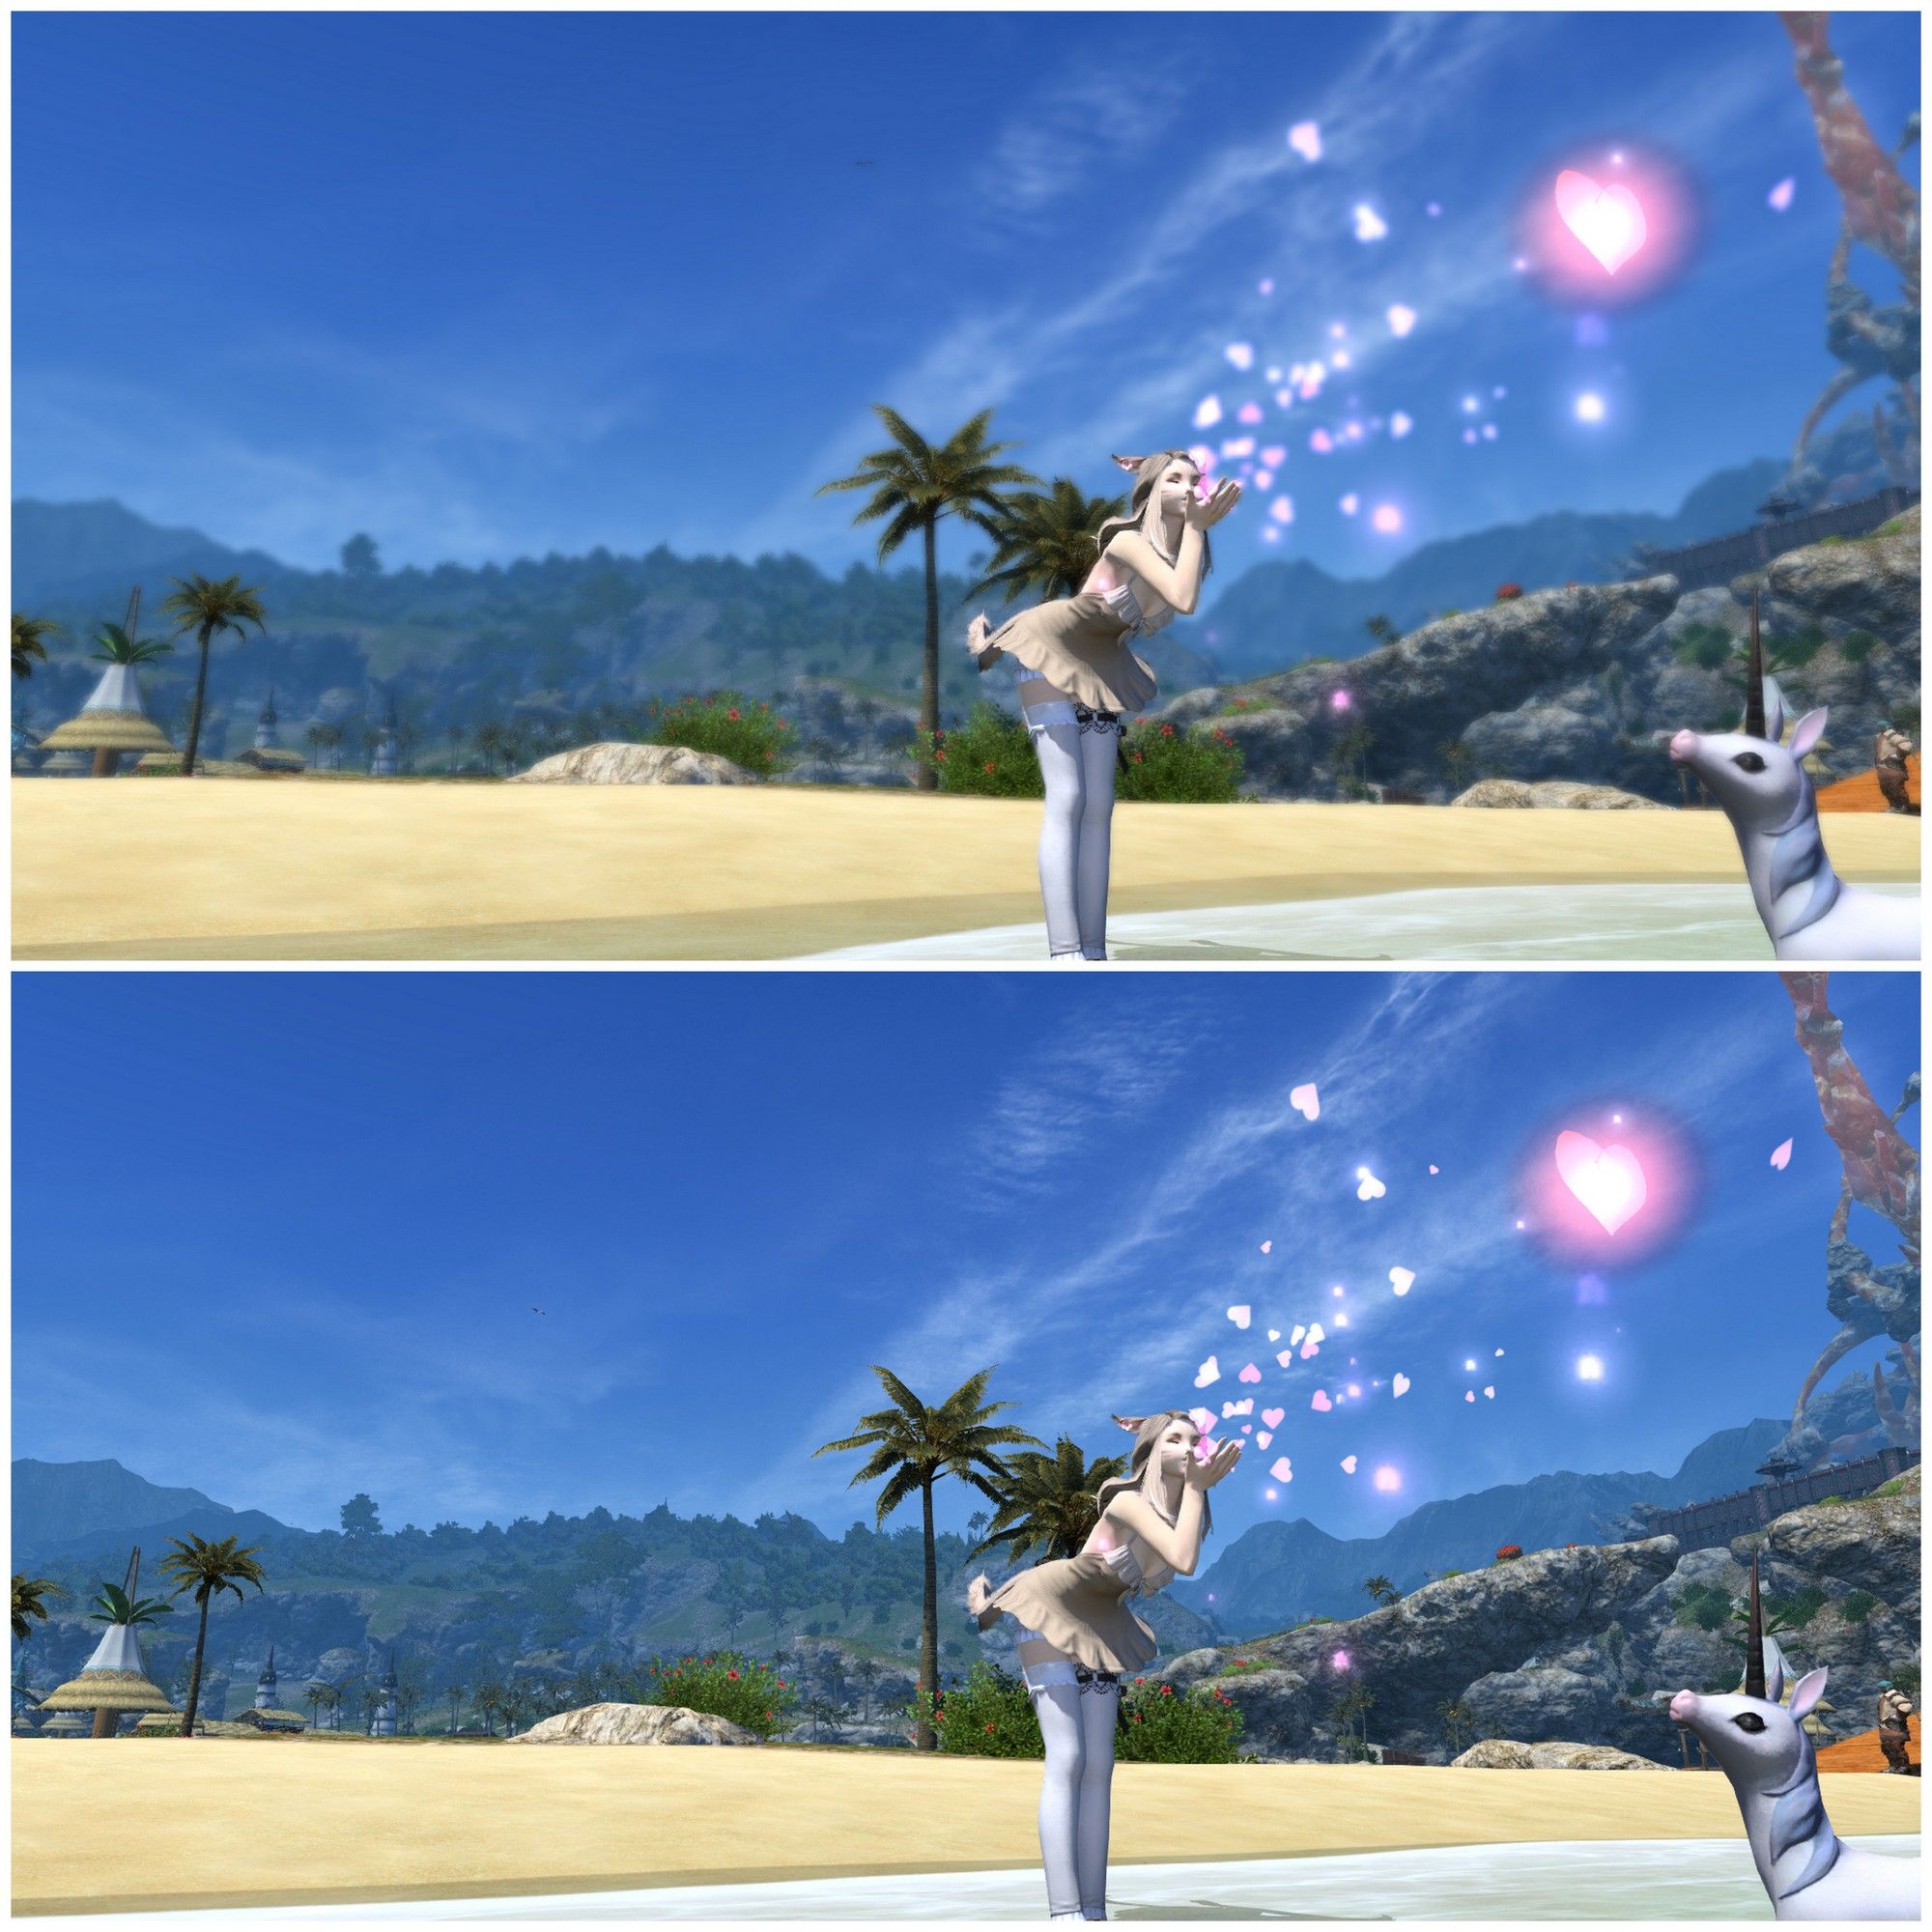 Click to enlarge. Upper: DoF enabled. Lower: DoF disabled.[/caption]
The blur is especially noticeable when having multiple characters in the photo, however, the DoF setting can occasionally soften the image very nicely, even if not always in the way intended.
Tilting & Framing
By spending a little extra time thinking about the composition of the image, vast improvements can be made across the board. Not only can it draw the eye, creating attraction and interest to a certain element of the image, but it can change its entire look and feel. Try not to over clutter a screenshot or add too many effects, it may end up drawing too much attention away from your central subject and create clashes.
[caption id="attachment_79968" align="aligncenter" width="560"]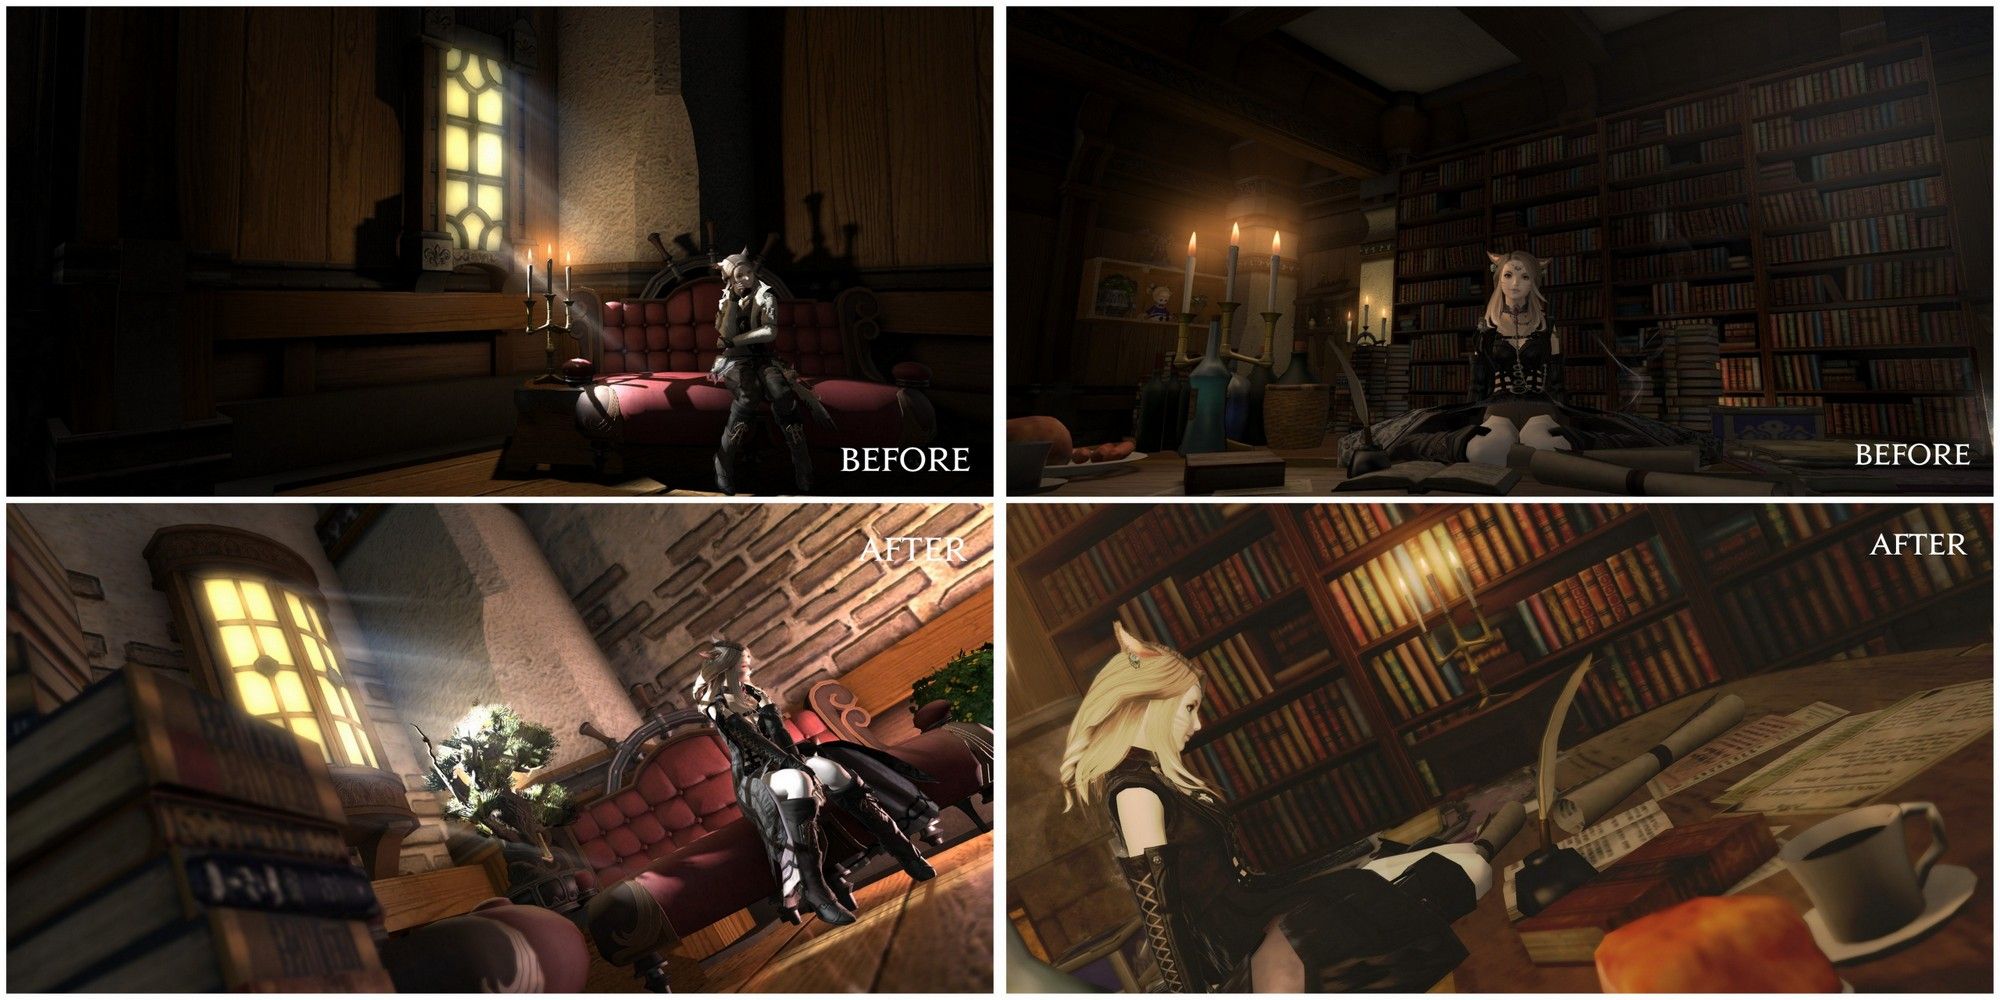 Click to enlarge.[/caption]
Swing the mouse around and spin the scroll wheel, this helps to get a visual idea of what the image could look like from many angles.
Try out portrait as well as landscape, both work!
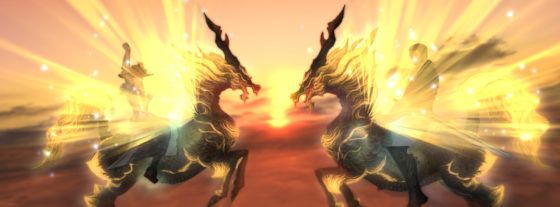
Lighting
In most photographic scenarios, lighting is key and the same can be said for screenshots. Once again this can draw attention to a part of the image you wish to highlight or feels prominent, or can create a particular mood or enhance an atmosphere. To create more definition around your character with the lighting options, try placing them behind and either lower or higher than the character. Spell effects cause the lighting to behave a little differently so keep adjusting it until you are happy.
Backdrop
Try to diversify your images by using a variety of locations. If you need any ideas, take a look around the housing areas or open houses. There are some very talented and creative people about and these environments can make for pretty backdrops.
Dungeons are also amazing places to take screenshots. If you are lucky you will have those with you that won't mind you slipping in and out of Gpose now and then (if possible!) to try and get some special battle shots. If it’s a PuG make sure to ask them if they're okay with it beforehand!
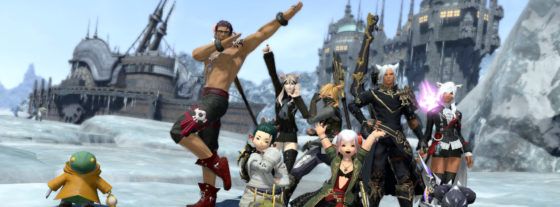
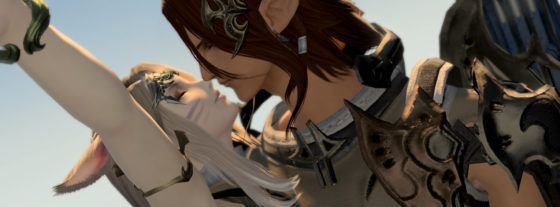
Group Shots
There are no two ways about it, a photographer cannot be shy! You must instruct your group and tell them very clearly where you want them to be or what you want them to do. If they have free reign on emotes then set the timer to let them know when you are entering GPose.
High Contrast
In dark areas like caves you can create more dramatic images by placing light sources directly behind and down from the subject, creating a high amount of contrast. Some of the filters can also increase the contrast and make the image more visually pleasing so don’t forget to have a flick through. In the image below Novi is standing by a white wall which crevices have been evened out by the high contrast of the image. Lights have been placed behind and in front of her with the addition of the monochrome filter.
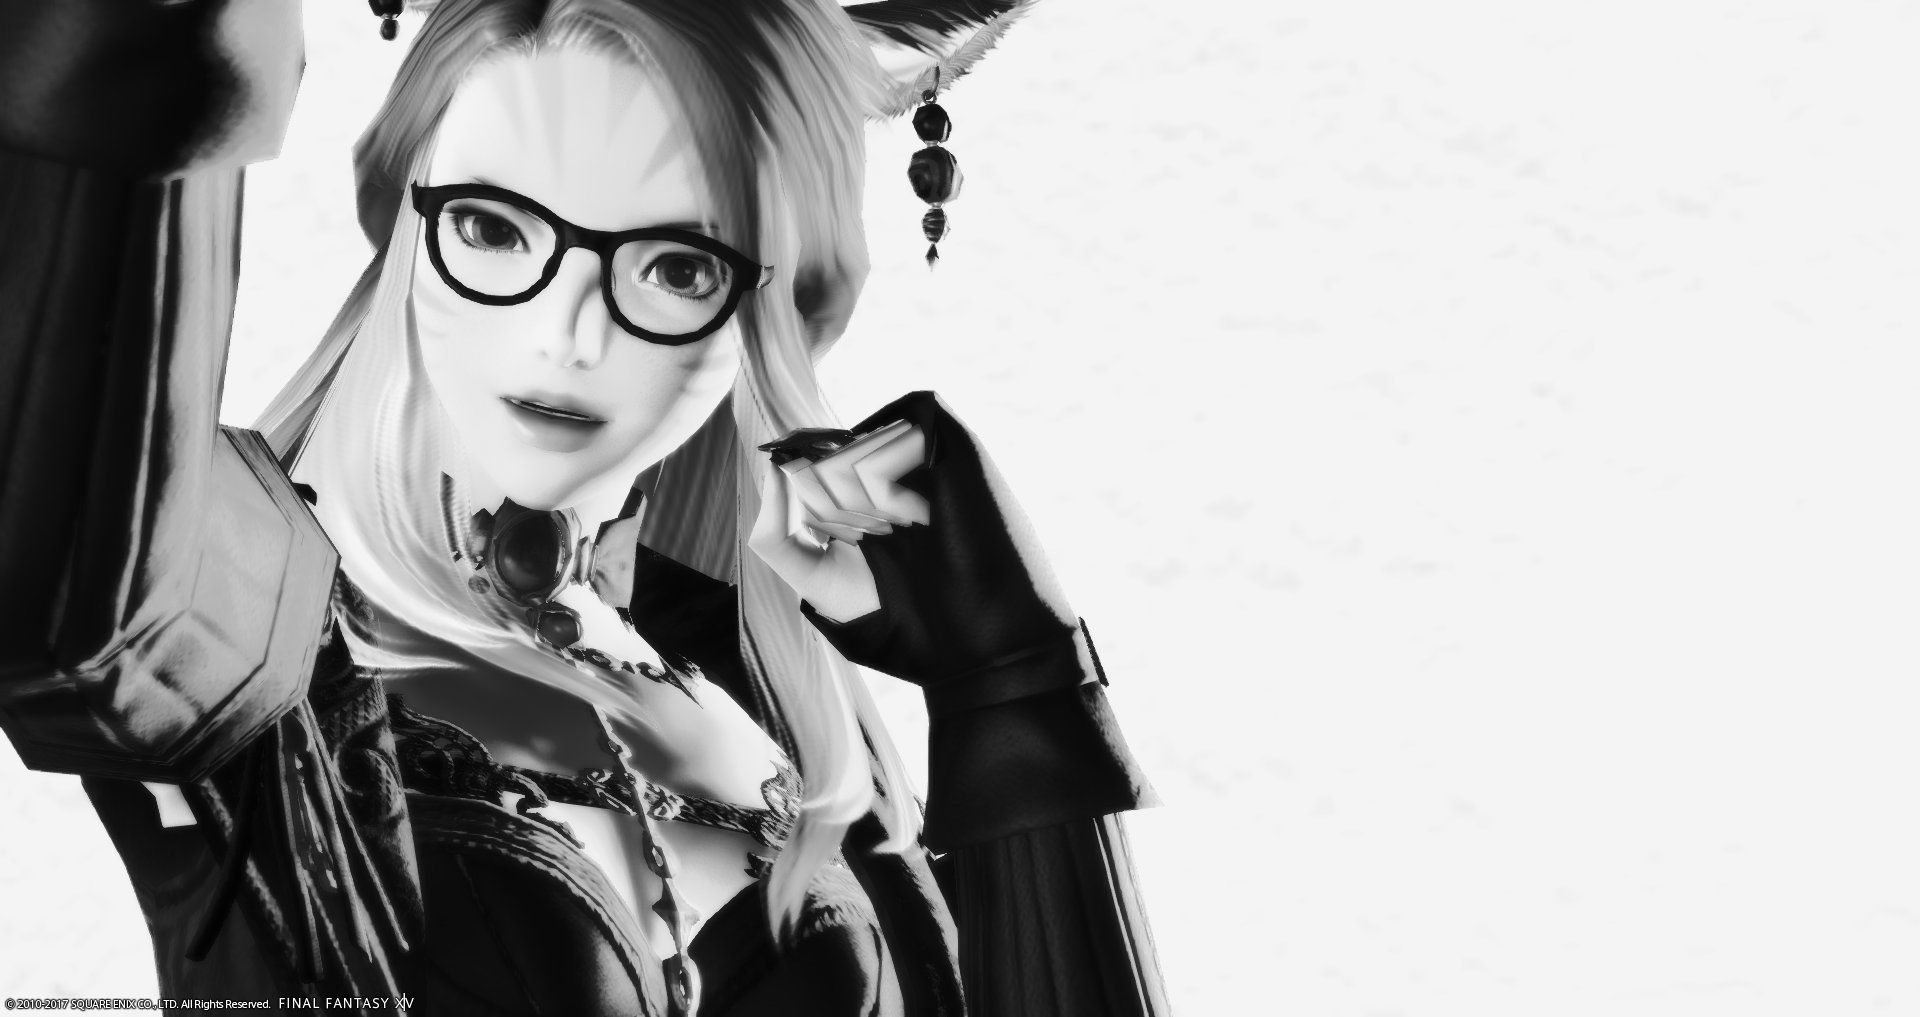
[caption id="attachment_79946" align="aligncenter" width="560"]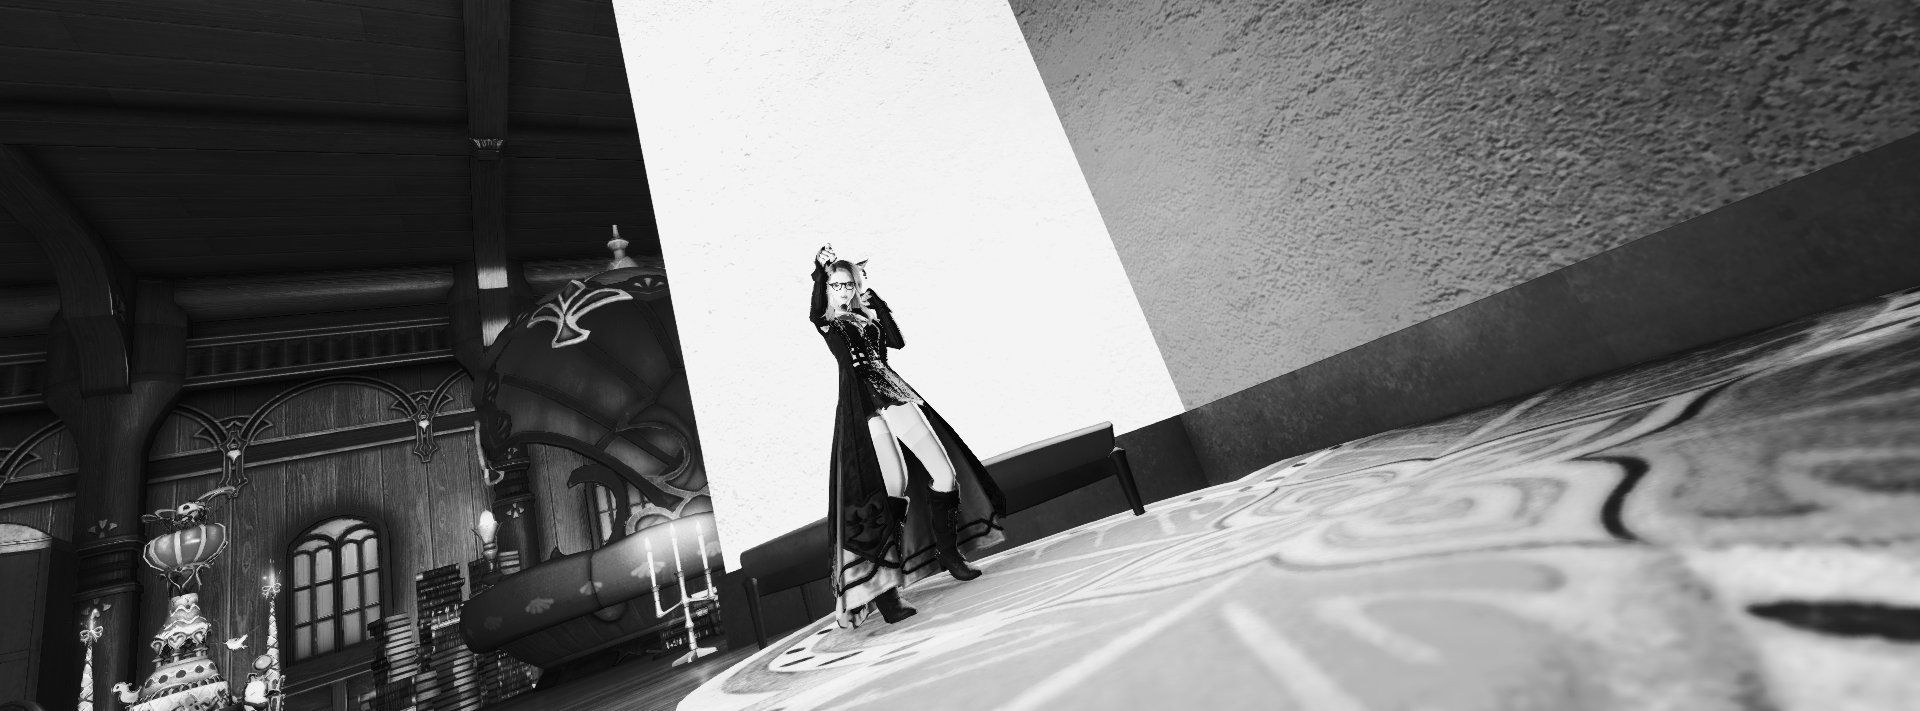 This is how the image really looks from a distance.[/caption]
Creating Your Own Green Screen
If you have a house or an apartment this option might be of real use to you, especially if you enjoy creating graphics and art surrounding FFXIV.
[caption id="attachment_79928" align="aligncenter" width="560"]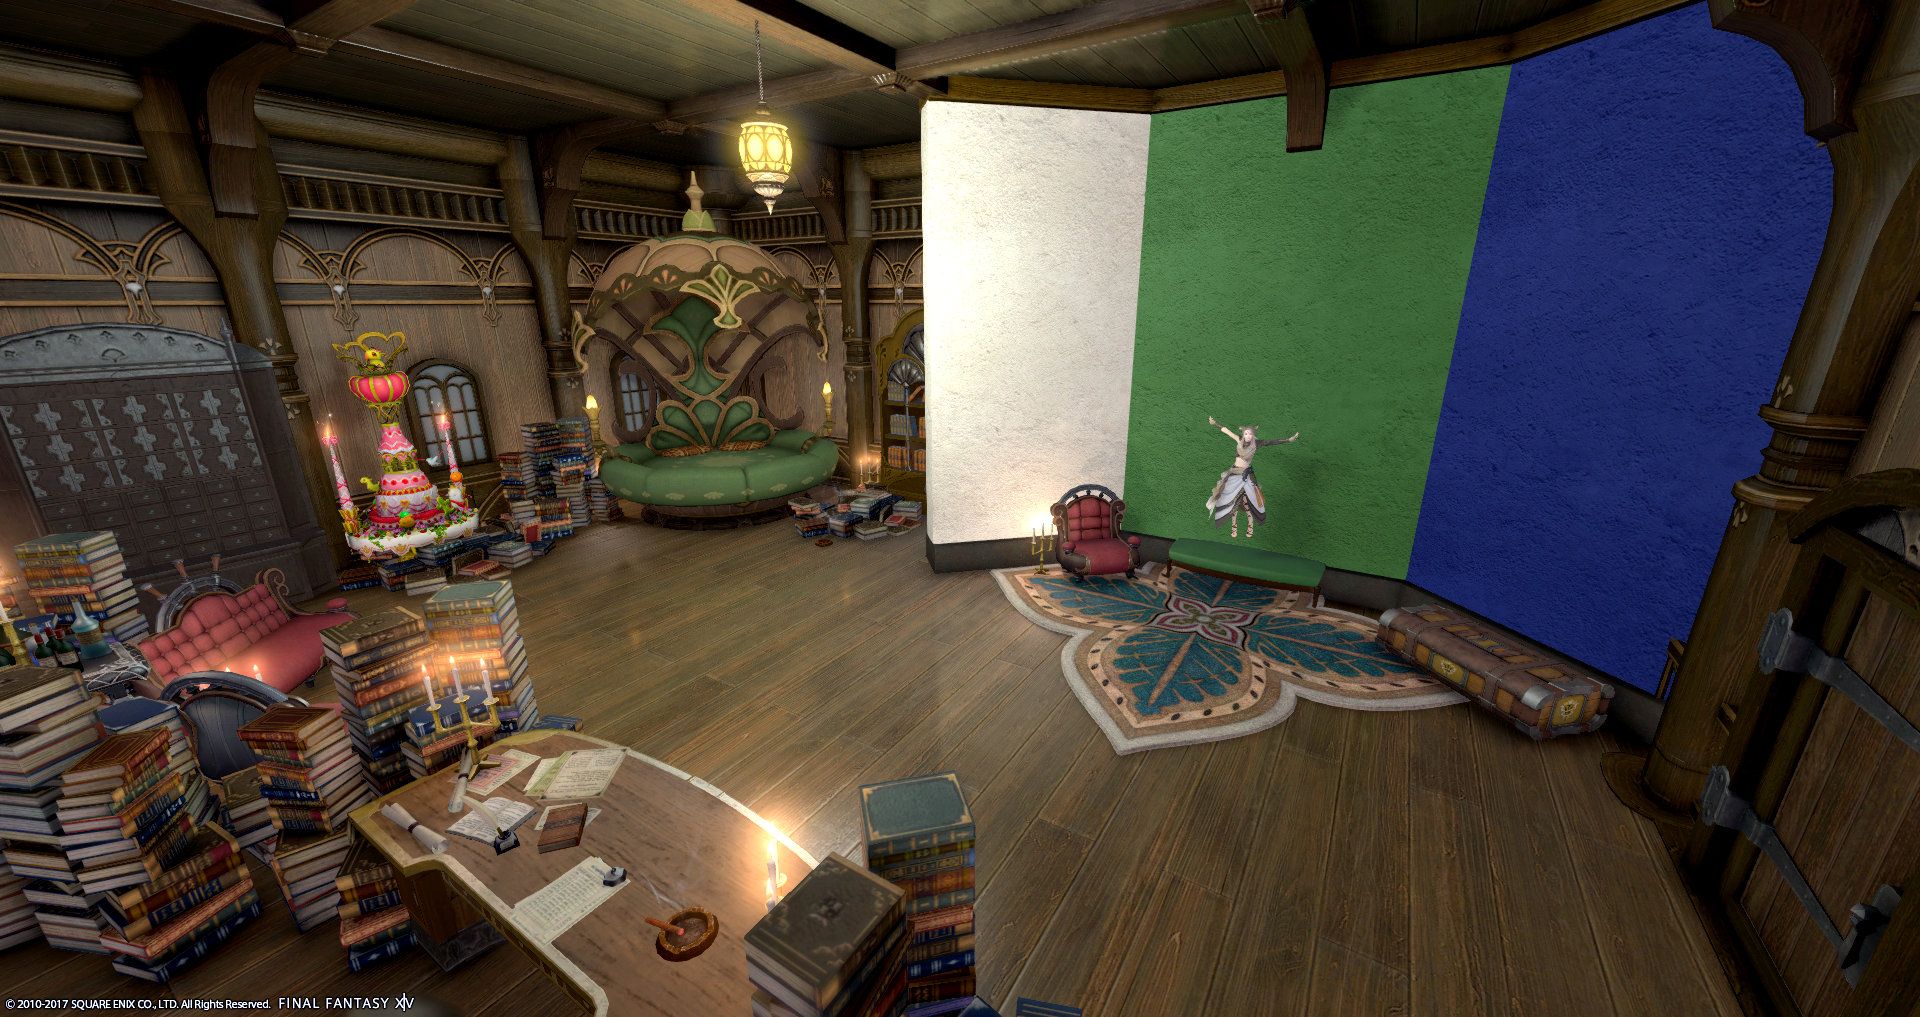 Click to enlarge.[/caption]
Here’s how:
Corners of your house, apartment or private chamber can be converted into a makeshift studio for you and your friends to use for all your desired screenshot needs. This can be done by implementing a set of walls that will act as a backdrop, and which can have various props set out in front to suit your needs.
Buy 1-3 White Partition for 3000gil a from housing merchant in one of the residential districts under ‘Purchase Furnishings (Other)'. The partition wall is useful because it’s also dyeable. It doesn’t give you a perfect ‘green screen’ but it helps! For my walls I have used Ochu Green and Storm Blue, as I wanted to test whether a green or blue screen would work better. I had better results with the blue screen but I suppose that depends on what color clothing you are wearing.
[caption id="attachment_79929" align="aligncenter" width="560"]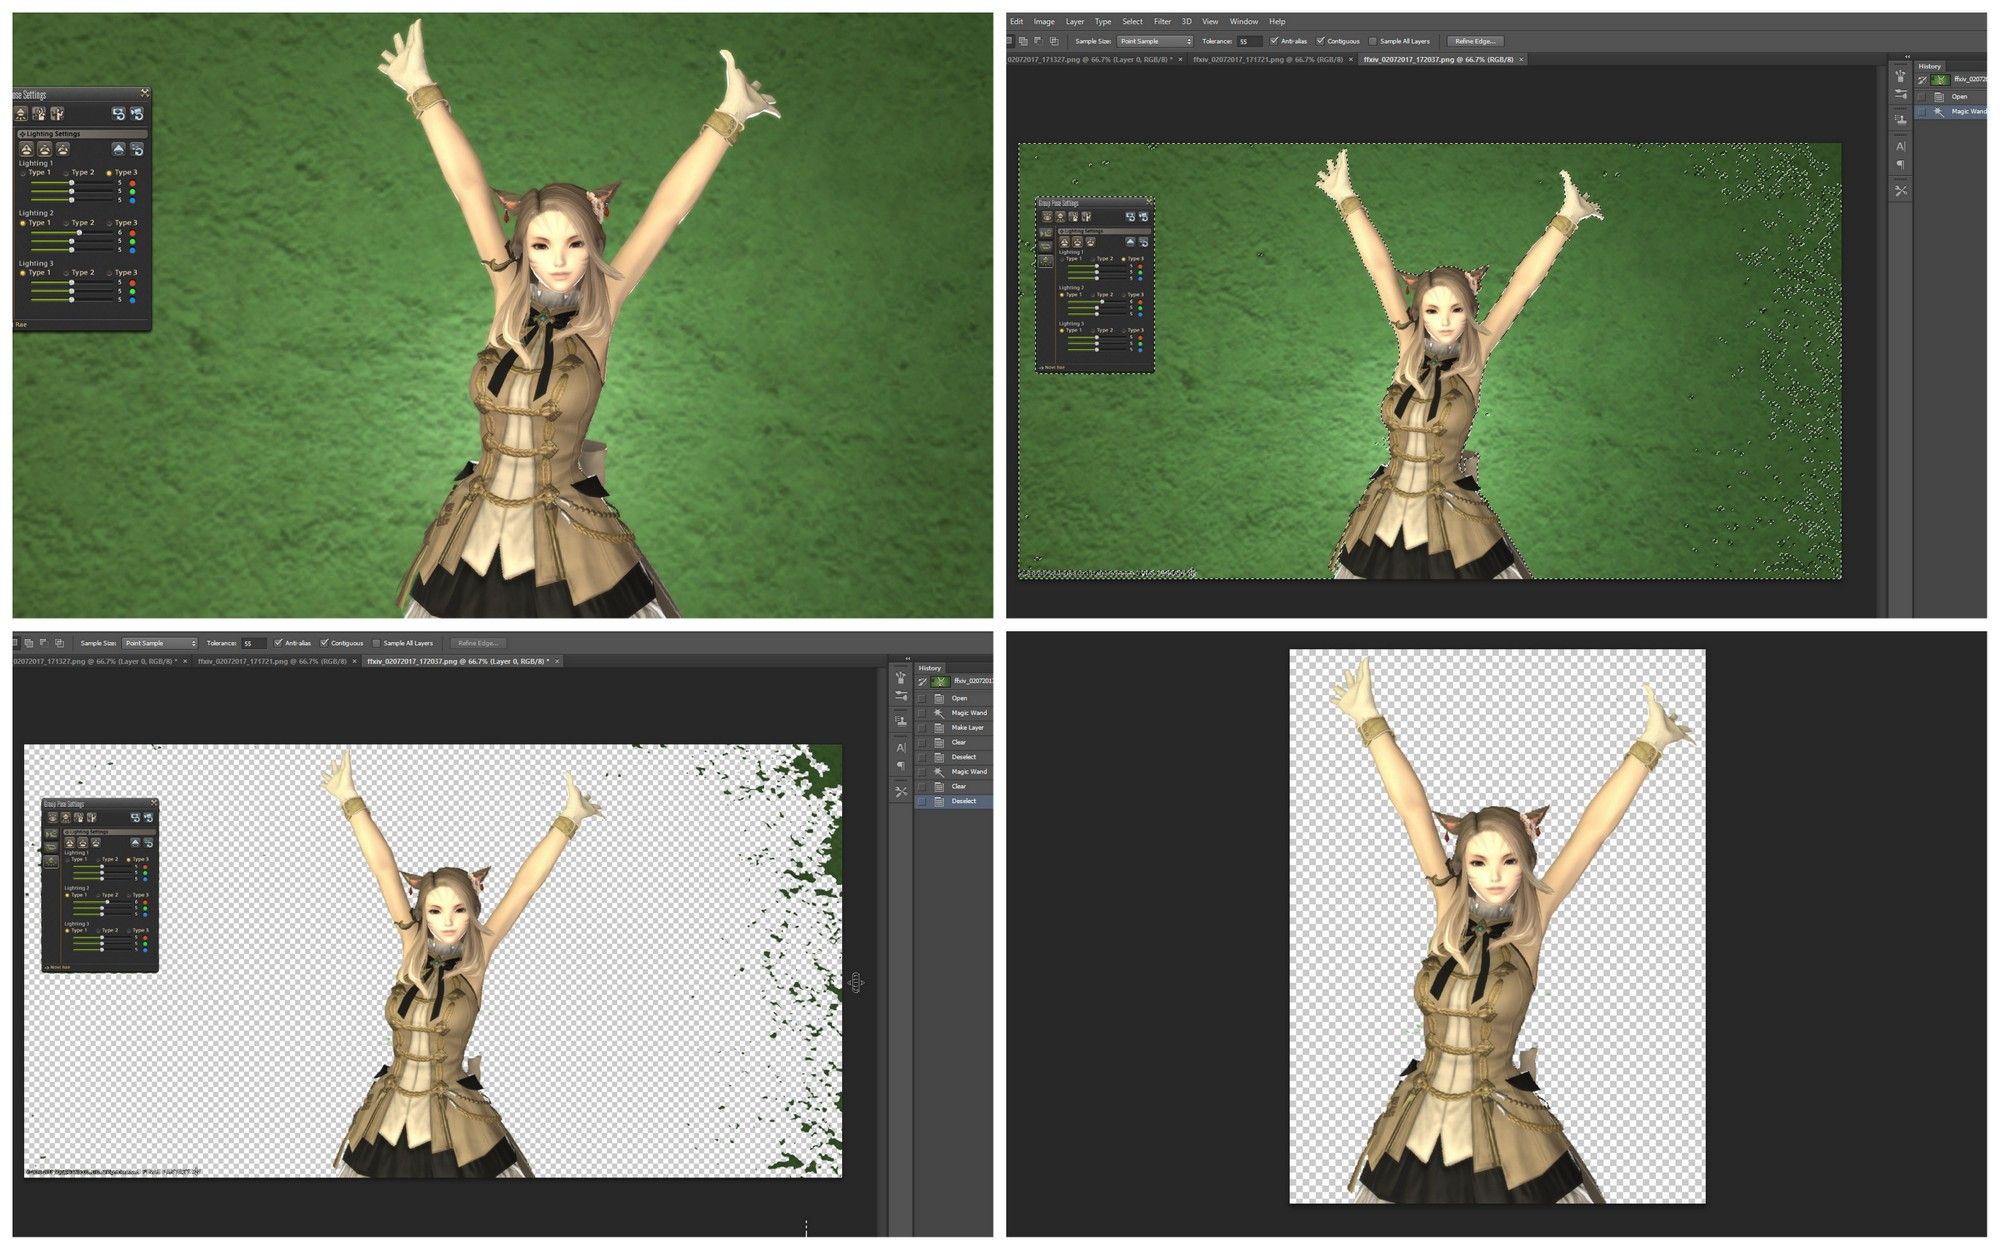 Click to enlarge.[/caption]
Make sure your character is well lit. I placed two light sources in a level 5 lit room. The first was placed in front and diagonally up, to the right, and the other was placed diagonally down to the left.
If your tastes are much simpler you could always opt for the ‘White Wall’ as a minimalist backdrop which is also available from the housing merchant under ‘Purchase Furnishings (Interior)' for 5000gil.
[caption id="attachment_79930" align="aligncenter" width="560"] Click to enlarge.[/caption]
When the image is then saved as a .PNG or .PSD file you then have the freedom to put your character on any background you wish as the individual layer is saved! Avoid saving the image as a .JPG as the image quality is not as good and will degrade more swiftly on further saves. In further GPose tutorials, I will elaborate on the processing of the image in greater detail!
Extra Ideas:
Reflections are your friend, can add depth and texture to your images.
Add facial expressions and position each character individually (adding emotion through angles and alignment). Try pausing your pose every few moments to see each emote in slow motion. Most have a range of poses within the emote so there can be a myriad of options to use. Combine these with a friend and you can create some very interactive screenshots.
- Use weather conditions or the time of day to your advantage, some can capture a mood or create interesting lighting, especially with a filter placed over the top.
Consider the perspective in your images, try viewing the image from near and far before taking the shot.
Include active environments in your images - leaves falling, dust swirling, falling stars... All add beauty to an image.
Compliment your images with clothing (similar style or color) to add interest.
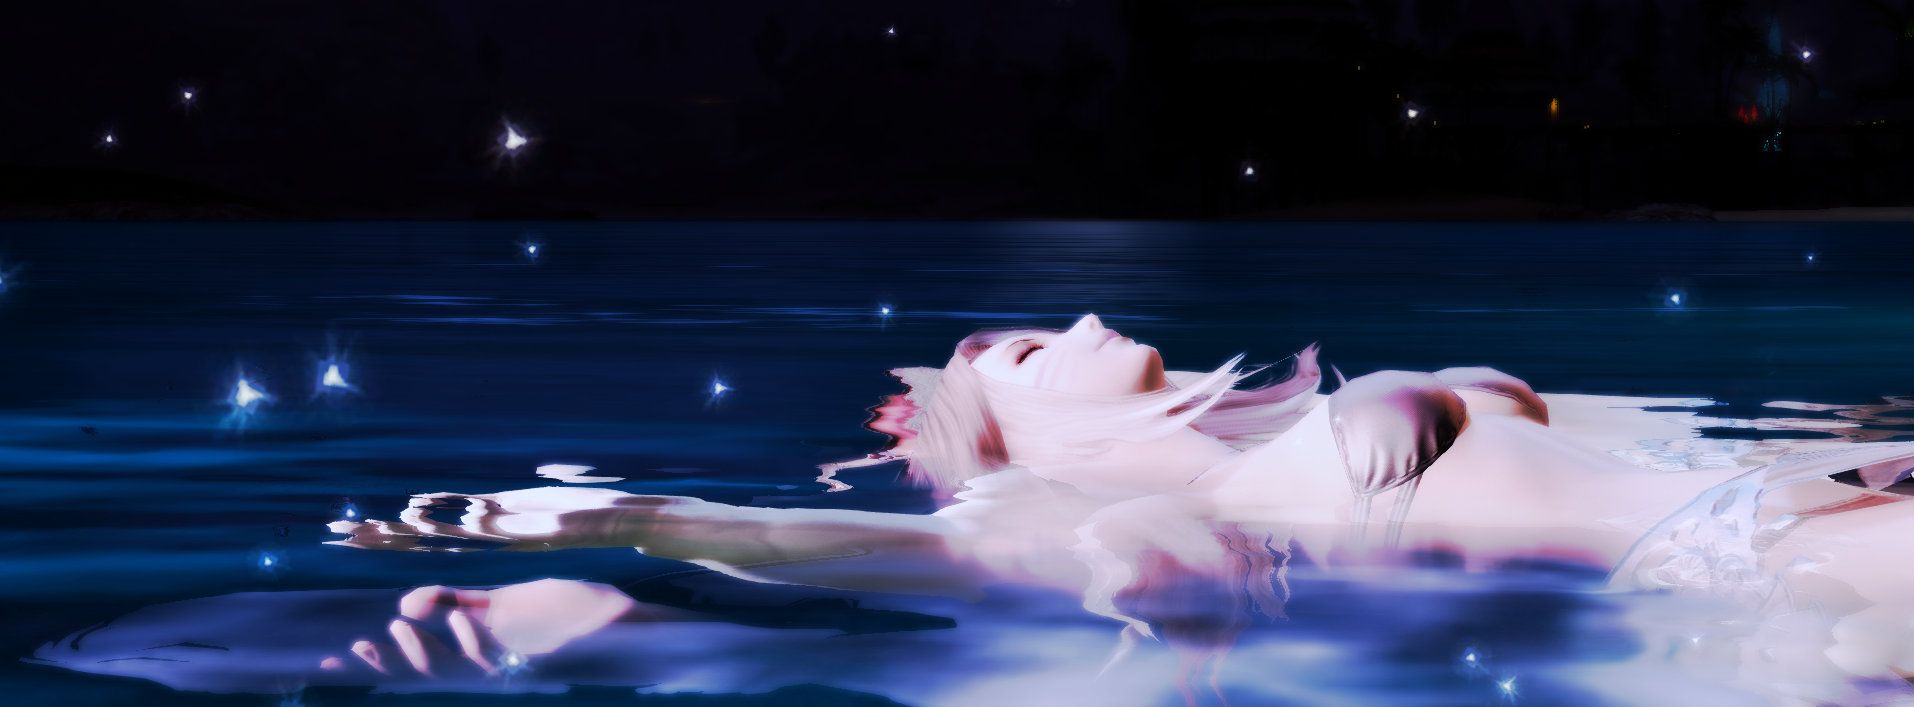
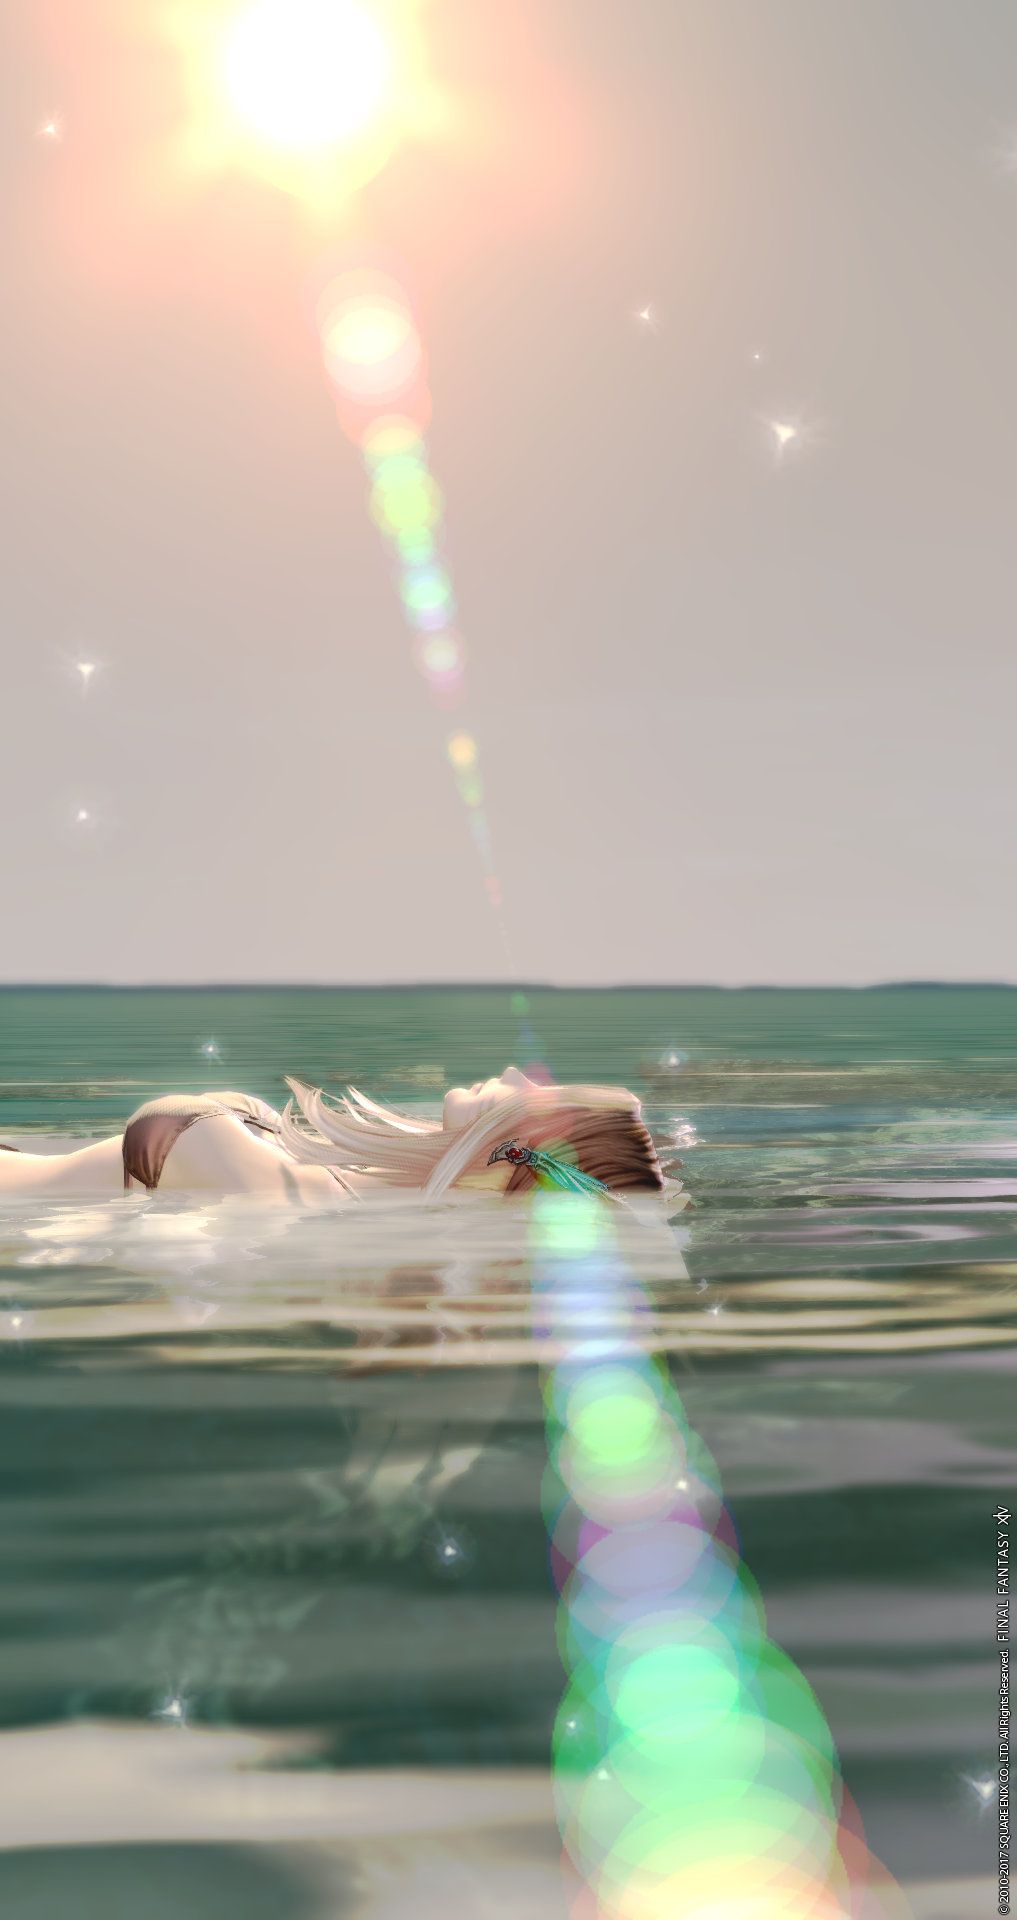
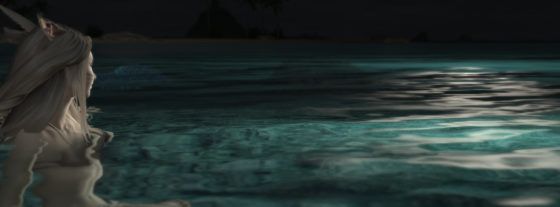
Create beautiful lighting on the water by placing a lighting source close to the surface yet at some distance from your character.
Things to avoid:
Overexposure - sometimes high contrast images can work really well but be careful not to overexpose your images with lighting or filters to the point where prominent features become indistinguishable and the subject matter is lost to the glare!
Glowing pets! This can often lead to overexposed patches in your images if you wish to add in-game filters or post-processing. Eos being our main culprit here!
Please click here for my screenshot gallery!
Thank you all for reading this article! If you have any questions, advice or comments please don't hesitate to get in contact either through here, Anook or Twitter! I'm far from an expert and I've still got a lot to learn but I really enjoy this in-game feature and it makes me happy to share my knowledge with others. When it comes to my own expertise in the area of creativity I am mostly self-taught, although I worked formerly in graphic design and events photography. In short, I just try to make things pretty!
Until next time, happy travels!
